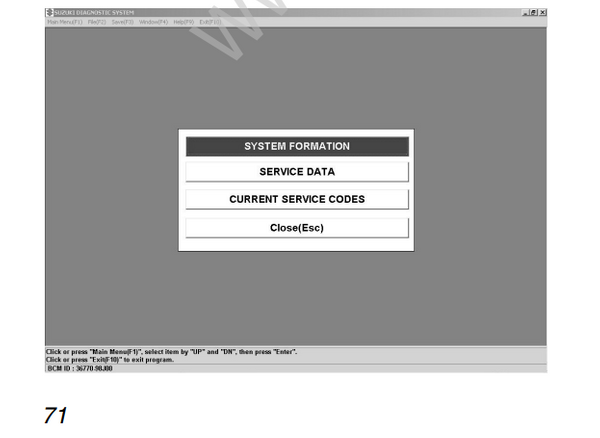
SETTING CHANGE
Change or reset the remote control lever characteristics and full tilt down position.
Change system settings when disassembling or replacing the remote control lever, its related parts, or tilt-related parts.
Lever Characteristics
(1) Clicking the “SETTING CHANGE” button from the Main Menu dialog box displays the following window of boat station configuration registered in the BCM during system calibration.
- Figure is the “SETTING CHANGE” initial window registered as the single station.

- Figure is the “SETTING CHANGE” initial window registered as the dual station.
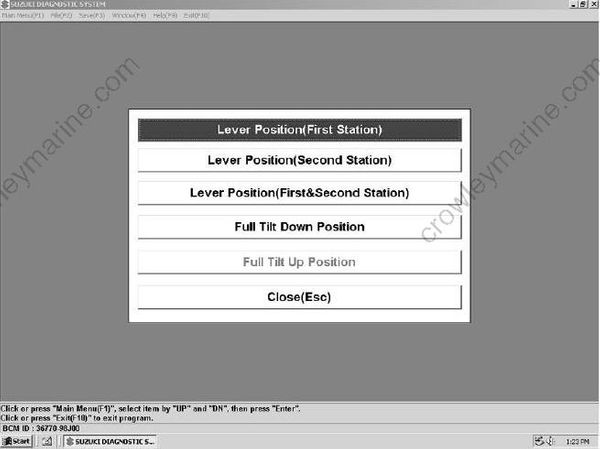
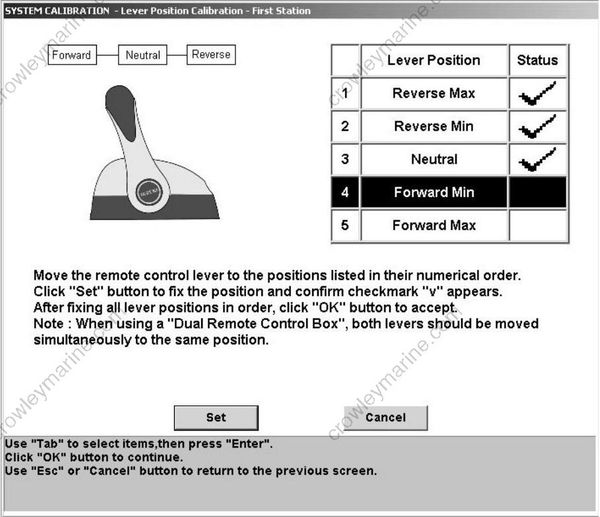
(2) Clicking “LEVER POSITION (XXXXXX)” button from the Setup Change dialog box displays the following window:
Set the lever to each position (Forward, Neutral, Reverse) and click the “Set” button.
If the set lever positions are correctly registered, “✓” mark is displayed in the “Status” column in the
right side of the window.
Repeat the same operation to register all the lever positions.
Clicking the “Cancel” button cancels system setting change.
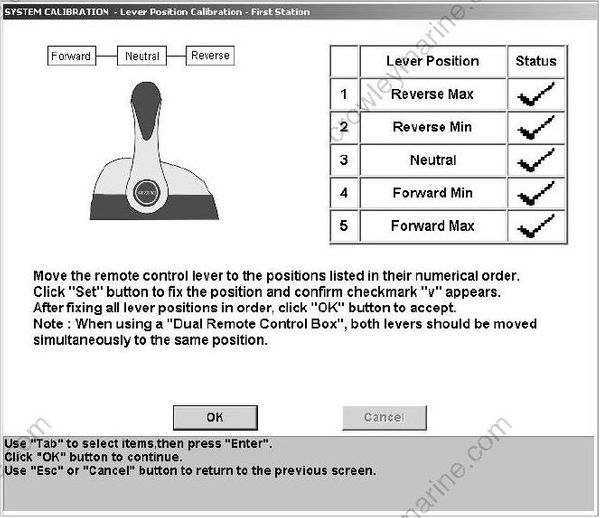
(3) When all the lever positions have been registered, return the lever to the neutral position.
• If the lever is not set to a correct position, the error message is displayed.
Click the “OK” button, set the lever to the correct position, and click the “Set” button.
• For the dual control box, you must simultaneously operate both the levers.
• To change the dual station settings, select “First Station”, “Second Station”, and “Both First and Second Stations.”
• After all the lever positions have been registered, the following confirmation message is displayed:
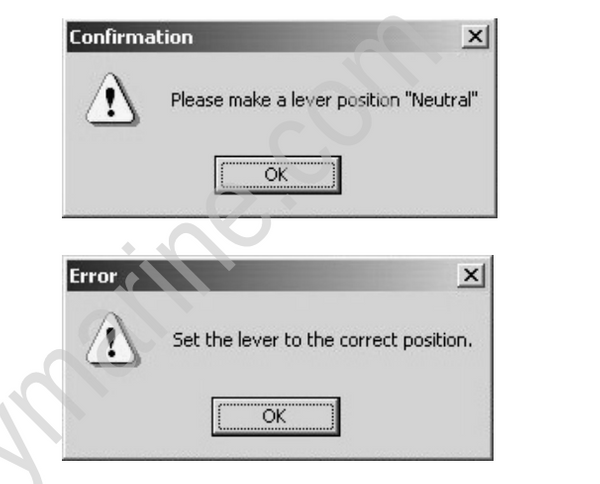
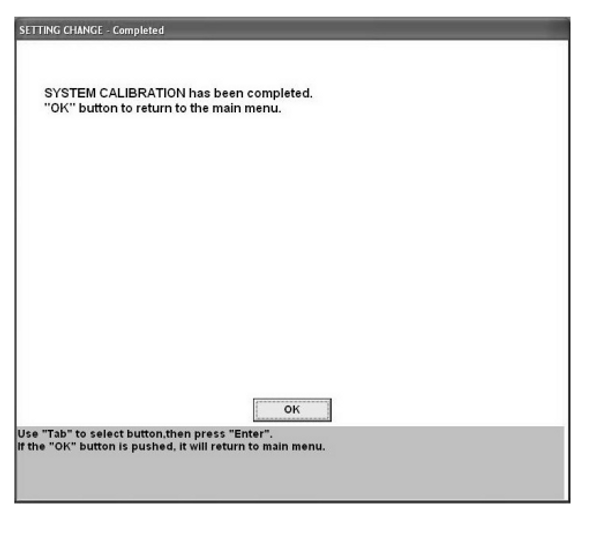
(4) Clicking the “OK” button after all the lever positions have been registered displays the following window:
Click the “OK” button to terminate setting change.
Full Tilt Down Position
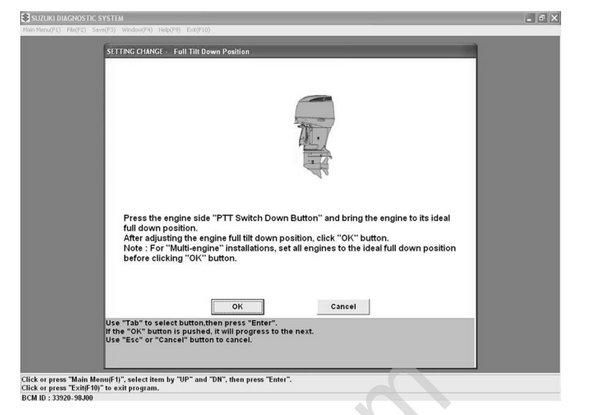
(1) Clicking the “Full Tilt Down Position” button from the SETTING CHANGE dialog box displays the window.
(2) Operate the PTT switch of the outboard motor to perform full tilt down.
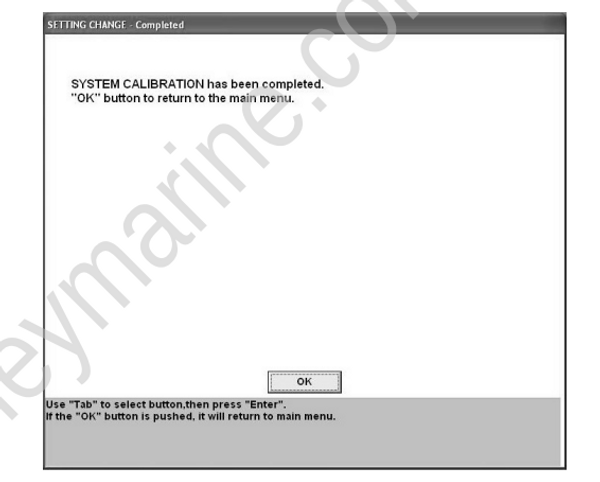
Clicking the “OK” button registers the full tilt down position and redisplays the SETTING
CHANGE completed window.
Click the “OK” button to complete setup change.
SYSTEM CHECK
Check system settings.
System configuration
(1) Clicking the “SYSTEM CHECK” button from the Main Menu dialog box displays the following menu window.