

Gearcase Lubricant
With outboard vertical, check the gearcase lubricant level:
Remove the lubricant level plug. Lubricant must be even with the bottom of the threaded hole.
A clean tie strap can be used as a “dip stick” if the lubricant level is not obvious.
Add HPF PRO gearcase lubricant as needed.
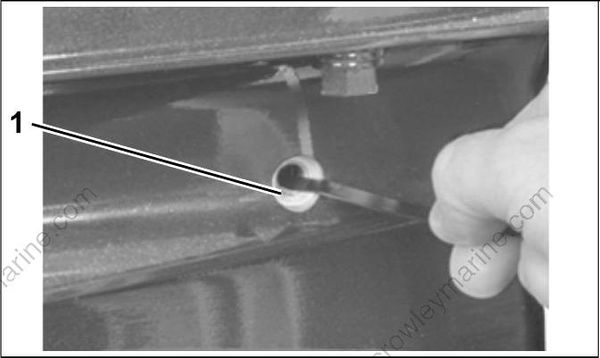
- Gearcase lubricant level
Oil Level
Make sure oil tank contains an adequate supply of the correct lubricant for the outboard and that the LOW OIL warning has been tested. Refer to Oil Requirements on p. 63.
When starting the outboard for the first time, refer to Oil Supply Priming on p. 65.
Trim and Tilt Fluid
Correct fluid level must be maintained to ensure operation of the impact protection built into the unit.
Make sure trim and tilt reservoir is full before running outboard:
Tilt the outboard and engage the tilt support.
Remove filler cap and check fluid level.
Single Ram System–Add Evinrude/Johnson Biodegradable TNT Fluid, as needed, to bring level to the bottom of the fill plug threads.
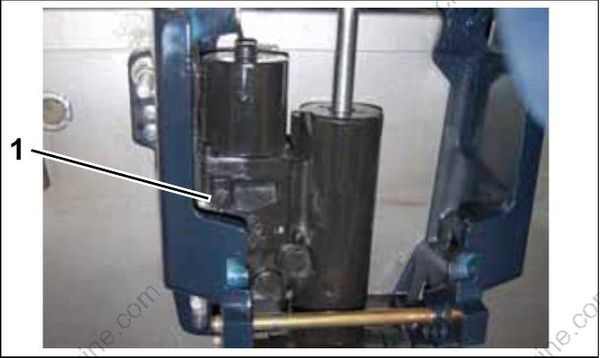
Single Ram System, 75 - 130 HP
- Filler cap
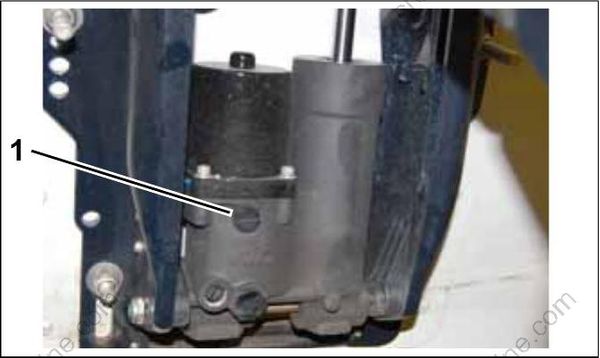
Single Ram System, 15 - 60 HP
- Filler cap
Install the filler cap and tighten to a torque of 45 to 55 in. lbs. (5 to 6 N·m).
Disengage tilt support.
Cycle the unit at least five complete cycles to purge all air from the system. When cycling the unit, hold the trim switch ON an additional 5 to 10 seconds after the unit reaches the end of its travel before activating the switch in the opposite direction.
