

OILING SYSTEM TESTS
Always perform visual inspections to identify oiling system leaks. Make sure the oil tank is filled and oil supply is not contaminated.
Oil Injection Pump Static Test
Do NOT perform static tests using Diagnostic Power Supply Tool, P/N 587005, with internal 9 volt batteries only. This will produce false results. Refer to Communication on p. 88. Use Evinrude Diagnostics software to activate the Oil Injector test. This test starts the EMM control function for the oil injection pump.
The EMM controls the pump by providing ground through pin 2 (blue wire) of the J1-A connector and pin A (blue wire) of the oil tank connector.
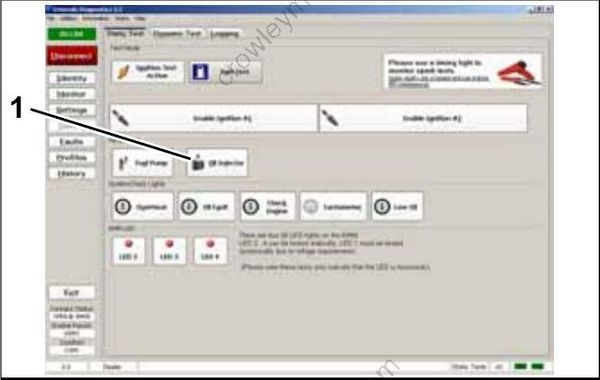
Static Tests Screen
- Oil injector test button
This test is operating the pump with 12 V battery power on the system voltage (55 V) circuit. The oil injection pump will not activate on 12 V.
Use an inductive timing light to monitor current flow through the ground circuit (blue wire) at the oil tank connector (pin A).
If the light flashes, the EMM and oil injection circuits are not at fault.
Refer to Oil Injection Pump Voltage Test on p. 177.
Oil Injection Pump Voltage Test
Check voltage at pin B (white/red wire) of oil tank electrical connector.
Acceptable voltage readings:
- Key switch ON: slightly less than 12 V
- Outboard running: 55 V
Results:
- If voltage is not within range, refer to Oil Injection Pump Circuit Resistance Test on p. 178.
- No voltage reading, refer to System Voltage Test on p. 104.
Monitor the voltage on the oil injector circuit at pin 2 (blue wire) of the EMM, with outboard running at 1500 RPM.
Use an appropriate test probe and a digital multimeter calibrated to a scale that reads 55 V (DC). Connect positive meter lead to pin 2 and negative meter lead to ground.
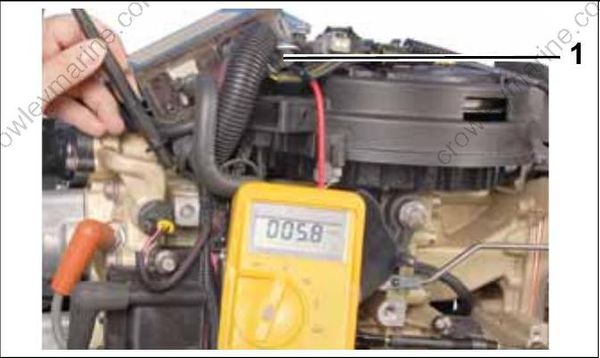
- Oil injection pump connector (pin 2)
Voltage reading should be approximately 55 V, and drop approximately 5 V as EMM actuates oil injection pump.
Oil Injection Pump Circuit Resistance Test
The complete oil injection pump electrical circuit includes EMM alternator output, the engine wire harness, the injection pump winding and connectors, and the oil injector control circuit of the EMM. Check continuity of all wiring and connections.
Disconnect the battery cables at the battery. Test resistance of the injection pump.
If injection pump resistance reading is within range, injection pump winding is good.
| Oil Injection Pump Resistance |
|---|
| 22 Ω |
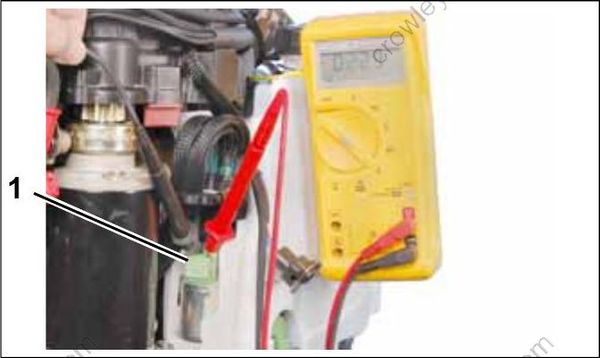
- Oil injection pump connector
Disconnect EMM connector and oil injection pump connector. Use appropriate test probes to measure resistance between pin A of the oil injection pump connector and pin 2 of the EMM connector.
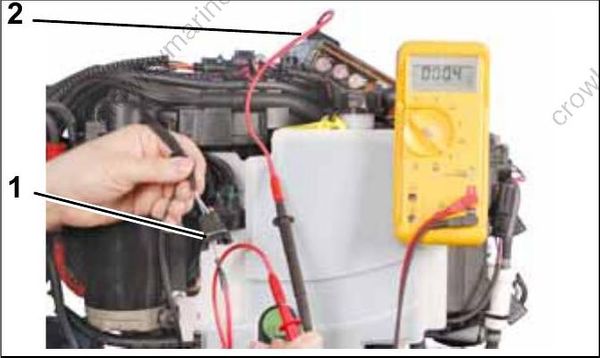
- Oil injection pump connector pin A
- EMM connector pin 2
Results:
- An infinite reading (∞) indicates an open circuit. Isolate the faulty wiring, or connection. Repair faulty wiring.
- For a higher than expected reading, Isolate faulty component. Repair faulty wiring or replace faulty component and retest.
Oil Injection Pump Function Test
Remove oil distribution hose from fitting at oil distribution manifold. Do not lose the brass hose support.
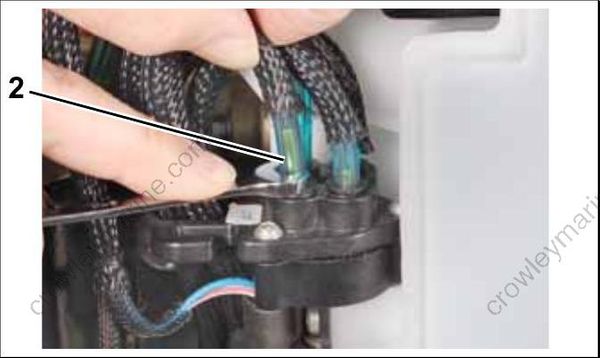
- Oil distribution hose
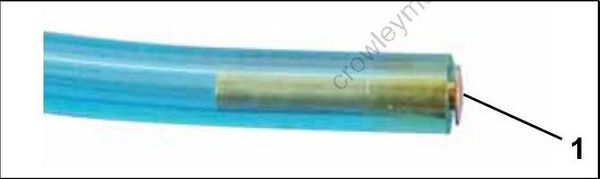
- Hose support
Temporarily install a length of oil hose.
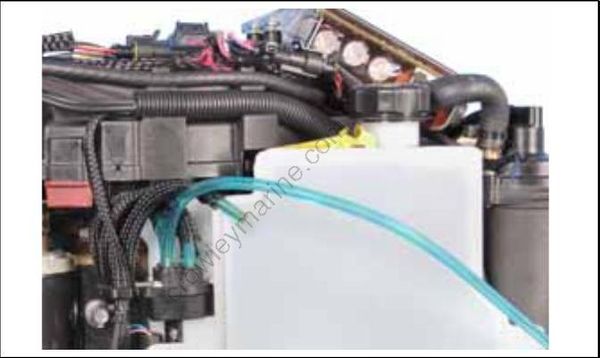
Start the outboard and observe oil flow:
- Oil flows from hose, compare to oil flow at other distribution fittings
- If one or more fittings fail to flow oil, replace the oil injection pump assembly. Reinstall hose into manifold.
Make sure hose support is in hose and hose is fully inserted into manifold. Refer to Oil Distribution Hoses on p. 180.
Oil Injection Fittings Flow Test
Make sure the oil injection fittings of the cylinder and crankcase assembly allow fluid to move.
Remove oil distribution hose from oil distribution manifold.
Use a Syringe, P/N 346936, filled with isopropyl alcohol to force fluid through hose and fitting.
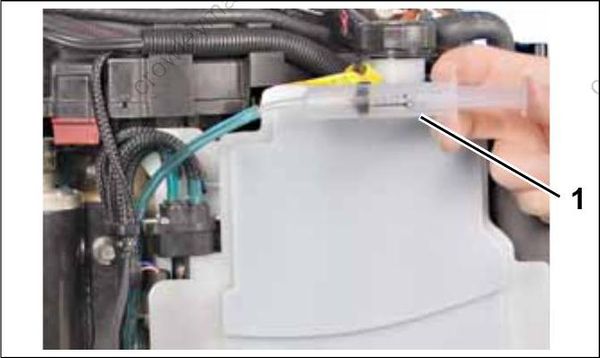
- Syringe
LOW OIL Sending Unit Test
Remove oil from the oil tank.
Turn the key switch ON. The dash mounted Engine Monitor system should show a LOW OIL warning.
Once the warning has been confirmed, refill the oil tank and start the outboard. The LOW OIL warning should stop after the oil pump cycles 3 times.
