

RECOIL STARTER ASSEMBLY
Wear safety glasses while disassembling and assembling manual starters because of rewind spring tension.
If removed, install the rope guide to the starter housing. Tighten screws securely.
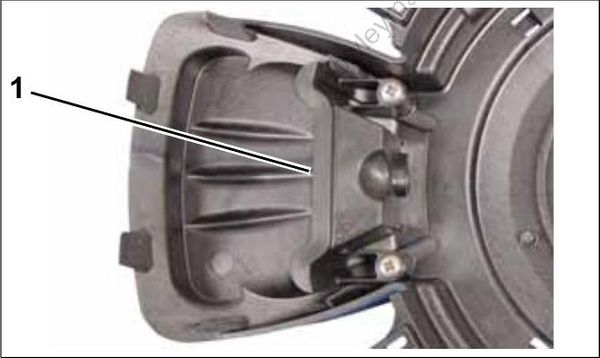
- Rope guide
Apply Moly Lube to both sides of pulley spring shield. Place shield on pulley as shown.
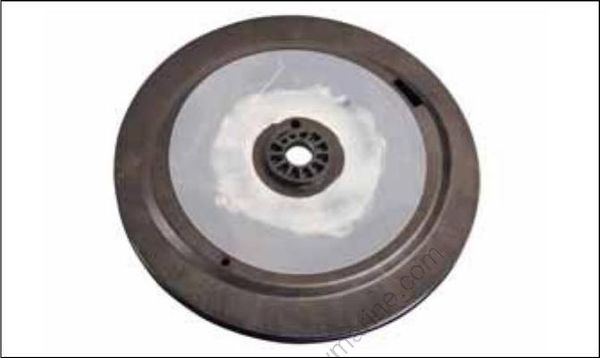
If the stop tool hole in the pulley is missing, refer to PULLEY MODIFICATION on p. 313.
Clamp base of Starter Spring Winder and Installer, P/N 342682, in a vise. Place spring around base as shown.
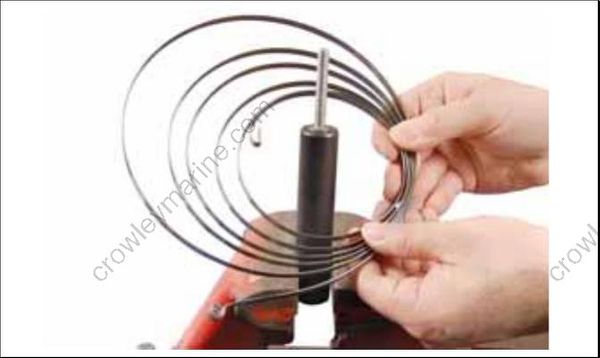
Place starter housing over base.
Route the hook end of spring through the starter housing opening as shown. To keep spring in position, hold up on portion of spring that is out side of the housing.
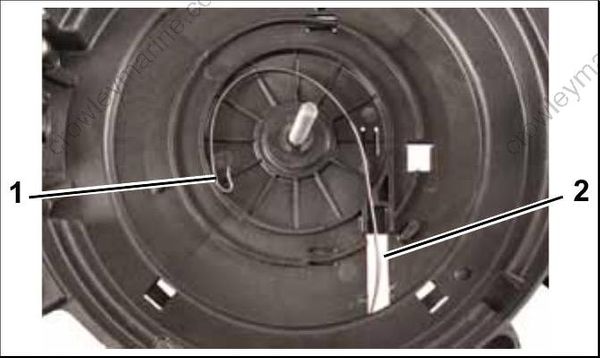
- Spring hook end
- Opening
Place pulley over base and place retainer over pulley. Be sure tapered end of retainer is toward pulley. Secure retainer with left-hand threaded nut.
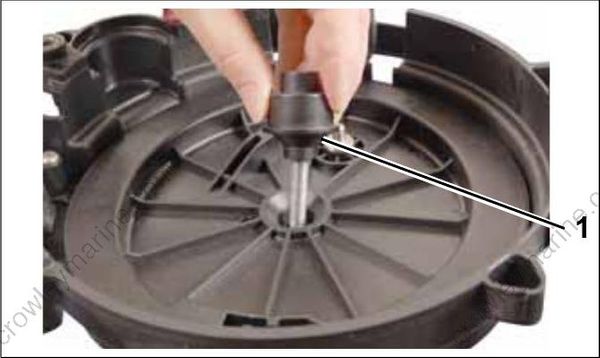
- Retainer tapered end
Install handle on pulley pin. Pull lightly on spring and turn pulley counterclockwise with handle until hook end of spring engages the pulley.
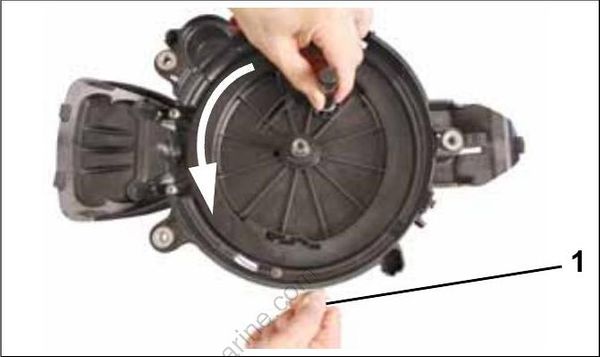
- Pull on spring
Turn pulley counterclockwise until spring is completely pulled into housing.
Allow pulley to slowly unwind until tension is relieved.
Turn pulley counterclockwise 3.5 turns, until the pulley rope channel aligns with the rope guide.
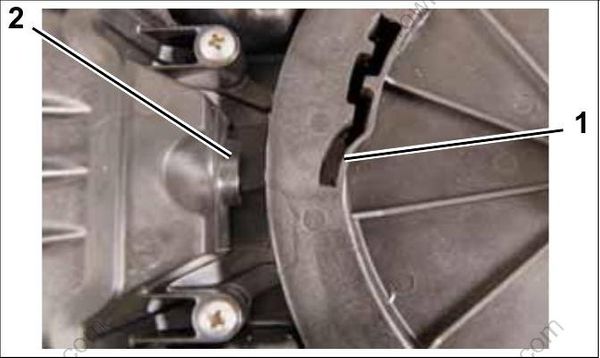
- Rope channel
- Rope guide
Secure pulley by placing stop tool through the holes in the pulley and housing.
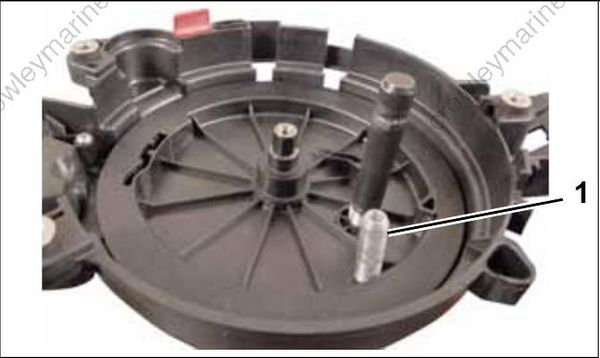
- Stop tool
If replacing rope, pull new rope through handle. Tie a knot as shown.
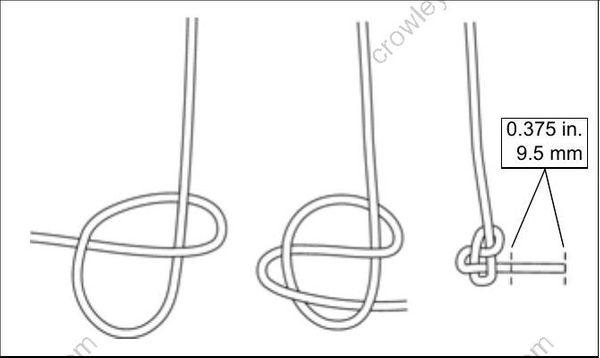
Handle Knot Detail
Route rope through the rope guide and into the pulley rope channel.
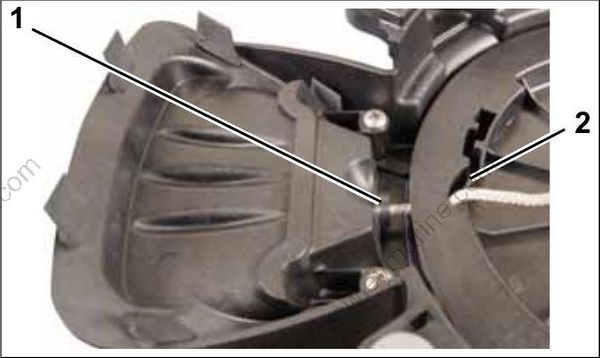
- Rope guide
- Rope channel
Tie a knot in the end of the rope as shown.
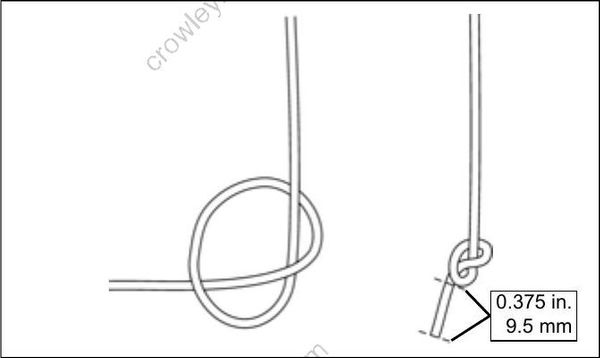
Pulley Knot Detail
Use an appropriate tool to place the knot in the channel.
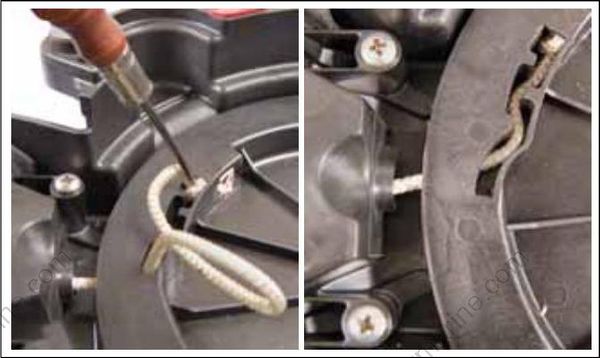
Pull rope taut and remove stop tool. Allow rope to slowly wind into starter.
Remove left-hand threaded nut and retainer from tool base. Remove starter assembly.
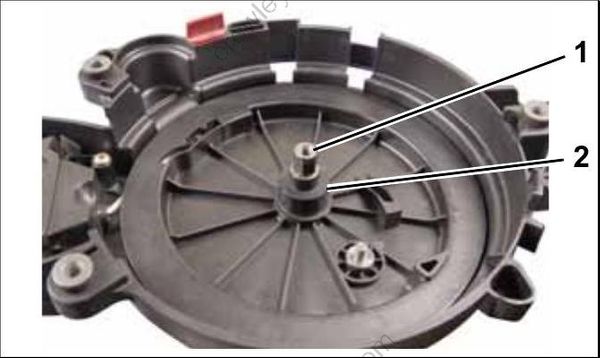
- Left-hand threaded nut
- Retainer
Install spindle, screw and lock nut. Tighten nut to a torque of 124 to 141 in. lbs. (14 to 16 N-m).
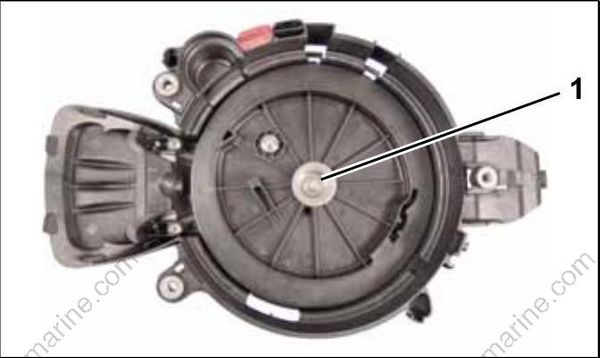
- Lock nut
Install pawl, linkage and retaining ring.
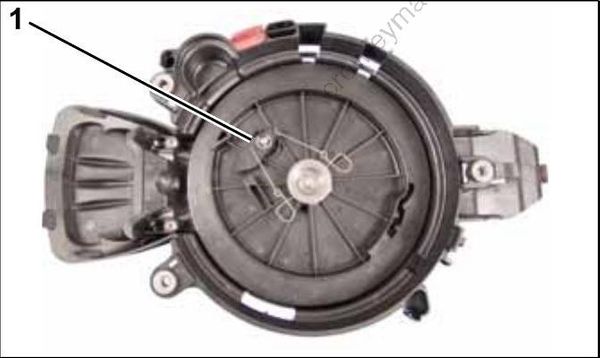
- Retaining ring
