

POWERHEAD REMOVAL
Protect against hazardous fuel spray. Before starting any fuel system service, carefully relieve fuel system pressure. Refer to Relieving Fuel System Pressure on p. 174.
To prevent accidental starting while servicing, disconnect the battery cables at the battery.
Remove lower motor covers. Lower Cover Removal on p. 89.
Disconnect diagnostic connector from clip and remove flywheel cover.
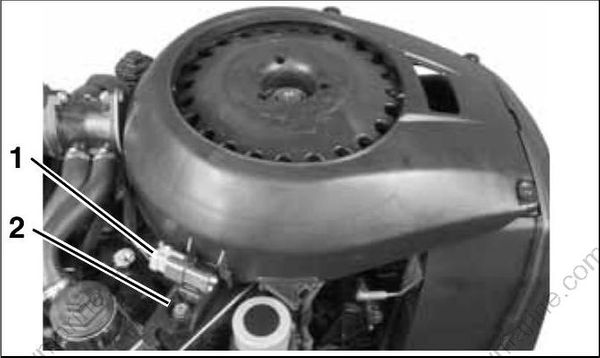
Diagnostic connector
Flywheel cover screw
Remove air temperature sensor from air silencer. Remove the air silencer.
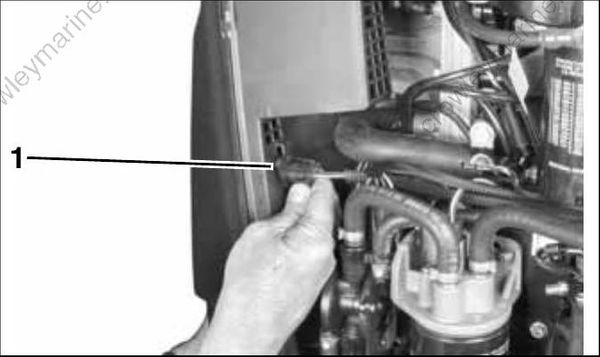
- Air temperature sensor
Remove water hoses and exhaust back pressure hose from adapter.
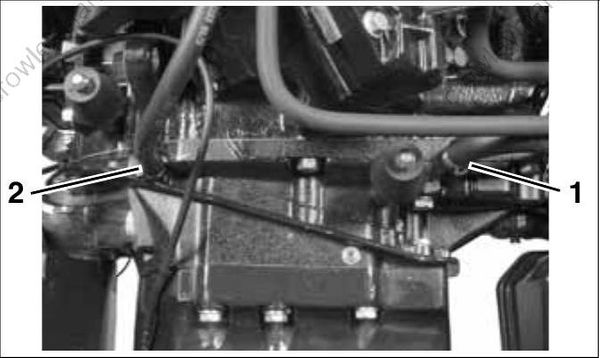
Cooling hose (to exhaust plenum)
Cooling hose (from vapor separator)
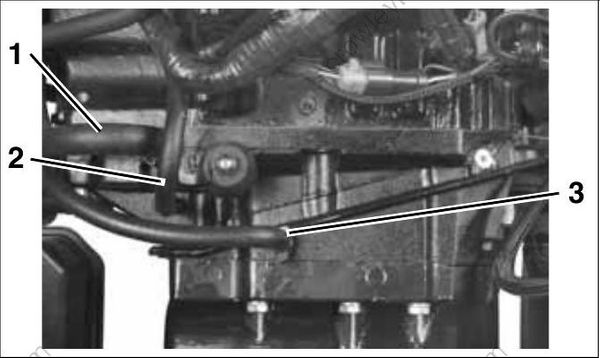
Cooling hose (to exhaust plenum)
Exhaust back pressure hose (to EMM)
Cooling hose (from block)
Disconnect power trim connectors.
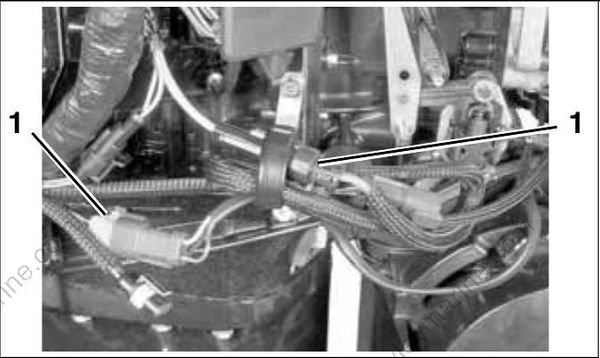
- Trim/tilt connectors
Remove trim/tilt harness from clamp.
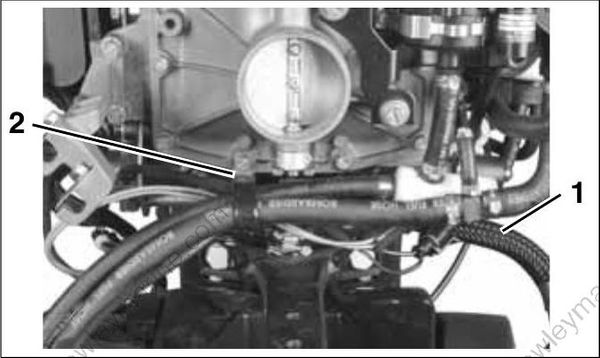
Trim harness
Clamp
Remove screw and washer from shift rod lever to release the lower shift rod.
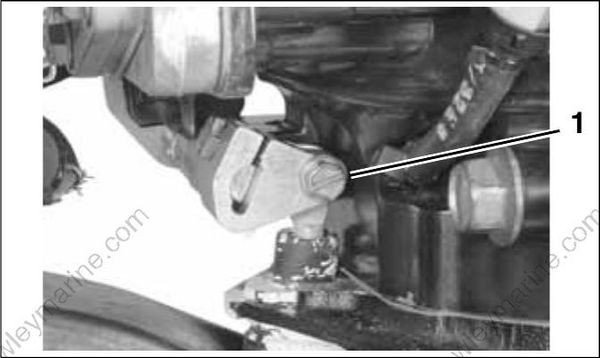
- Shift rod pin
Remove flywheel. Refer to FLYWHEEL AND STATOR SERVICING on p. 145.
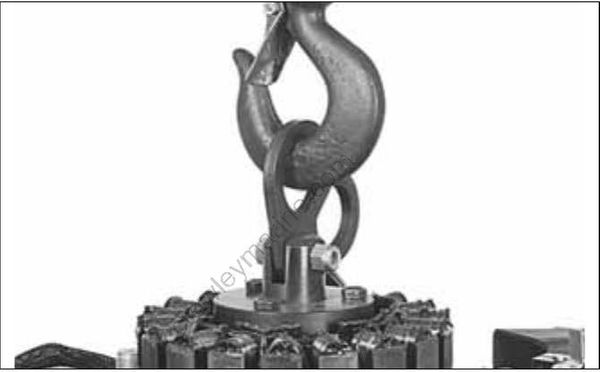
Securely fasten Lifting Fixture, P/N 396748, to crankshaft threads.
Fasten appropriate chain hook to eye of tool and support weight of powerhead with hoist.
On each side, remove the powerhead retaining screws and nuts.
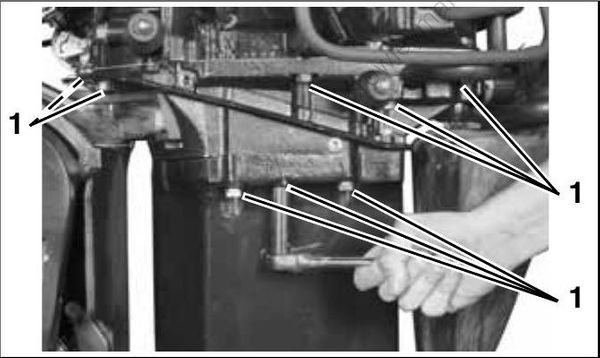
- Screws and nuts
Remove the rear powerhead nut.
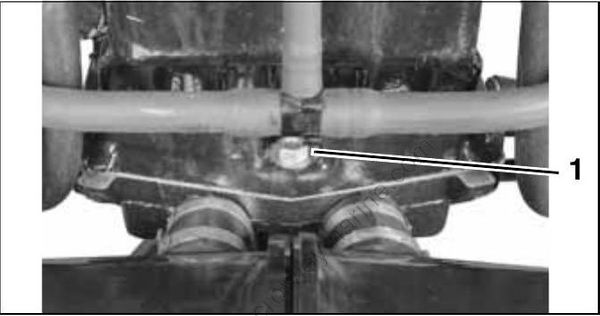
- Rear powerhead nut
Use a suitable tool to carefully separate the powerhead from exhaust housing.
IMPORTANT: Do not damage the powerhead adapter mating surfaces when separating.
