

Owner's Manual
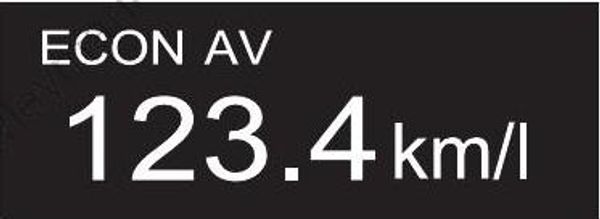
8. Average fuel economy
This screen indicates the total average fuel economy of all outboard motors installed.
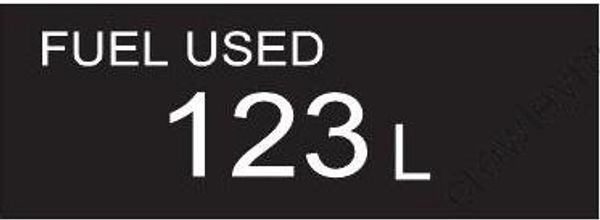
9. Total fuel used
This screen indicates the total fuel used of all outboard motors installed.
10. Latitude/Longitude
The latitude and longitude of current boat position are displayed.
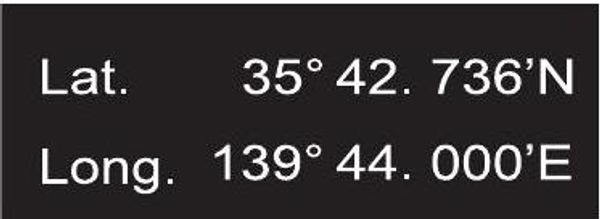
If the “Latitude/Longitude” are not displayed, confirm the connection of the GPS receiver and confirm the radio wave receiving condition.
MENU INFORMATION SELECTION
The menu screen is displayed when the MENU button is pressed while any screen is displayed. While the menu screen is displayed, press the MENU button to return to the previous screen. The MENU has four items of [Illumination], [Diagnosis], [Display], and [Initial Setting].
Press the [⋁] or [⋀] button to select a menu item.
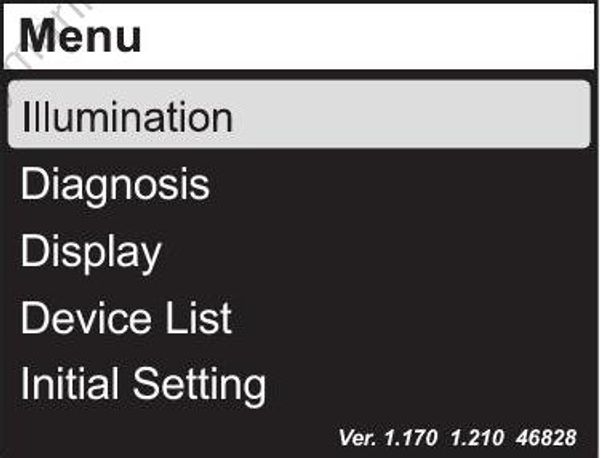
1. Illumination
Press the [⋁] or [⋀] button to select “Illumination” and then press the [SET] button to display the Illumination selection menu.
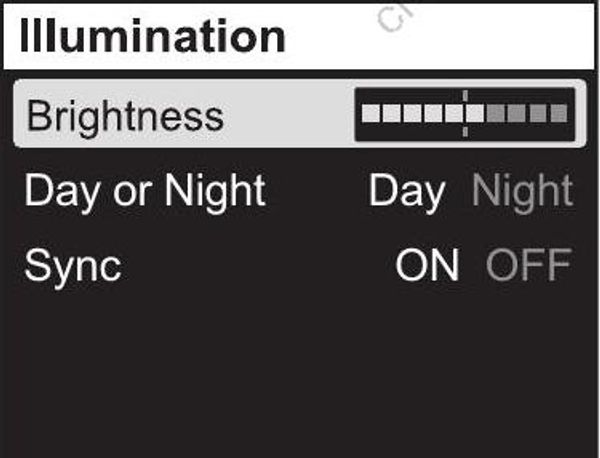
Brightness
The screen brightness can be adjusted in 10 steps.
Press the [⋁] or [⋀] button to select “Brightness” and press the [SET] button. Next, adjust the brightness using the [⋁] or [⋀] button and then press the [SET] button.
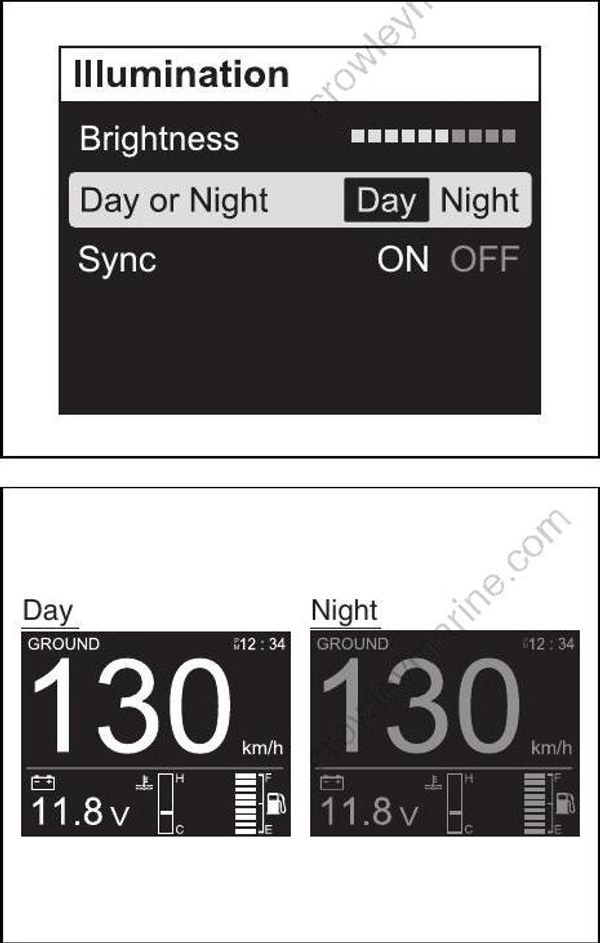
Day or Night
Press the [⋁] or [⋀] button to select “Day or Night” and press the [SET] button. Next, select “Day” or “Night” using the [⋁] or [⋀] button
and then press the [SET] button.
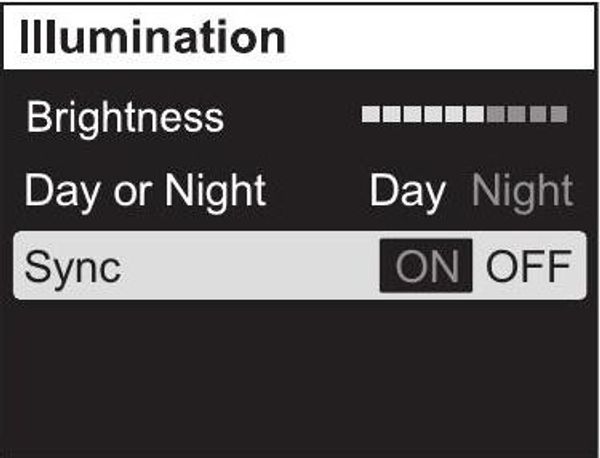
Sync
The “Brightness” setting is synchronized with the “Day or Night” setting for the two or more gauges where “ON” has been selected in the “Sync” setting.
Press the [⋁] or [⋀] button to select “Sync” and press the [SET] button. Next, select “ON” (synchronous) or “OFF” (asynchronous) using the [⋁] or [⋀] button and then press the [SET] button.
2. Diagnosis
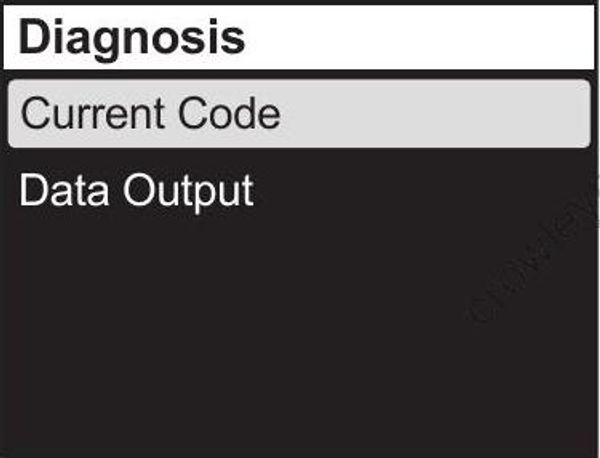
Press the [⋁] or [⋀] button to select “Diagnosis” and then press the [SET] button to display the Diagnosis selection menu.
Current Code
Press the [⋁] or [⋀] button to select “Current Code” and, then press the [SET] button to display the diagnostic code and/or caution message that are currently activated.
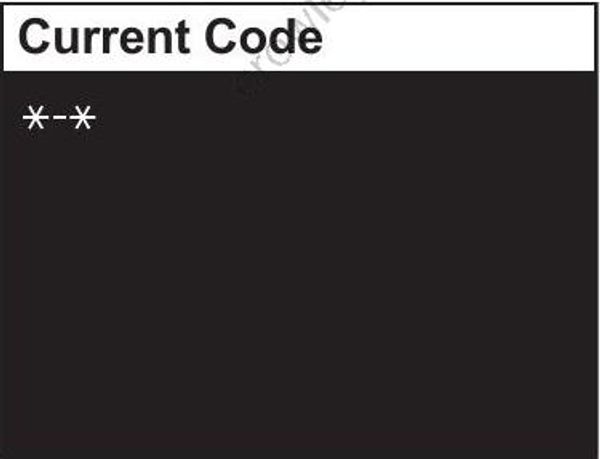
(Refer to the CAUTION SYSTEM and DIAGNOSTIC SYSTEM section)
Data Output
For details the proper handling of the multifunction gauge, refer to “OPERATION INSTRUCTION MANUAL” packed in the gauge.
Press the [⋁] or [⋀] button to select “Data Output” and then press the [SET] button to display the Data Output selection menu.
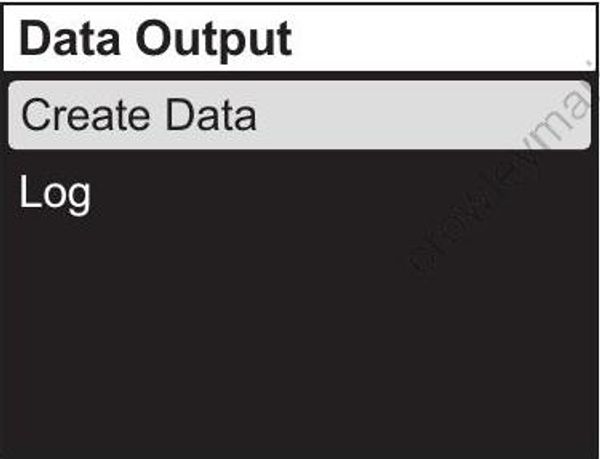
Create Data:
The “Create Data” items (engine oil change frequency, total operation hours, etc.) can be checked.
Log:
The “Create Data” items (engine oil change frequency, total operation hours, etc.) obtained and saved before, can be checked.
3. Display
While [Display] is selected, press the [SET] button to display the selection menu for Digital indication, Analog indication, and indication OFF. Select the display item using the [⋁] or [⋀] button. Then, press the [SET] button to select “Analog1”, “Analog2”, “Digital” or “OFF”.
As the “Fuel” screen displays only in digital mode, the available selection is either “ON” or “OFF.”
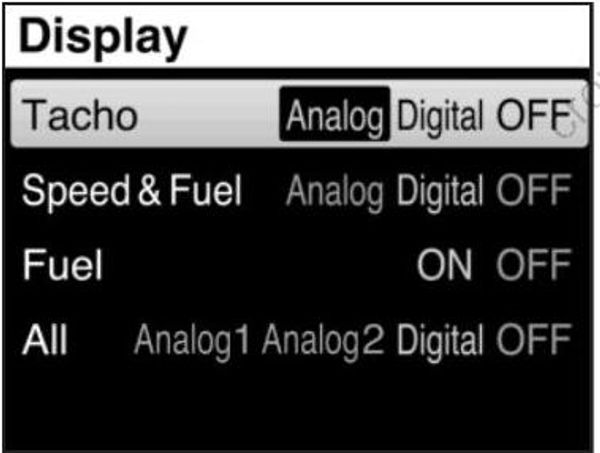
When the indication is set to “OFF”, the display screen for that item is skipped and the next screen is displayed. (Refer to the SCREEN SELECTION section)
It is not possible to set all the display items to OFF (hidden). Please set at least one (1) display item to be displayed.
4. Device list
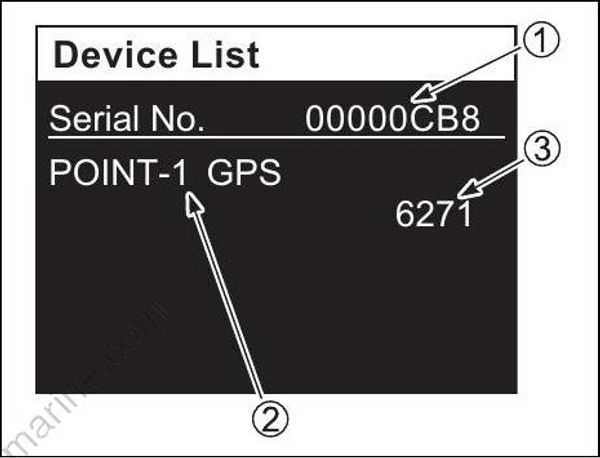
The serial number 1 of the connected multifunction gauge, the name 2 of the connected device(s) and its serial number 3 are displayed.
Press the [⋁] or [⋀] button to select “Device List” and press the [SET] button.
5. Initial Setting
Items in the Initial Setting include important items for initial setting. Therefore, the confirmation screen “Revise initial setting?” is displayed
when you select “Initial Setting” in the menu screen and press the [SET] button. To change the Initial Setting, select “Yes” using the [⋁] or [⋀] button and press the [SET] button to display the Initial Setting menu screen.
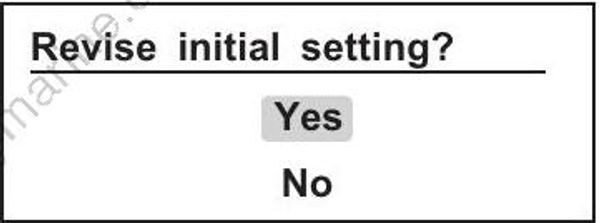
“Initial Setting” contains five (5) menus.
Select the Initial Setting menu using the [⋁] or [⋀] button, and then press the [SET] button to display the setting screen.
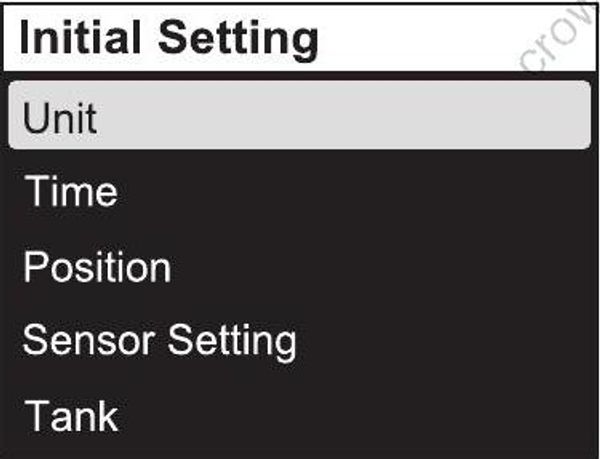
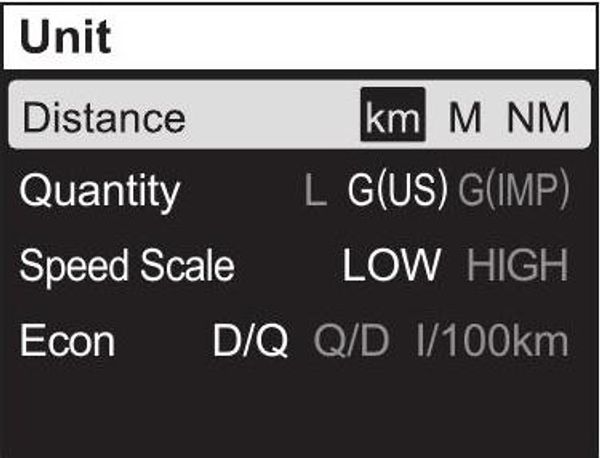
Unit
Setting for the following units.
Distance: set the unit for distance.
Press the [SET] button to select the unit.
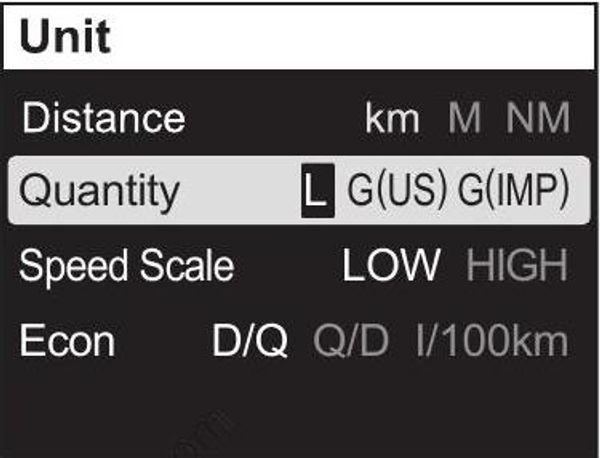
Quantity: set the unit for fuel quantity.
Press the [SET] button to select the unit.
Speed Scale: setting for the speed scale.
The setting of Speed Scale is reflected only on the analog screen display.
Press the [SET] button to select the scale to be indicated.
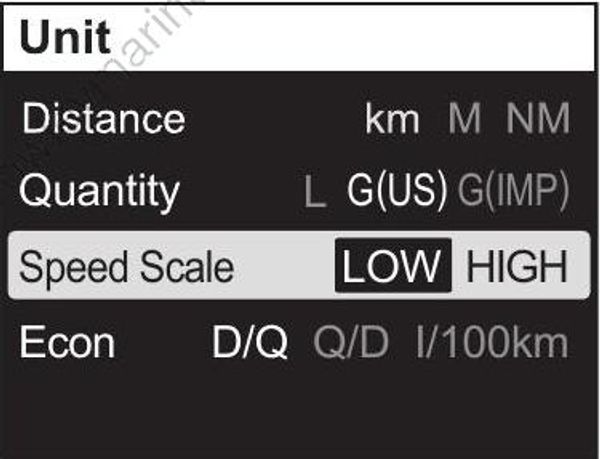
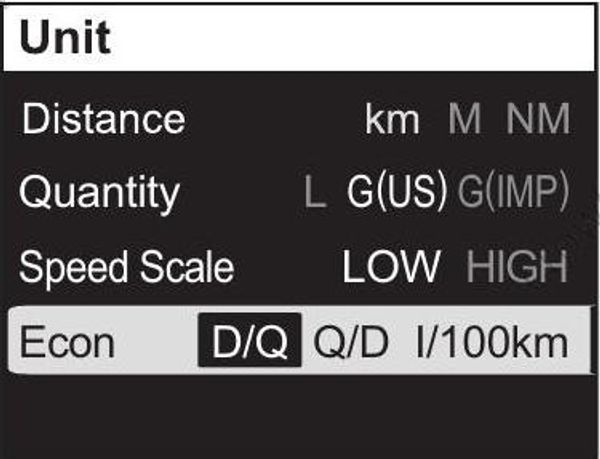
Econ: set the unit for fuel economy.
Press the [SET] button to select the unit.
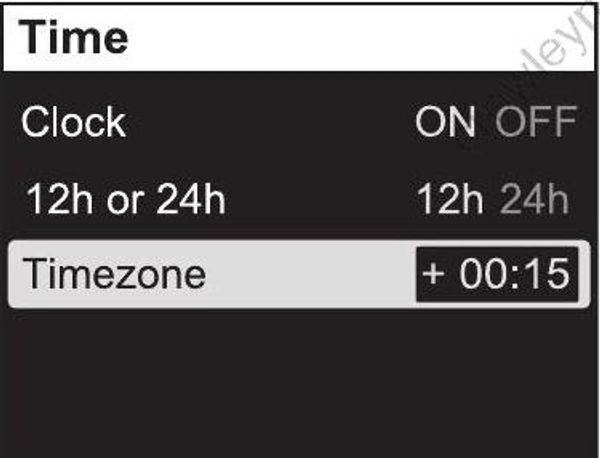
Time
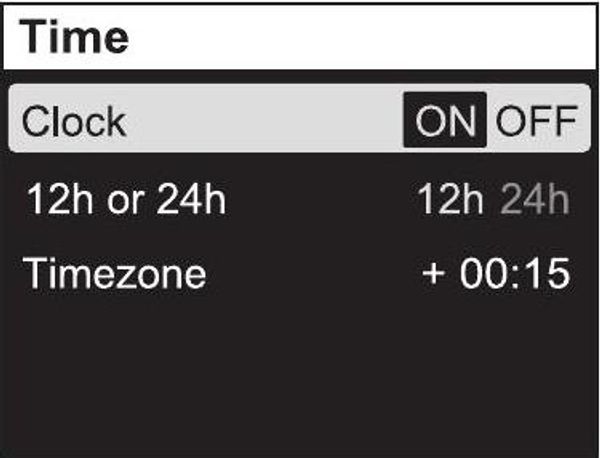
Setting for the time indication.
Clock: setting for display/non-display of the clock.
Press the [SET] button to select “ON” or “OFF.”
12h or 24h: select 12-hour or 24-hour display. Press the [SET] button to select “12h” or “24h.”
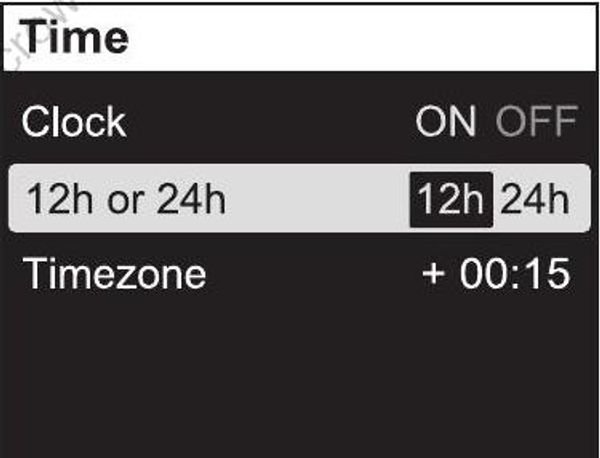
Timezone: set the time zone.
This gauge can be set the time by entering the time difference from the standard time (Greenwich time). After the time difference is entered, it is not required to enter it again. Time can be set in the range of +14:00 from –12:00.
Press the [SET] button to activate the input position, and adjust the time difference using the [⋁] or [⋀] button.
Press the [⋁] or [⋀] button briefly to change the time in 15-minute increment. Press and hold the button to change the time continuously by 15 minutes.
If the “Timezone” is not displayed, confirm the connection of the GPS receiver. If a GPS receiver is not installed, the screen displays “--:--”.
Position
Setting for the gauge and engine position. Consult your authorized Suzuki marine dealer for setting change of “Position”.
Sensor Setting
Settings for various sensors. Consult your authorized Suzuki marine dealer
for setting change of “Sensor Setting”.
Tank
Setting for fuel tanks. Consult your authorized Suzuki marine dealer
for setting change of “Tank”.
