

REMOVAL
Protect against hazardous fuel spray. Before starting any fuel system service, carefully relieve fuel system pressure. Refer to Relieving Fuel System Pressure. To prevent accidental starting while servicing, disconnect the battery cables at the battery.
IMPORTANT: Reinstall fasteners, nuts, and bolts in their holes as engine components are removed. This will simplify identification and assembly.
Remove lower engine cover screws, including one at inside, top rear.

- Cover screws
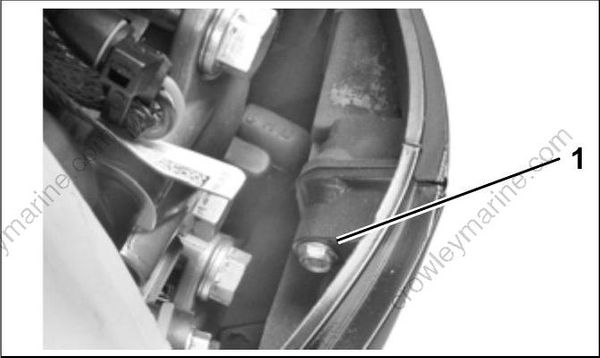
- Top, rear cover screw
Loosen port side cover slightly, and disconnect trim/tilt switch connector. Then, remove port and starboard covers.
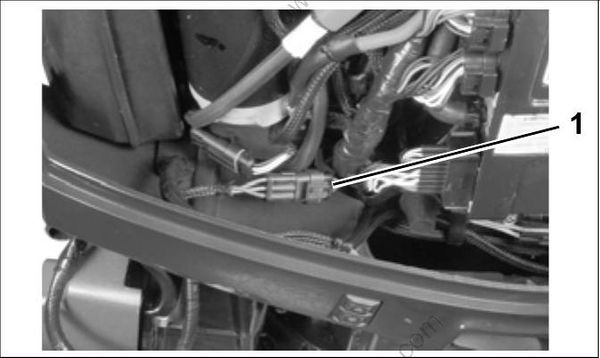
- Trim/tilt switch connector
Disconnect power trim connectors and exhaust water valve electrical connector (60 PL). Remove cables from clamps.
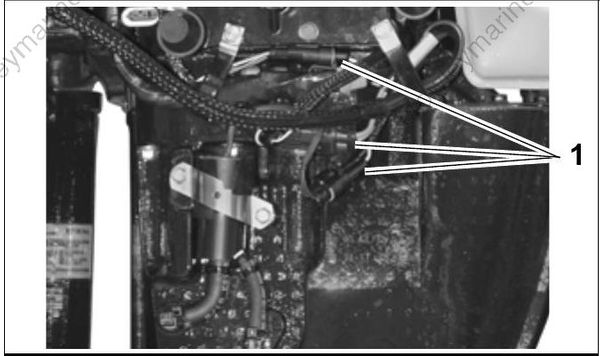
- Connectors
Remove screw and washer from shift rod lever to release the lower shift rod.
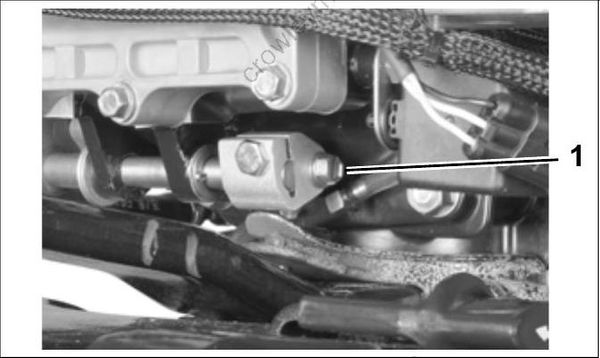
- Shift rod screw
ROPE START MODELS
Remove the three starter housing screws and washers. Lift starter housing from outboard.
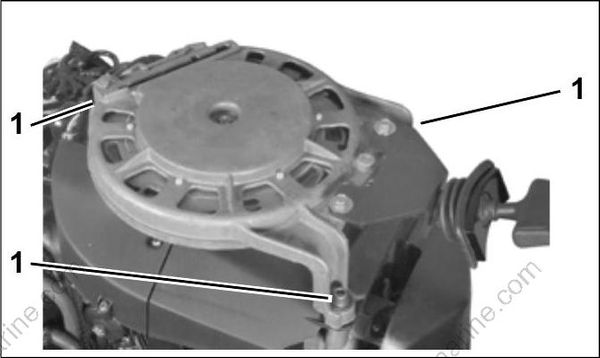
- Starter housing screws (3)
Loosen the screws holding the exhaust water valve to the exhaust housing.
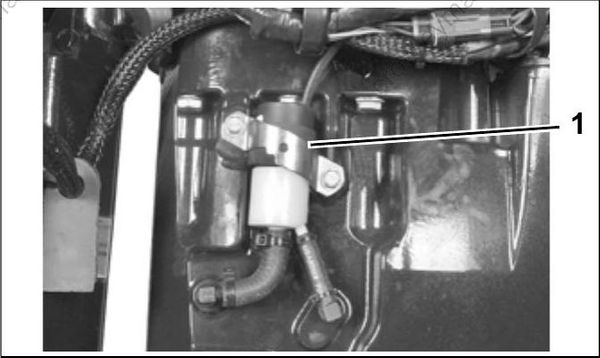
- Exhaust water valve
Move water valve aside and remove the eight exhaust housing to powerhead screws.
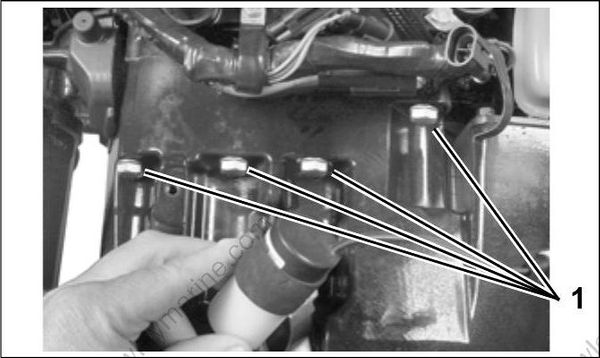
- Powerhead screws
Disconnect cooling water hoses from exhaust housing.
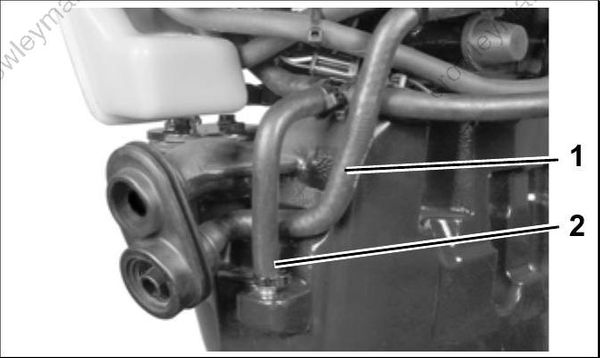
- Overboard indicator hose
- Drain hose
Install Lifting Fixture, P/N 396748, on flywheel and seat the three screws completely.
IMPORTANT: Be sure to use only the 1 1/8 in. (short) screws, P/N 398067, included with the tool to avoid damage to electronic components under
the flywheel.
- Lifting fixture
- 1 1/8 in. screws
Fasten appropriate chain hook to eye of tool. With weight of powerhead supported by hoist, use a suitable tool to carefully separate the powerhead
from exhaust housing.
IMPORTANT: Do not damage the powerhead or exhaust housing mating surfaces when separating with a pry tool.
