

CYLINDER / CRANKSHAFT / PISTON
Before performing service work in this section :
- Remove power unit (see page 6-3 to 6-6)
- Remove timing chain (see page 6-15 to 6-16)
- Remove cylinder head (see page 6-21)
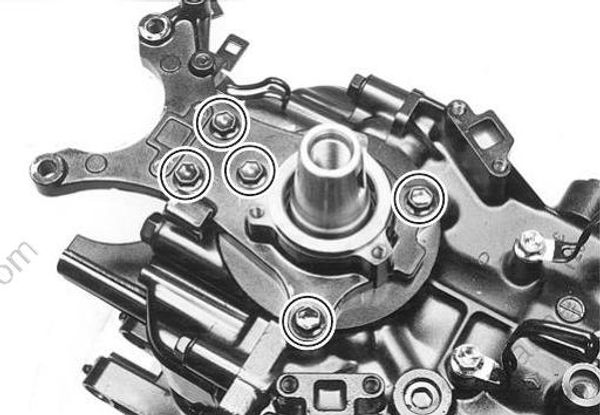
Remove the five (5) bolts securing the upper oil seal housing to cylinder, then remove the oil seal housing.
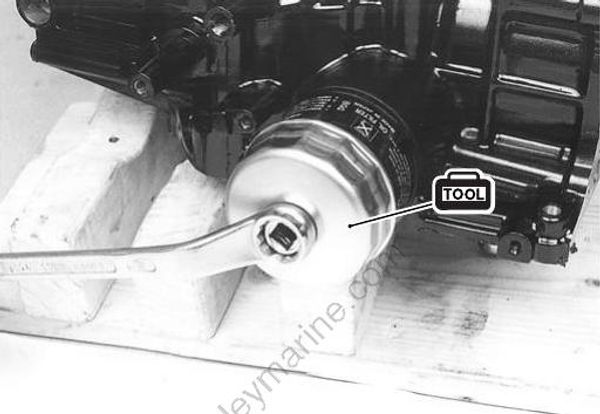
Remove oil filter.
TOOL 09915-47341 : Oil filter wrench
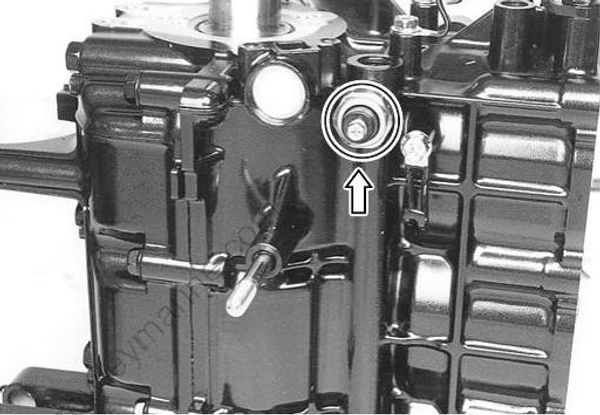
Remove oil pressure switch.
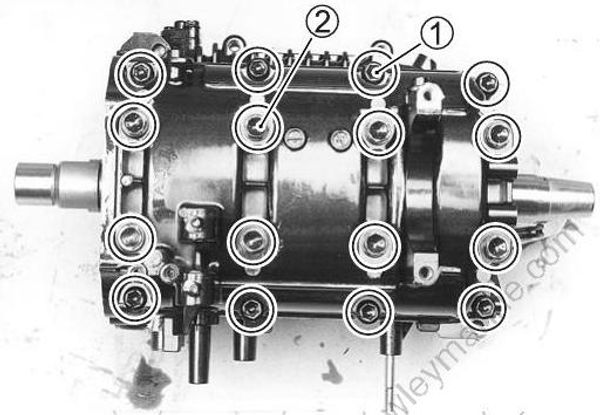
Remove eight (8) bolts (1).
Remove eight (8) bolts (2).
Remove crankcase from cylinder block.
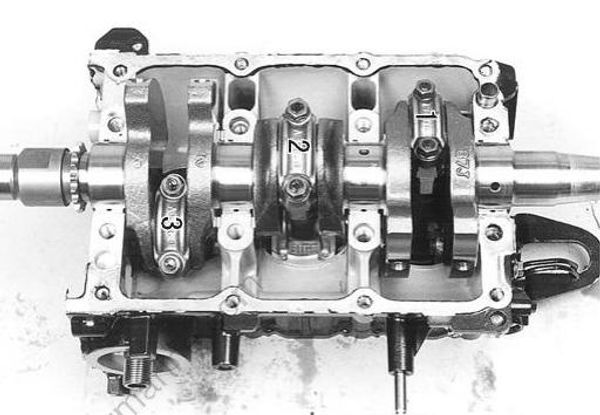
For proper assembly, mark cylinder number on all pistons, conrods, and conrod caps, using quick drying paint.
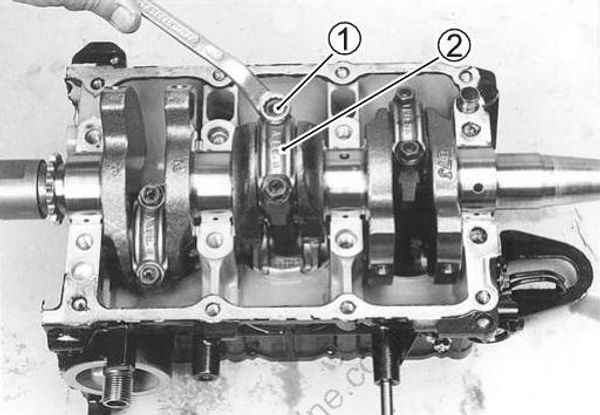
Remove all conrod cap nuts (1) and conrod caps (2).
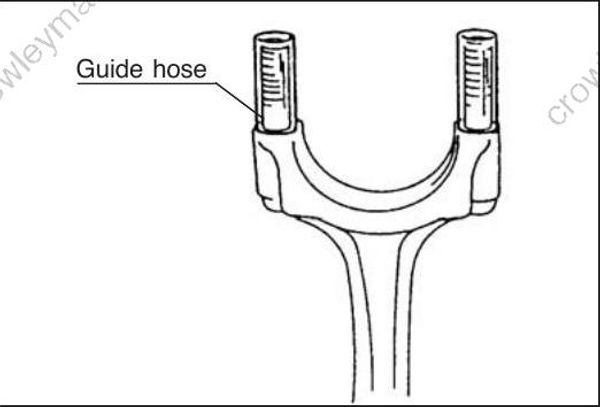
To prevent damage to crank pin and cylinder walls, install a piece of hose over threads of rod bolts.
Remove crankshaft.
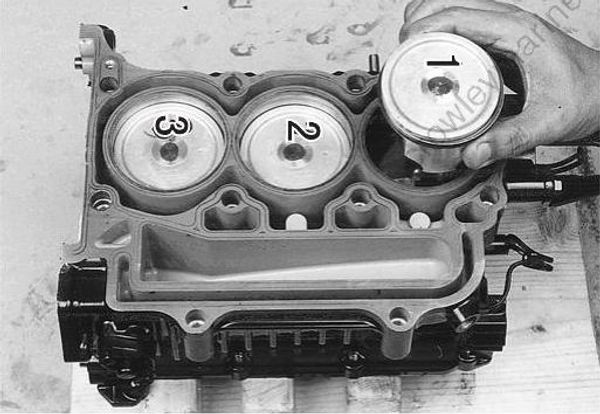
Mark cylinder number on pistons using quick dry paint.
Push piston (with conrod) out through the top of cylinder bore.
• To prevent damage to piston rings, decarbon top of cylinder bore wall before removing piston.
• Reassemble each conrod cap to its original position after removing piston from bore.
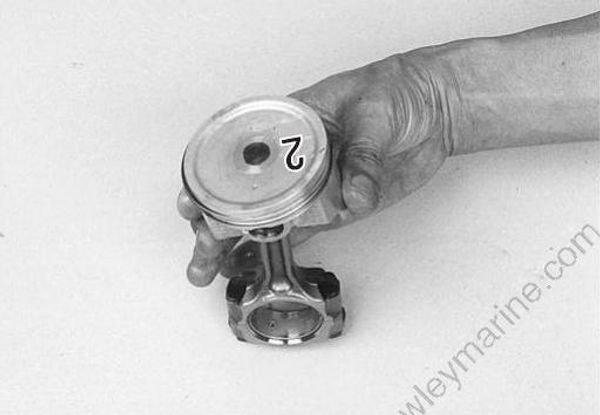
Remove two compression rings (top and 2 nd) and oil ring from piston.
Mark cylinder number on conrod using quick dry paint.
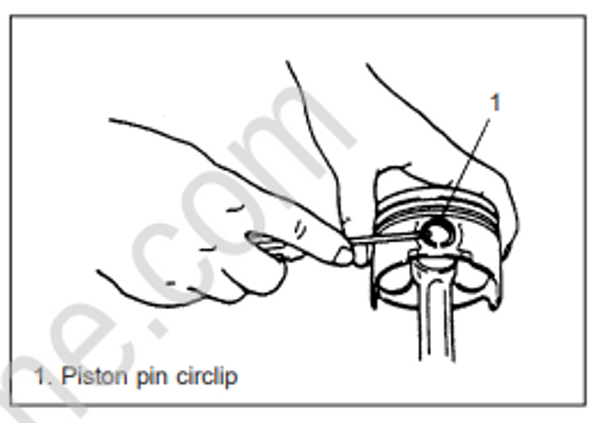
Remove piston pin circlips as shown.
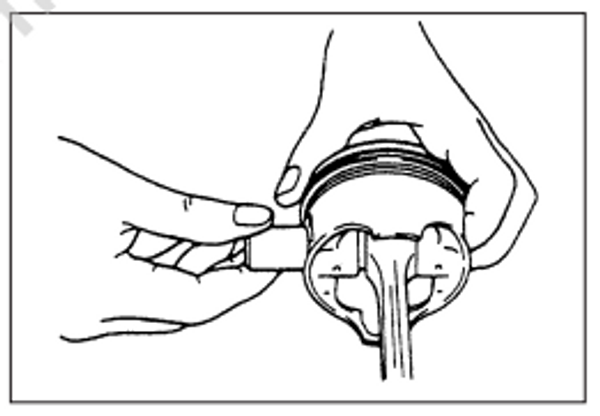
Remove piston pin from conrod.
Reassemble each piston, piston pin and conrod in their original combination and position.
