

SENSOR RESISTANCE TESTS
All sensor circuits are dependent on wiring and connections, EMM supplied current (5 V), and sensor resistance. The supplied current flows through the wiring circuit and sensor before returning to the appropriate circuit in the EMM.
IMPORTANT: Use the Evinrude Diagnostics Software program to monitor sensor circuit volt ages or values.
Crankshaft Position Sensor (CPS) Test
Disconnect the battery cables at the battery. Use an ohmmeter to measure sensor resistance between the yellow and white wires.
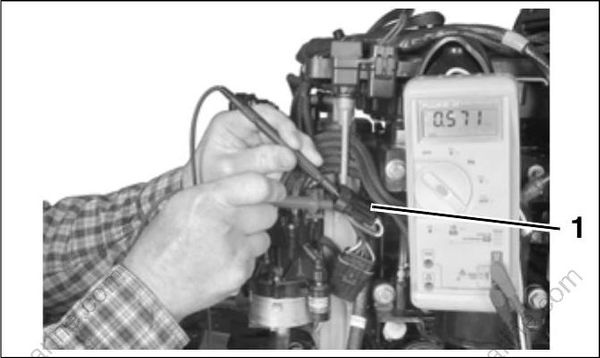
- CPS Connector
Sensor Resistance
560 Ω ± 10% @ 77°F (25°C)
The CPS is mounted to throttle body housing and requires no adjustment. Air gap or clearance to flywheel is fixed at approximately 0.073 in. (1.85 mm). The acceptable clearance is 0.036 to 0.110 in. (1 to 2.8 mm).
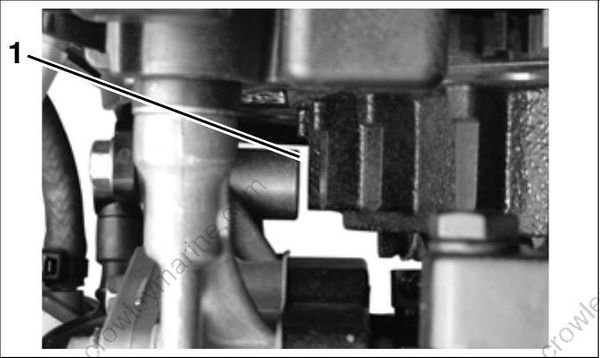
- CPS gap
Throttle Position Sensor (TPS) Test
TPS voltage can be monitored using the diagnostic program. Use the engine Monitor screen to observe voltage while outboard is running. Volt age should change evenly as sensor lever is moved.
Use an ohmmeter to measure sensor resistance. Disconnect the battery cables at the battery. Remove the electrical connector from the TPS.
- CPS gap
Connect red meter lead to terminal “A” and black meter lead to terminal “B.”
Sensor Resistance (between “A” and “B”)
3000 Ω @ 77°F (25°C)
Sensor Resistance (between “A” and “C”)
4000 Ω @ 77°F (25°C)
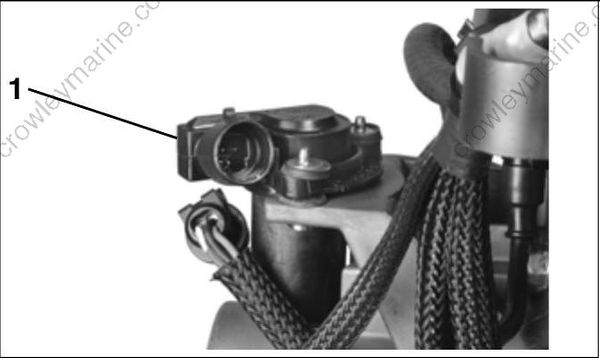
- TPS
STEP 2
Connect red meter lead to terminal “A” and black meter lead to terminal “C.” Rotate the sensor lever through its range of travel. Resistance reading must change evenly as the sensor lever is moved.
STEP 3
Connect red meter lead on terminal “B” and black meter lead to terminal “C.” Rotate the sensor lever. Resistance reading must change evenly as the sensor lever is moved.
Engine Temperature Sensor Test
Use an ohmmeter to measure resistance.
Engine Temperature Sensor Resistance
9000 to 11000 Ω @ 77°F (25°C)
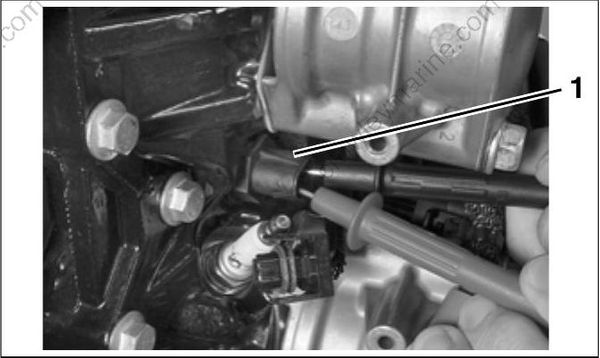
- Engine temperature sensor (2)
Air Temperature Sensor (AT) Test
Use an ohmmeter to measure resistance.
AT Sensor Resistance
9000 to 11000 Ω @ 77°F (25°C)
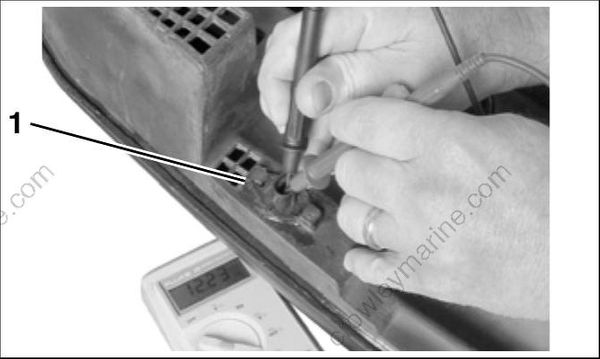
- AT sensor
