

Gearcase
ft. lbs. (47 to 54 N·m). For adjustment, refer to Trim Tab Adjustment on p. 70.
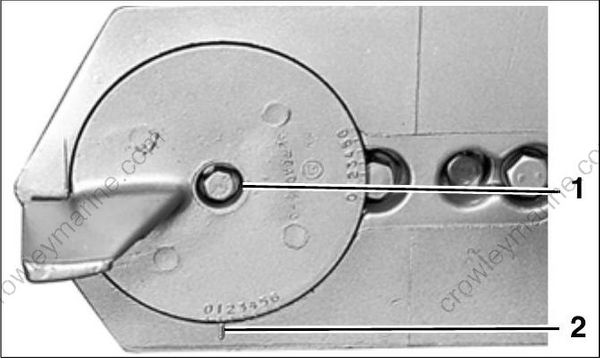
COA3663
- Trim tab screw
- Index mark
IMPORTANT: Standard rotation and counter rotation trim tabs must not be interchanged. This would result in inadequate cooling water supply to the propeller hub.
Place the shift rod in the shift rod lever. Install the retaining pin and washer. Tighten pin to a torque of 60 to 84 in. lbs. (7 to 9.5 N·m).
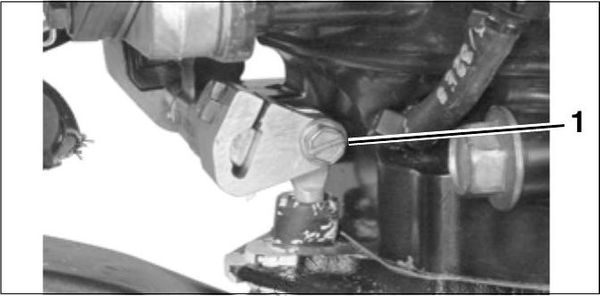
004241
- Shift rod screw
To prevent loss of operator control, check for proper shifting operation and adjust, if necessary.
IMPORTANT: During break-in period of a reassembled gearcase, change the gearcase lubricant between 10 to 20 hours of operation.
Water Pump Service
Disassembly
Rotate the driveshaft counterclockwise to unlock the impeller key. Remove the four impeller housing screws.
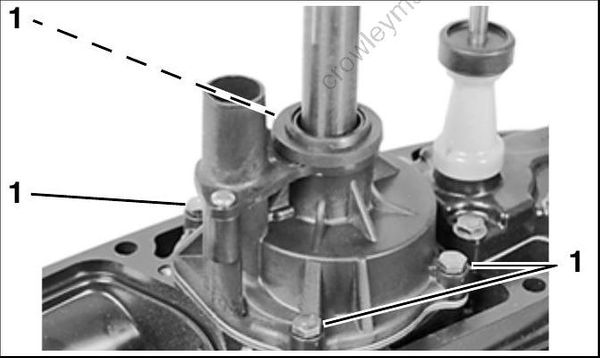
31998
- Screws
Slide the water pump off the driveshaft. Remove the impeller key, O-ring, impeller plate, and gasket. Discard the gasket.
Make sure gasket surface is clean and smooth.
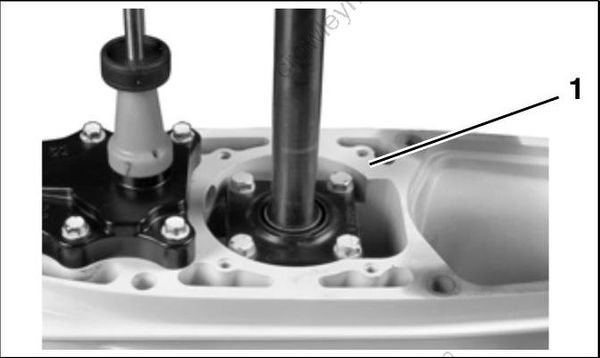
006876
Remove all the parts from the housing.
Inspection
Check impeller for overheating, hub separation, and other wear or damage.
Check liner and wear plate for scoring, distortion, and impeller material transfer.
Inspect the housing for cracks or melting.
Assembly
Apply a drop of Adhesive 847 in the seal ring groove at each of the four ribs.
IMPORTANT: Do not allow any adhesive to get into the air bleed groove in the impeller housing. If this groove is blocked by adhesive, the pump will lose its prime and will not pump water.
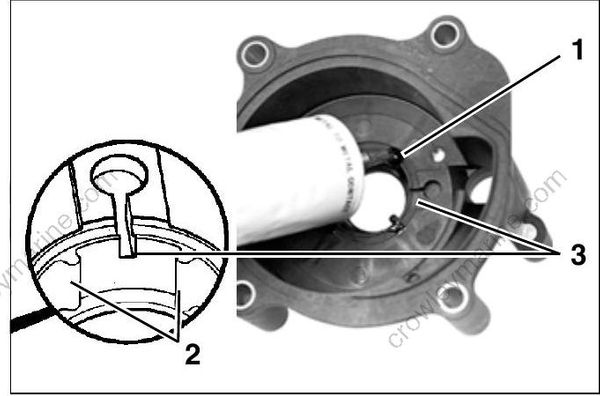
2311/DR1185
- Seal ring groove
- Ribs
- Air bleed groove
Install the O-ring in impeller housing groove.
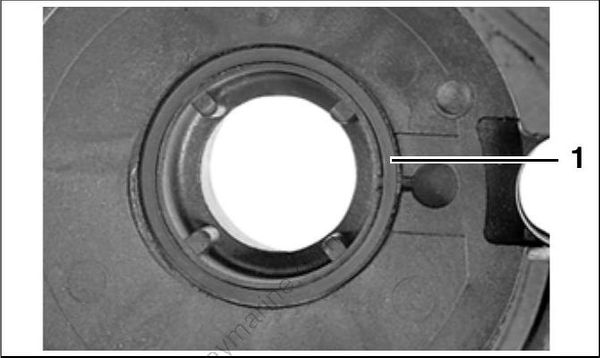
34814
- O-ring
Lightly coat the exterior of the impeller cup with Gasket Sealing Compound. Install the cup in the impeller housing.
Make sure vent hole in impeller cup is open.
On outboard models with 1/2 in. diameter water tube, install the water tube grommet with the inside taper facing up.
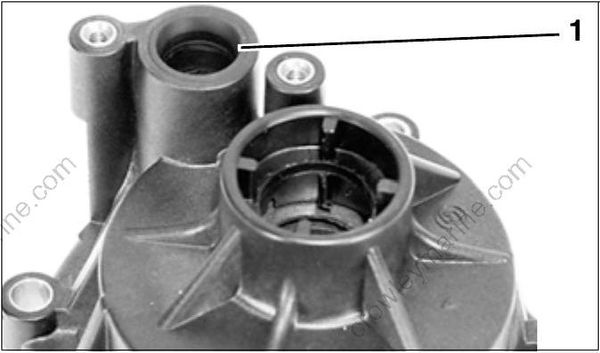
32000
- Water tube grommet
On outboard models with 5/8 in. diameter water tube, apply a light coat of Triple-Guard grease to the inside of the impeller housing water tube cavity and to the water tube o-rings.
IMPORTANT: Impeller Housing, P/N 5007968, can be identified by a chamfer on the inside edge of the water tube cavity.
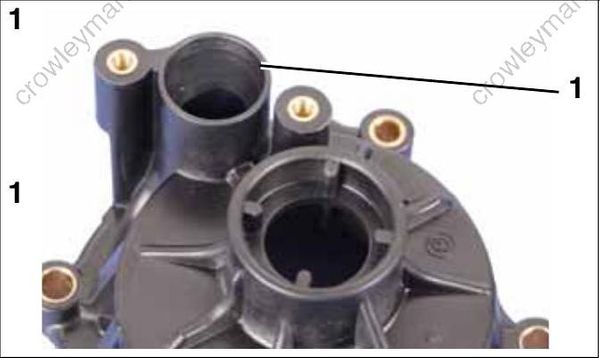
32000
- Chamfer
On outboard models with 5/8 in. diameter water tube, remove water tube from exhaust housing and replace o-rings. Apply a light coat of Triple Guard grease to the o-rings and reinstall water tube in exhaust housing.
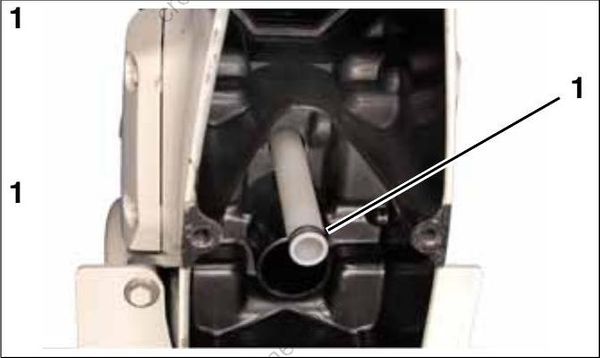
007152
- O-rings
Apply Triple-Guard grease to screw threads and install the impeller housing cover. Tighten screws to a torque of 24 to 36 in. lbs. (3 to 4 N·m).
Apply Adhesive 847 to flat side of the impeller housing grommet. Install the grommet, flat side down.
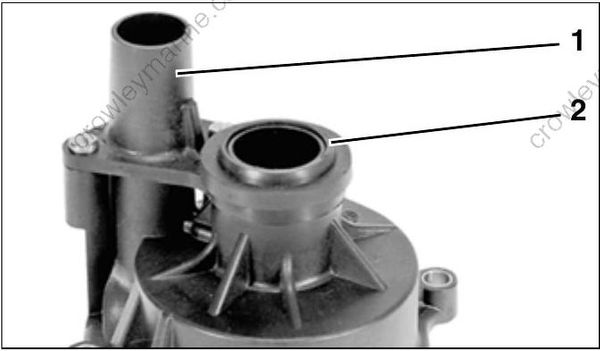
32001
- Impeller housing cover
- Impeller housing grommet
Lightly coat the liner with Triple-Guard grease. With a counterclockwise rotation, install the impeller into the liner with slot for impeller key facing out.
Apply a thin bead of Adhesive 847 in the seal groove, and install the special shaped O-ring seal.
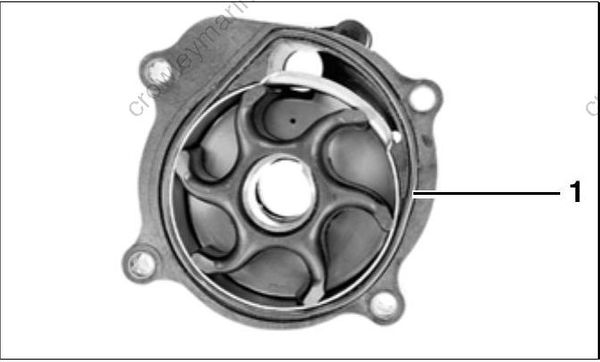
34815
- O-ring
Apply Gasket Sealing Compound to both sides of a new impeller plate gasket. Install the gasket and impeller plate.
Apply Triple-Guard grease to a new impeller Oring. Slide the O-ring down the driveshaft and half way over installed impeller key to temporarily hold key in place.
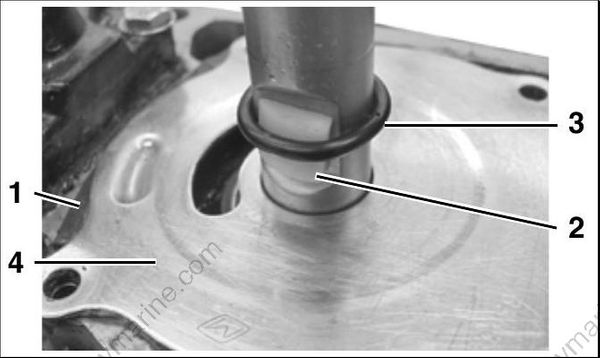
006871
- Impeller plate gasket
- Impeller plate
- O-ring
- Drive cam
The sharp edge of the key is the leading edge in clockwise rotation.
Slide the water pump down the driveshaft. Align impeller slot with the impeller key. Rotate the driveshaft to engage the key with the impeller, and slide water pump down over key. Be sure impeller key does not fall out of position.
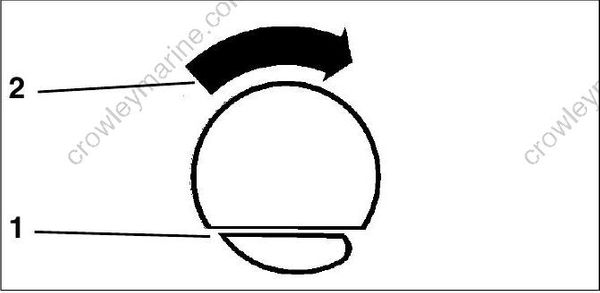
CO2995
- Sharp edge of drive cam
- Direction of driveshaft rotation
IMPORTANT: Make sure the impeller engages the impeller key. Serious powerhead damage will result if impeller key is not in place.
Align the impeller housing with the gearcase.Apply Gasket Sealing Compound to threads of the four impeller housing screws. Tighten the screws to a torque of 60 to 84 in. lbs. (7 to 9.5 N·m).
On 20 in. outboard models, place Grommet, P/N 349354, on housing cover.
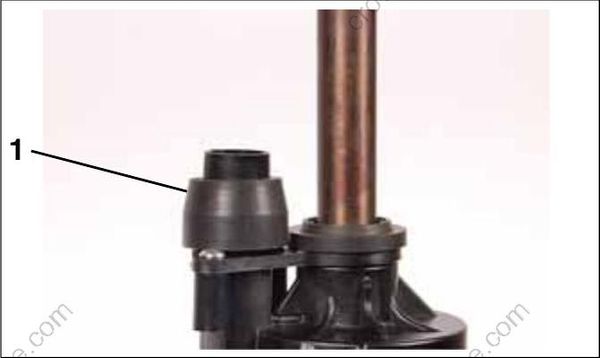
007150
- Grommet
On 25 in. and 30 in. outboard models, place the appropriate water tube spacer and grommet on the impeller housing cover.
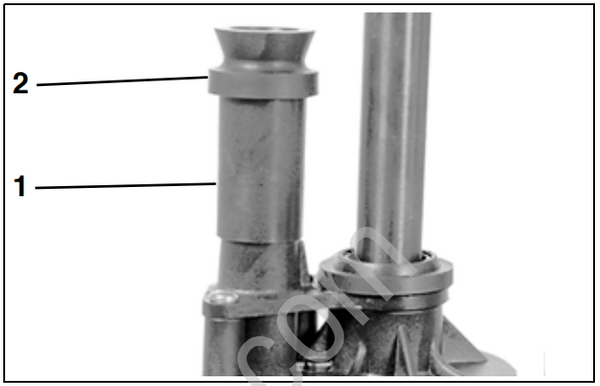
32728
- Spacer
- Grommet
After water pump is assembled completely, rotate driveshaft counter clockwise 1/4 turn to unlock and release impeller and key from driveshaft.
Next, pull up on driveshaft and turn clockwise to lock impeller to shaft. This process increases pump efficiency by locking the impeller in a slightly lower position on the driveshaft.
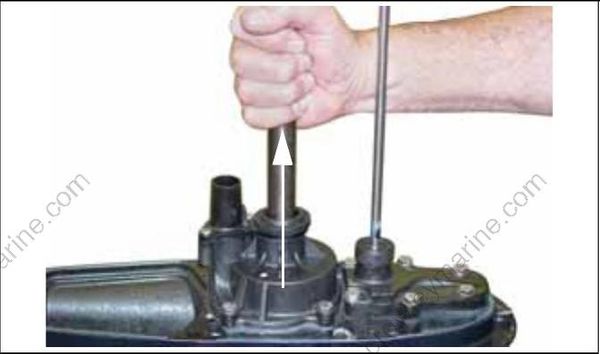
007078
IMPORTANT: Before installing gearcase, shift rod adjustment MUST be checked. Refer to SHIFT ROD ADJUSTMENT on p. 294.
