

Step 1: ELECTRICAL AND IGNITION
Thoroughly clean the crankshaft and flywheel tapers with Cleaning Solvent™ and let dry.
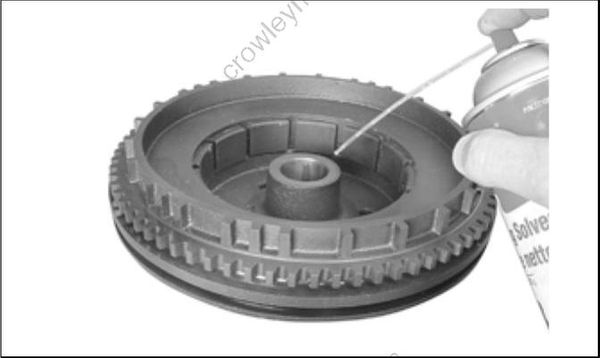
Align the flywheel keyway and install flywheel.
Coat the threads of the flywheel nut with Triple-Guard grease.
Install the washer and nut and tighten to a torque of 100 to 110 ft. lbs. (135 to 150 N·m).
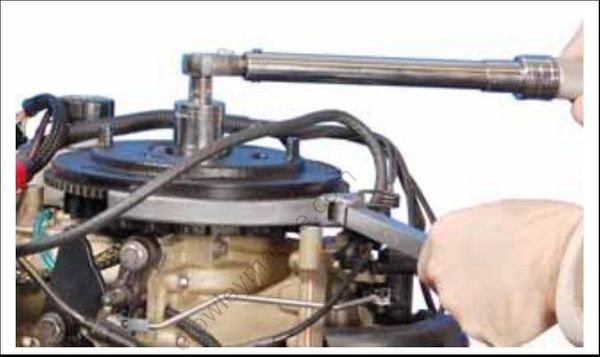
Replace recoil starter.
IMPORTANT: Check ignition timing after flywheel removal or replacement. Refer to TIMING ADJUSTMENTS on p. 144.
Step 2: IGNITION COIL SERVICING
Ignition Coil Removal
Remove spark plug lead from ignition coil and dis connect ignition coil electrical connector.
Remove two ignition coil retaining screws.
Do not lose the rubber washers between coil and bracket.
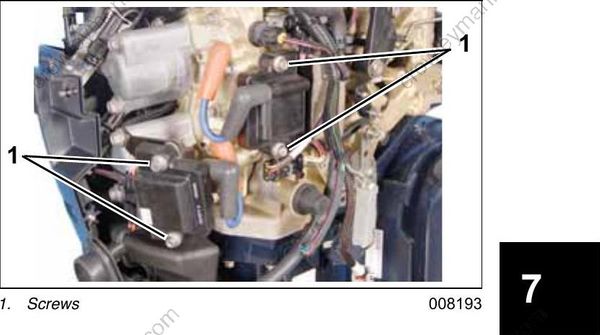
- Screws
Ignition Coil Installation
Install one rubber washer on each screw and install screw through ignition coil.
Install remaining rubber washers on screws between coil and bracket.
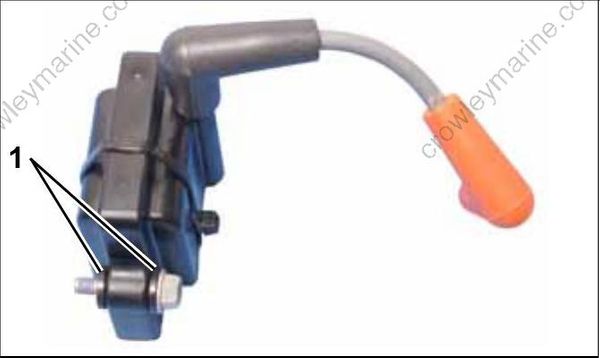
- Rubber washers
Install coil on bracket. Tighten screws to a torque of 31 to 49 in. lb. (3.5 to 5.5 N·m).
Install spark plug lead on ignition coil and connect ignition coil electrical connector.
