

EMM Transfer
EMM Transfer is used to save engine history data when the EMM must be replaced.
Select EMM Data Transfer from the Utilities menu. Select the Collect EMM data to FILE option and follow the instructions provided with the program.
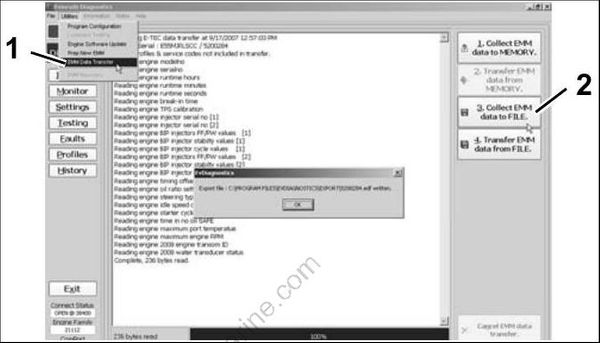
- Select EMM Data Transfer
- Select Collect EMM data to FILE
IMPORTANT: Whenever the EMM is replaced, EMM timing must be synchronized to crankshaft position. Refer to TIMING ADJUSTMENTS on p. 114.
EMM SERVICING
IMPORTANT: If a new EMM is being installed, refer to EMM Transfer on p. 68.
Removal
Disconnect exhaust pressure hose and cooling hoses from EMM.
Disconnect J1-A and J1-B connectors.
Remove two EMM retaining screws. Lift EMM up and to the port side.
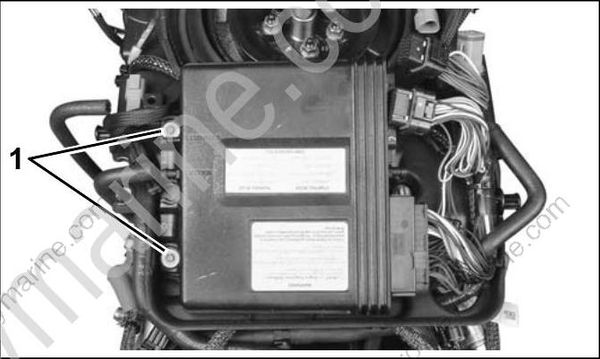
- EMM mounting screws
Disconnect J2 connector.
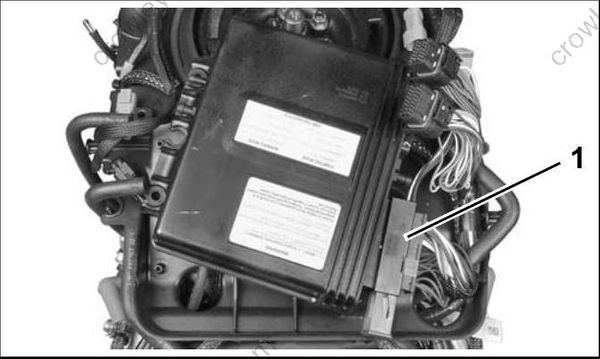
- J2 Connector
Installation
Install J2 connector
Align slots in starboard side of EMM case with isolator mounts on electrical harness base. Slide EMM into position.
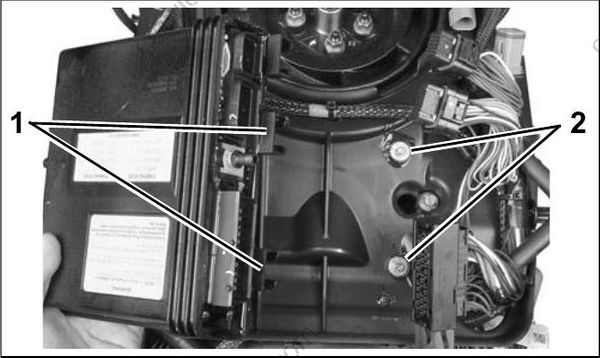
- EMM mounting slots
- Isolator mounts
Install two EMM retaining screws. Tighten screws 12 to 16 in. lbs. (1.5 to 2 N•m).
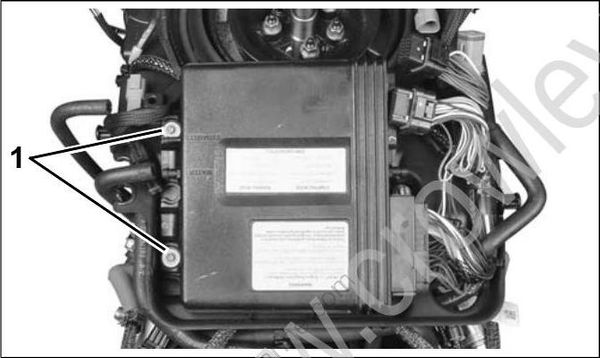
- EMM mounting screws
Install J1-A and J1-B connectors.
Install exhaust pressure hose and cooling hoses. Secure with tie straps.
