

ELECTRICAL AND IGNITION

Exhaust Valve Relay Module Diagram
Purple/Black wire
Red/Purple wire
Blue/Black wire
Black wire
Orange/Red wire
Red wire
Operation
When the outboard is running, the fuel pump circuit (purple/black wire) provides 12V to activate relay 3. Relay 3 provides fused 12V (red/purple wire) to relay 1 and relay 2.
The EMM controls the exhaust valve by grounding the blue/black wire.
When the blue/black wire is NOT grounded, fused 12V is supplied to the exhaust valve actuator through the orange/red wire and the actuator is grounded through the black wire on relay 1.
When the blue/black wire IS grounded, relay 1 and relay 2 are activated. Relay 2 supplies fused 12V to the exhaust valve actuator through the red wire and the actuator is grounded through the orange/red wire.
Use the Evinrude Diagnostic Software program for “static” test of actuator motor.
EMM SERVICING
Removal
Disconnect exhaust pressure hose and cooling hoses from EMM.
Disconnect J1-A and J1-B connectors.
Remove two EMM retaining screws. Lift EMM up and to the port side.
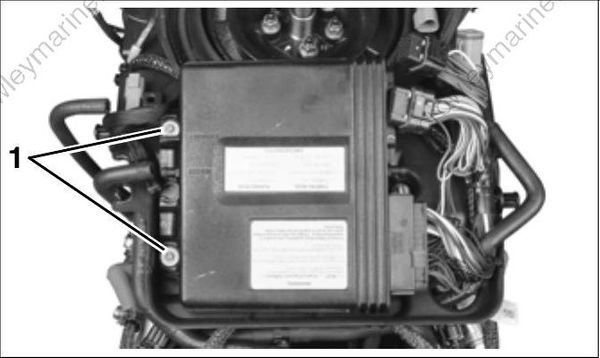
- EMM mounting screws
Disconnect J2 connector.
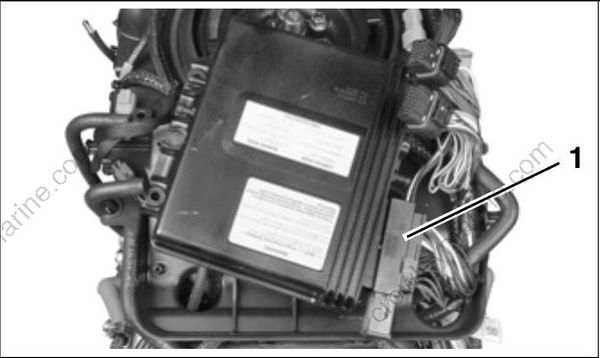
- J2 Connector
Installation
IMPORTANT: If a new EMM is being installed, refer to EMM Transfer on p. 111. Install J2 connector
Align slots in starboard side of EMM case with isolator mounts on electrical harness base. Slide EMM into position.
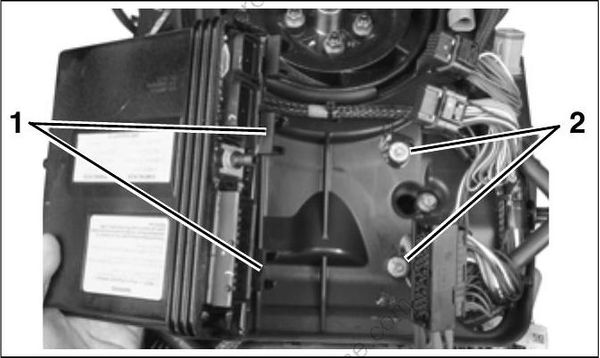
EMM mounting slots
Isolator mounts
Install two EMM retaining screws. Tighten screws 12 to 16 in. lbs. (1.5 to 2 N·m).
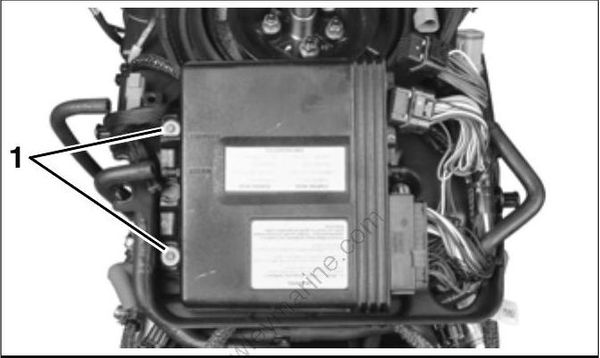
- EMM mounting screws
Install J1-A and J1-B connectors.
Install exhaust pressure hose and cooling hoses. Secure with tie straps.
FLYWHEEL AND STATOR SERVICING
IMPORTANT: Weak flywheel magnets can cause low ignition voltage and affect outboard performance. Weak flywheel magnets can also cause low readings on ignition test equipment such as the peak-reading voltmeter, which might cause unnecessary replacement of ignition components.
An accurate test of alternator output can help determine the flywheel’s condition. Refer to CHARGING SYSTEM TESTS on p. 142.
Flywheel Removal
To prevent accidental starting while servicing, disconnect battery cables at the battery.
Remove the EMM. Refer to EMM SERVICING on p. 153.
Disconnect the vapor separator vent hose, crank shaft position sensor, throttle position sensor, air temperature sensor, and oil pump electrical connectors.
Disconnect the stator connector, two port side trim system connectors, port engine temperature sensor, and the port ground terminal.
Remove the four screws holding the electrical harness base.
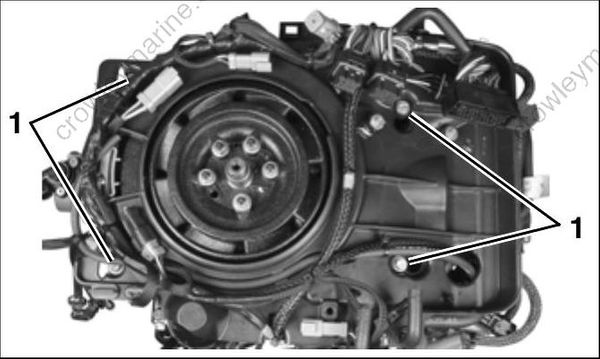
- Harness base screws
