FLYWHEEL SERVICING
IMPORTANT: Weak flywheel magnets can cause low alternator output and affect outboard performance. Weak flywheel magnets can also cause low readings on ignition test equipment such as the peak-reading voltmeter, which might cause unnecessary replacement of ignition components.
An accurate test of alternator output can help determine the flywheel’s condition. Refer to "CHARGING SYSTEM TESTS" on p. 130.
Removal
To prevent accidental starting while servicing, disconnect the battery cables at battery.
Remove the electrical cover from flywheel cover.
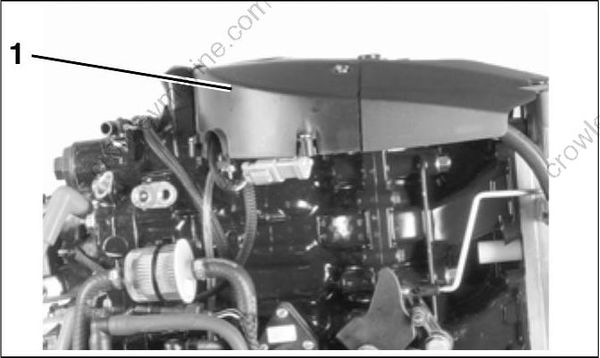
- Electrical cover

- Electrical cover removed
Disconnect wiring for MWS harness and remove wiring from cover.

- MWS harness
Remove fuse holder from flywheel cover.
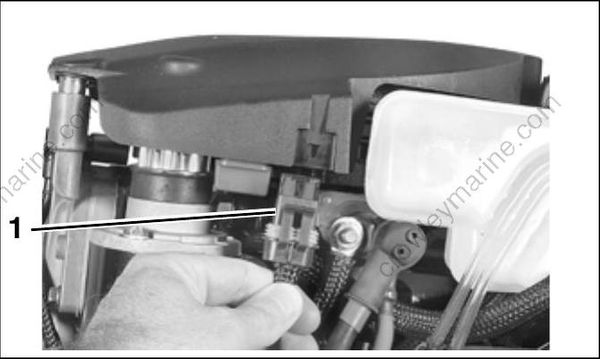
- Fuse holder
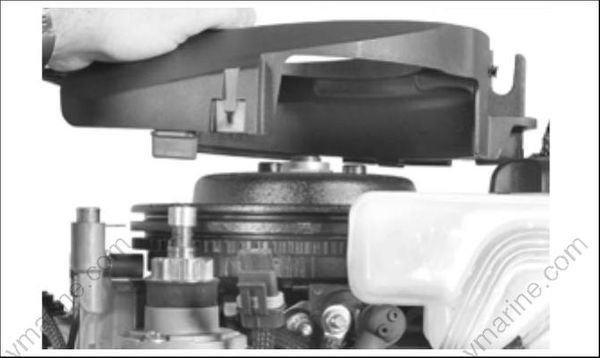
Lift flywheel cover to remove.
Remove flywheel nut using Flywheel Holder, P/N 771311, or equivalent, and a 1 5/16 in. socket. Discard flywheel nut.
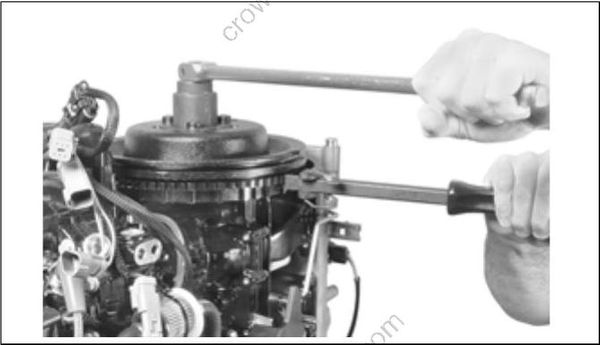
Apply Moly Lube grease to the threads of the puller pressing screw, P/N 307637, and the center hole of the crankshaft.
Assemble the following components from Universal Puller Set, P/N 378103:
- Body, P/N 307636
- Screw, P/N 307637
- Handle, P/N 307638
- Three screws P/N 309492
- Three washers, P/N 307640
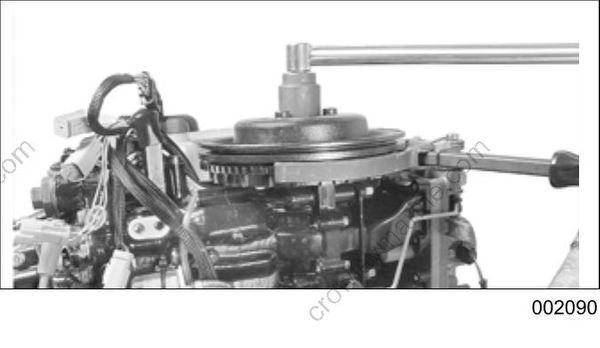
Put the puller on flywheel with body flat side up. Attach the puller body with the three shoulder screws and washers. Hold puller body with handle, and tighten pressing screw until flywheel releases. Turn the center screw and lift the flywheel off of the crankshaft.
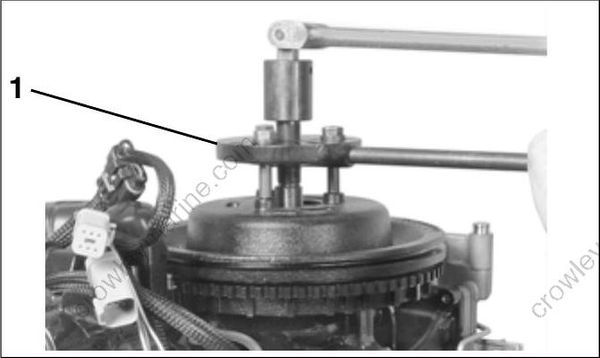
- Universal puller
Installation
Install the outer edge of flywheel key parallel with centerline of crankshaft.
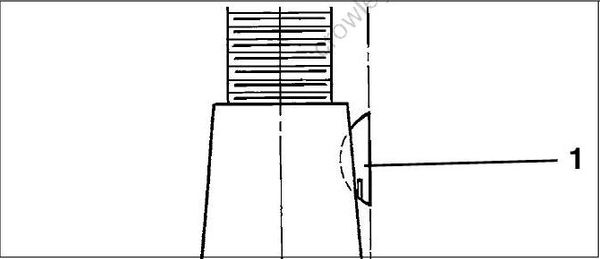
- Flywheel key
Thoroughly clean the crankshaft and flywheel tapers with Cleaning Solvent™ and let dry.

Align the flywheel keyway and install flywheel. Coat the threads of a new flywheel nut with Triple Guard grease. Install the washer and nut and torque to 100 to 115 ft. lbs. (136 to 156 N·m).