

Removal
Removal
Note where the index mark on the gearcase aligns with the index mark of the adjustable trim tab so the trim tab can be installed in the same position.
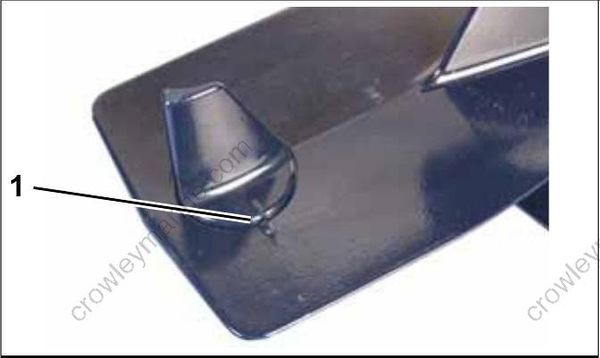
- Index marks 007651
Remove the trim tab retaining screw and trim tab from the gearcase.
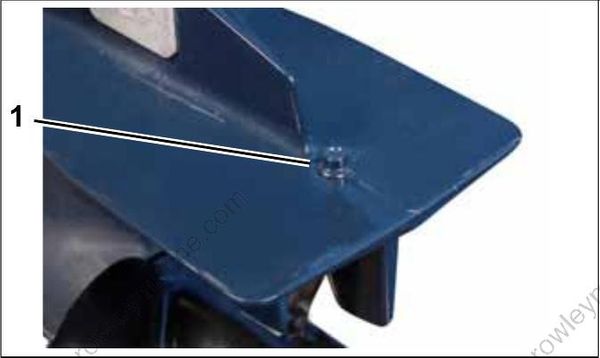
- Trim tab retaining screw 007652
Installation
Apply Gasket Sealing Compound to threads of the trim tab screw. Install and align the trim tab with the index marks noted prior to disassembly. Tighten the trim tab screw to a torque of 60 to 84 ft. lbs. (7 to 9.5 N·m). For adjustment, refer to Trim Tab Adjustment on p. 66.
GEARCASE REMOVAL AND INSTALLATION
Gearcase Removal
To prevent accidental starting while servicing, twist and remove all spark plug leads. During service, the outboard may drop unexpectedly. Avoid personal injury; always support the outboard’s weight with a suitable hoist or the tilt support bracket during service.
Remove water intake screens.
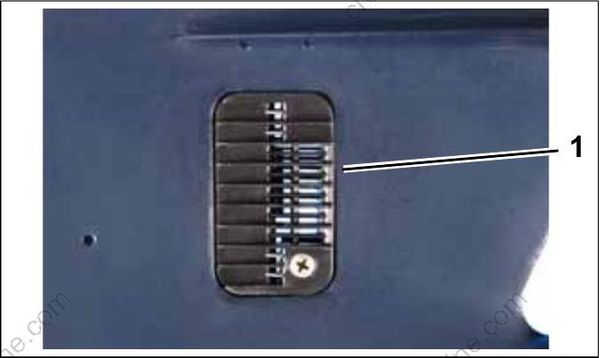
- Water intake screen 007649
Remove the upper shift rod connector screw.
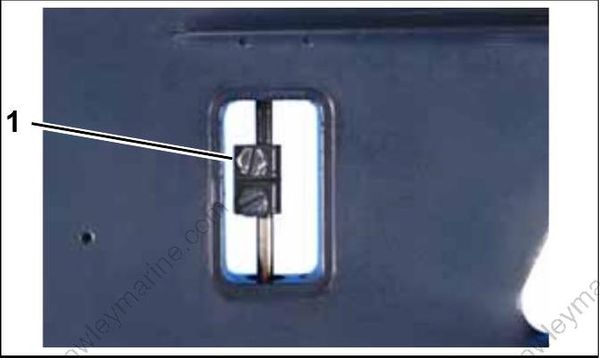
- Shift rod connector screw 007650
Remove the six gearcase retaining screws.
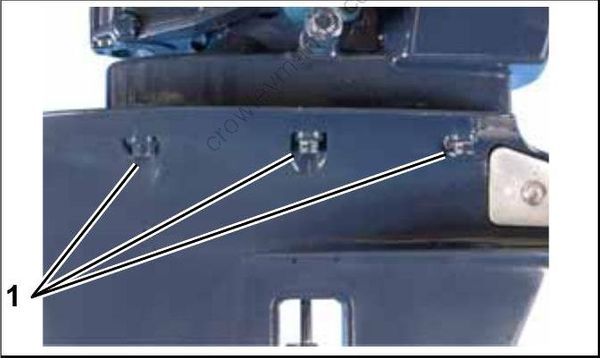
- Gearcase retaining screws 007653
Remove the gearcase assembly from the exhaust housing, being careful not to bend the shift rod.
Gearcase Installation
During service, the outboard may drop unexpectedly. Avoid personal injury; always support the outboard’s weight with a suitable hoist or the tilt support bracket during service.
Coat the driveshaft splines with Moly Lube. DO NOT coat top surface of the driveshaft as lubricant may prevent seating of the driveshaft in the crank shaft.
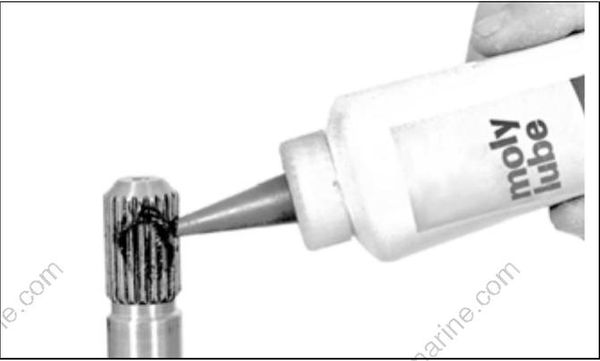
30385
Slide the gearcase into place, making sure that:
• Driveshaft engages the crankshaft
• Water tube enters grommet on water pump
• Upper shift rod enters the shift rod connector.
Apply Gasket Sealing Compound to threads of the gearcase retaining screws. Install and tighten the screws to a torque of 128 to 146 in. lbs. (14.5 to 16.5 N·m).
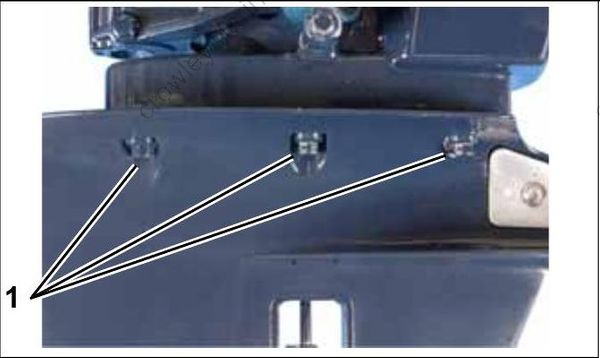
- Gearcase retaining screws 007653
Align the groove in the upper shift rod with the screw hole in the connector. Apply Gasket Sealing Compound to threads of the shift rod connector screw. Tighten screw, with washer, to a torque of 60 to 84 in. lbs. (7 to 9.5 N·m).
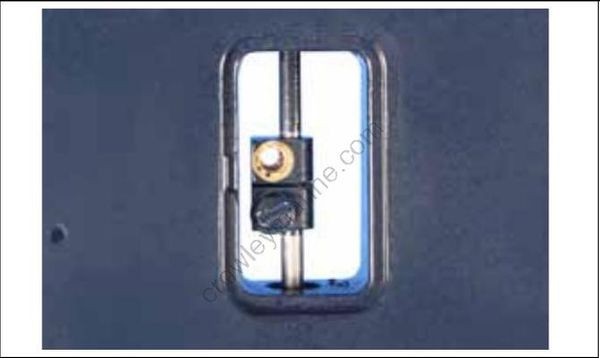
007654
Install the port and starboard water intake screens with water intake holes positioned at the rear of gearcase. Tighten screws to a torque of 10 to 14 in. lbs. (1.1 to 1.6 N·m).
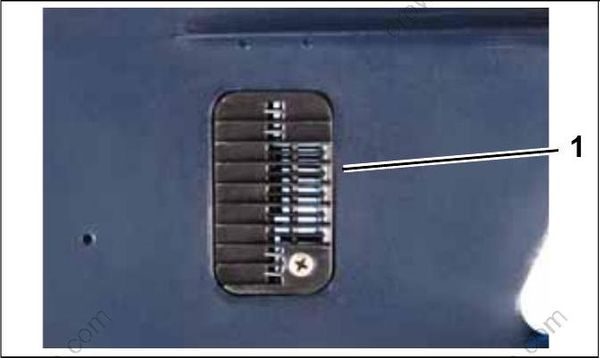
- Water intake screen 007649
007649
To prevent loss of operator control, check for proper shifting operation and adjust, if necessary
IMPORTANT: During break-in period of a reassembled gearcase, change the gearcase lubricant between 10 to 20 hours of operation.
Disassembly
Remove the impeller housing screws.
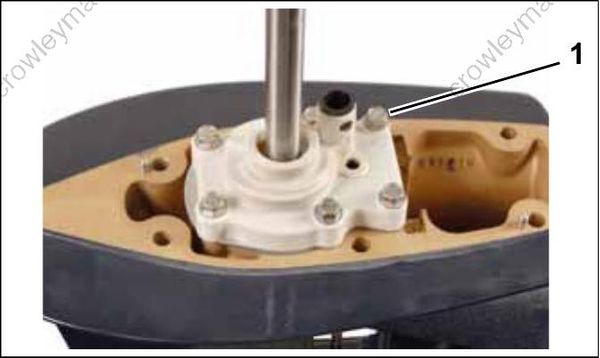
- Screws 007655
Pull up on the driveshaft and remove the drive shaft with the water pump assembly from the gearcase. Remove the water pump assembly from the driveshaft.
Remove the impeller plate and gasket. Discard the gasket.
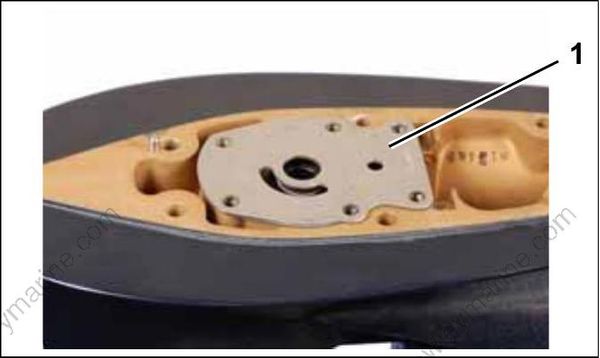
- Impeller plate 007656
Remove the water pump grommet, all O-rings, and the shift rod bushing from the impeller housing.
