EXPLODED DIAGRAM
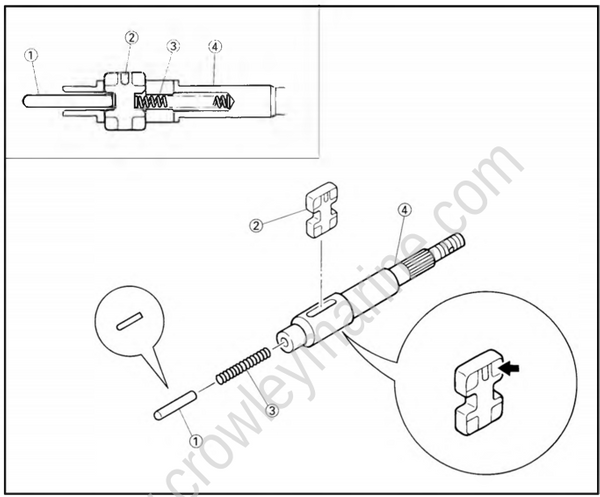
REMOVAL AND INSTALLATION CHART
| Step | Procedure/Part name | Q'ty | Service points |
|---|---|---|---|
| PROPELLER SHAFT ASS'Y DISASSEMBLY | Follow the left "Step" for disassembly. | ||
| (1) | Shift plunger | 1 | |
| (2) | Dog clutch | 1 | |
| (3) | Shift spring | 1 | |
| (4) | Propeller shaft | 1 | |
| Reverse the disassembly steps for assembly |
SERVICE POINTS
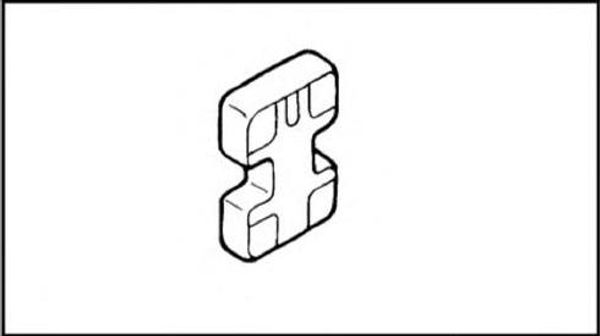
Dog clutch inspection
- Inspect:
- Dog clutch
Wear/damage → Replace.
- Dog clutch
Propeller shaft inspection
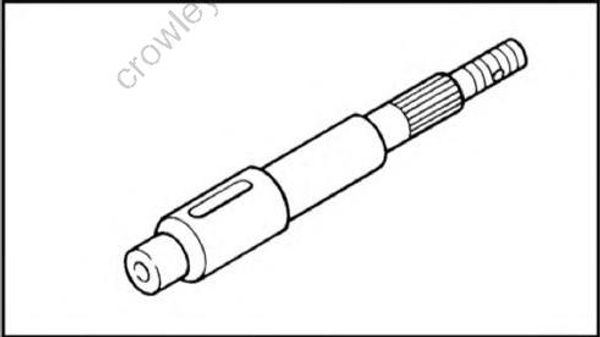
- Inspect:
- Propeller shaft
Wear/damage → Replace.
Dog clutch and shift spring installation
- Install:
- Shift spring (1)
NOTE:
- Insert the shift spring into the open end of the propeller shaft.
- Cover the hole with the finger as shown so that the shift spring pops out and the dog clutch can be inserted by pushing the spring down with a flat head screwdriver.
- Install:
- Propeller shaft (2)
- Dog clutch (3)
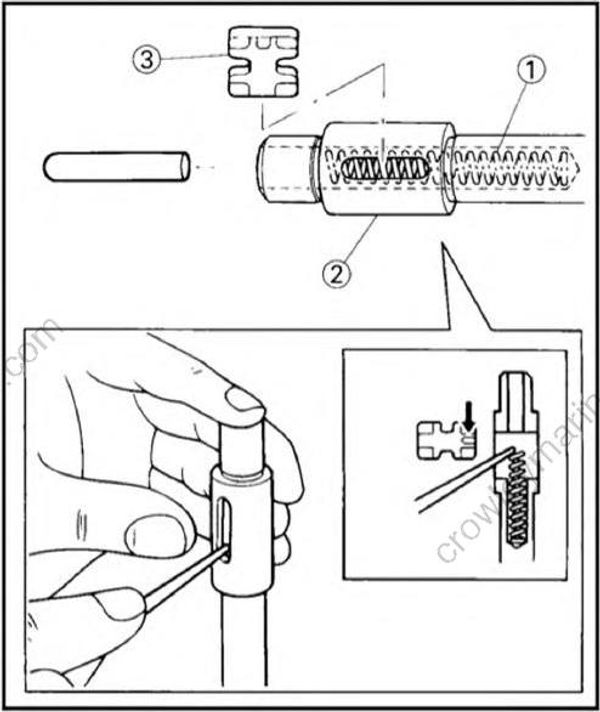
NOTE:
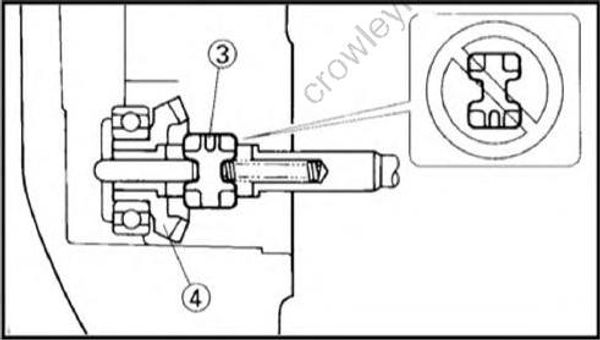
The dog clutch (3) should be fitted with the "U" mark dent upward and the forward gear (4) set on dog clutch's left side.