

Step 1: BCM MAIN MENU
(1) Start the SDS program.
(2) The SDS program window appears.
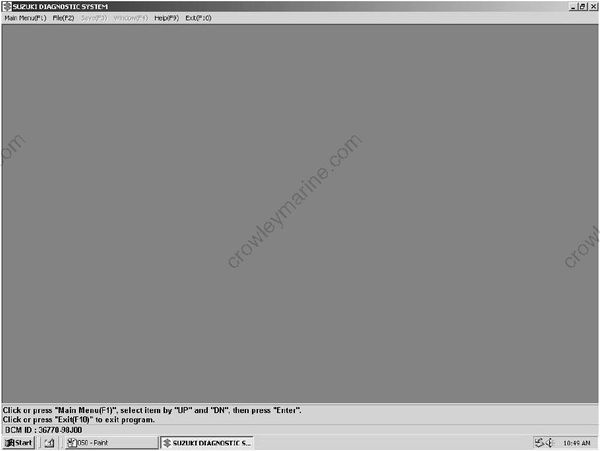
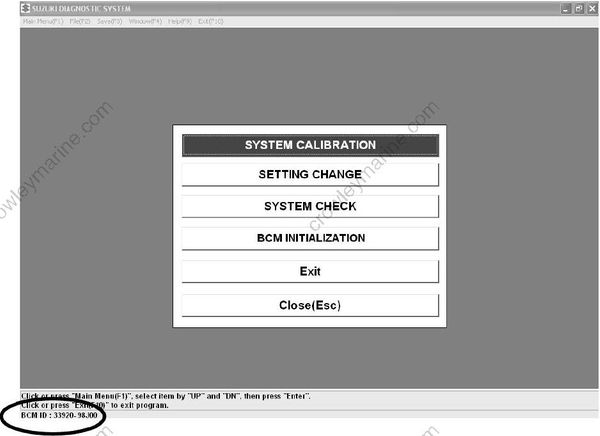
(3) Click the “Main Menu (F1)” button (“F1” key on the keyboard). The following Menu dialog box appears. The BCM part number is displayed in the lower left of this dialog box.
Step 2: SYSTEM CALIBRATION
Calibrate the SPC system and registers information of outboard motor and remote control box in the BCM.
Perform this item when an outboard motor, remote control box, and meters, are first installed on the boat. Also perform this item when the BCM is replaced or the ECM or remote control box of the outboard motor is replaced.
Step 3: SETTING CHANGE
Sets, changes, or resets the remote control lever and tilt down.
Perform this item when the remote control box is disassembled or when the tilt position is changed.
Step 4: SYSTEM CHECK
Enables you to check the system configuration registered in the master BCM.
Step 5: BCM INITIALIZATION
Deletes the (master or sub) BCM information registered in the BCM after system calibration and system configuration information (*Number of engine, Number of station).
Exit
Exits the SDS program.
Close (Esc)
Closes the menu box.
• The ECM or BCM calibrated in one boat cannot be reused in another boat.
To reuse the ECM or BCM, be sure to calibrate the system after deleting the BCM information by using the BCM INITIALIZATION menu.
• The BCM INITIALIZATION menu cannot be used to delete the diagnostic information registered in the BCM.
• Use the BCM INITIALIZATION menu to delete information for the connected BCM.
(To delete information for the master BCM, connect the diagnostic harness to the master BCM. To delete information for the sub BCM, connect the diagnostic harness to the sub BCM.)
