

Step 1: BCM INITIALIZATION
Initialize the information registered in the BCM.
(1) Clicking the “BCM INITIALIZATION” button from the Main Menu dialog box displays the menu window.

(2) Delete the (master or sub) BCM information registered in the BCM after system calibration and system configuration information (*Number of engine, Number of station).
Click the “OK” button and proceed to the next step.
(Keyboard) Move to the “OK” button using the “Tab” key and press the “Enter” key.
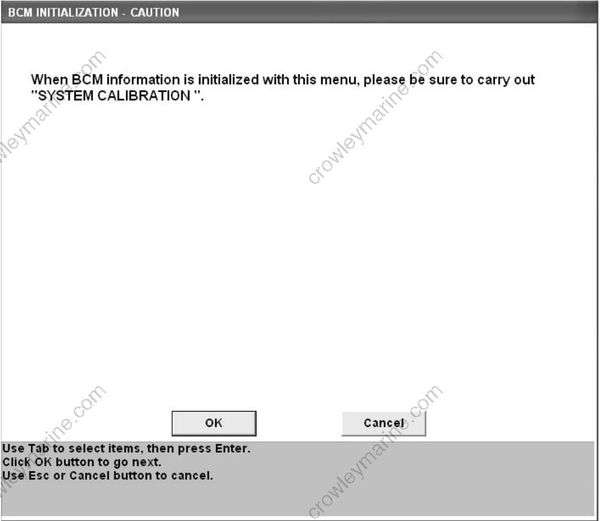
(3) The following BCM INITIALIZATION-CAUTION window appears.
Read the messages and follow the instruction. Then click the “OK” button and proceed to the next step. To cancel BCM information deletion, click the “Cancel” button or press the “Esc” key on the keyboard. (Keyboard) To delete BCM information, move to the “OK” button by using the “Tab” key and press the “Enter” key to have the deletion accepted. To cancel BCM information deletion, move to the “Cancel” button by using the “Tab” key and press the “Enter” key to have the cancellation accepted.
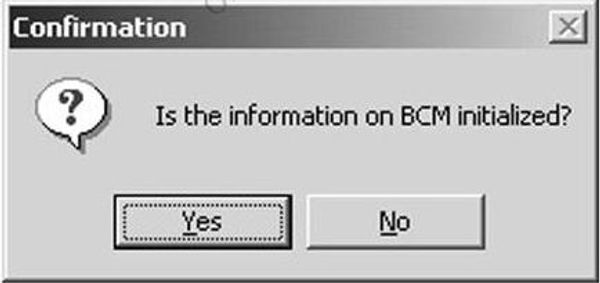
(4) The following window appears:
Clicking the “Yes” button deletes BCM information.
Clicking the “No” button cancels BCM information deletion.
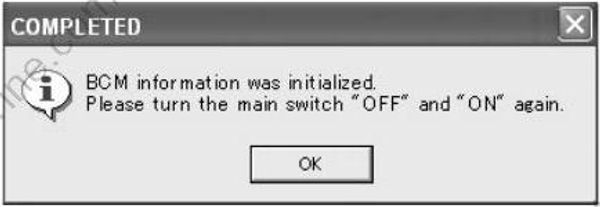

• By clicking the “OK” button, the initialization of BCM information is completed. Click the “OK” button, turn “OFF” the engine switch (main switch) and turn it “ON” again.
• If the initialization of BCM information fails, an error message is indicated.
• Click the “OK” button and start from the step 1 again.
