

Step 1: Trim and Tilt
Position outboard in FULL TILT (UP) position. Engage the tilt support bracket.
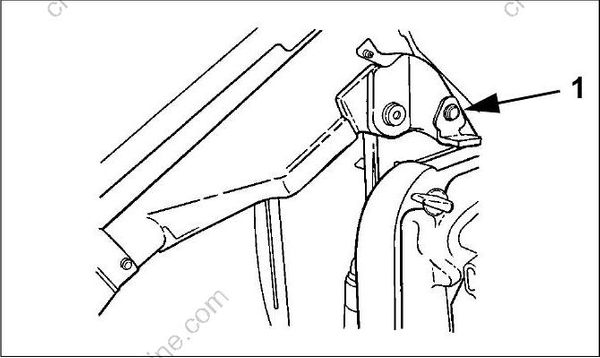
- Tilt support bracket
Inspect for fluid leaks. Repair all leaks.
Remove the fill cap and check fluid level. The fluid level must be even with bottom of the reservoir fill cap hole.
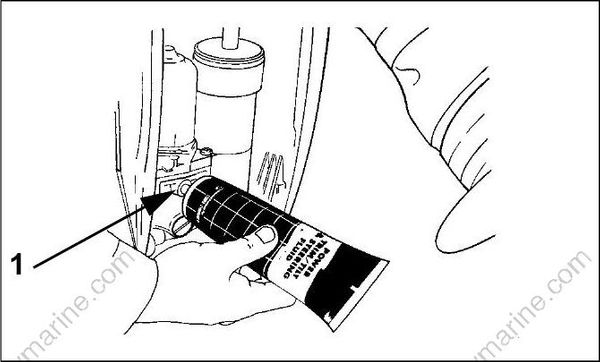
- Fill cap
Add Power Trim/Tilt and Power Steering Fluid as needed.
Install the reservoir fill cap.
Correct fluid level must be maintained to ensure operation of the impact protection built into the unit.
Step 2: BATTERY AND BATTERY CONNECTIONS
Check battery connections frequently. Periodically remove battery to clean and service connections.
Battery electrolyte is acidic—handle with care. If electrolyte contacts any part of the body, immediately flush with water and seek medical attention.
- Confirm that battery meets the minimum engine requirements.
- Connections must be clean and tight.
- Note all wiring connections prior to disassembly.
Disconnect battery negative (–) cable first and the battery positive (+) cable last.
Clean all terminals, battery posts, and connectors with a solution of baking soda and water. Use a wire brush or battery terminal tool to remove corrosion buildup. Rinse and clean all surfaces.
Reinstall battery and tighten connections securely. Refer to Battery Installation on p. 34.
IMPORTANT: DO NOT secure battery cables with wing nuts.
Coat all connections with Triple-Guard grease and insulate to prevent shorts or spark arcing.
Keep battery connections clean, tight, and insulated to prevent their shorting or arcing and causing an explosion. If the battery mounting system does not cover the connections, install covers.
