

Step 1: OUTBOARD RIGGING
To prevent accidental starting while servicing, disconnect the battery cables at the battery. Twist and remove all spark plug leads.
Step 2: Cable, Hose, and Wire Routing
Remove cable retainer from anchor block. Apply a liberal amount of Triple-Guard grease to both anchor block pockets.
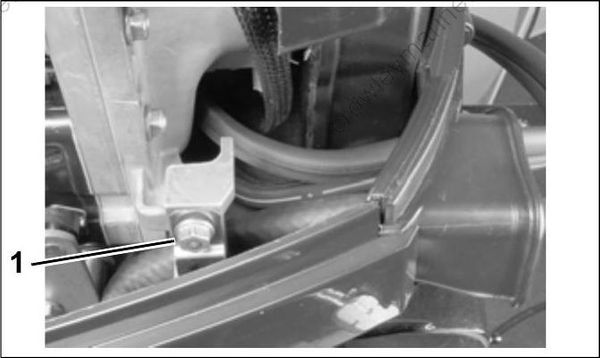
- Cable retainer
Move the remote control handle to NEUTRAL and confirm that throttle is in the IDLE position.
Apply soapy water to the inside surfaces of grommet and install cables and fuel line as shown:
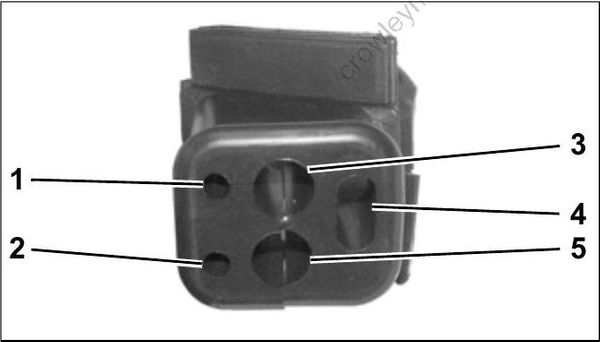
- Throttle cable
- Shift cable
- Main wiring harness
- Battery cable
- Fuel line
Place the grommet into position in the lower engine cover.
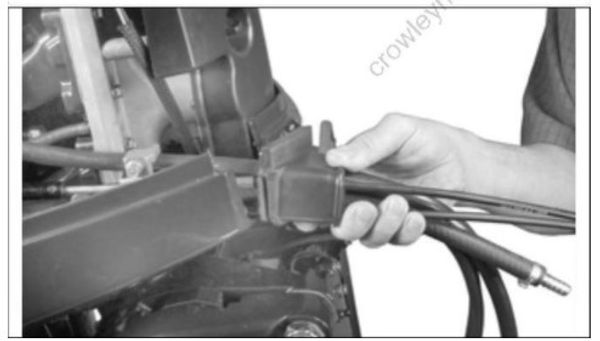
When grommet is in place and all cables have been installed, tighten a tie strap around the outside of the grommet to form a watertight seal around the cables.
Step 3: Control Cable Adjustments
IMPORTANT: DO NOT complete final attachment of cables to throttle and shift levers until all cables, wires, and hoses have been routed and grommet has been placed into the lower engine cover.
Pull firmly on shift cable casing to remove backlash. With outboard in NEUTRAL, place the cable trunnion into the lower anchor pocket and adjust the trunnion nut so that the casing fits onto the shift lever pin.
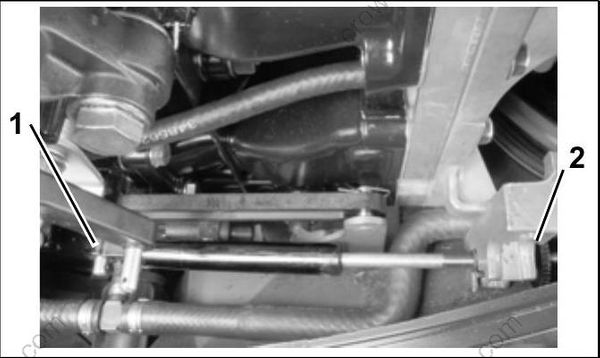
- Shift lever pin
- Trunnion nut
If there are not enough threads on the shift cable to allow the adjustment, or if the gearcase does not shift fully into FORWARD or REVERSE, refer to SHIFT ROD ADJUSTMENT on p. 272, and Shift Linkage Adjustment on p. 229.
Pull firmly on throttle cable casing to remove backlash. With engine throttle cam against stop, place the cable trunnion into the upper anchor pocket and adjust the trunnion nut so that the casing fits onto the throttle lever pin.
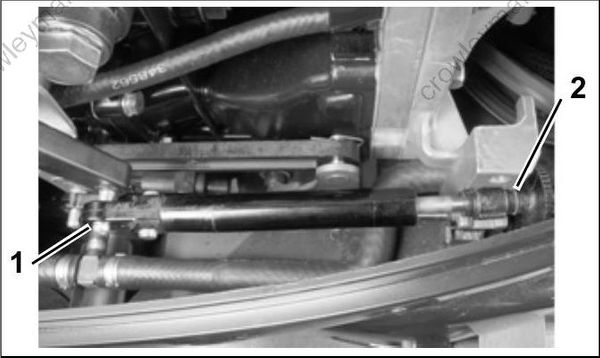
- Throttle lever pin
- Trunnion nut
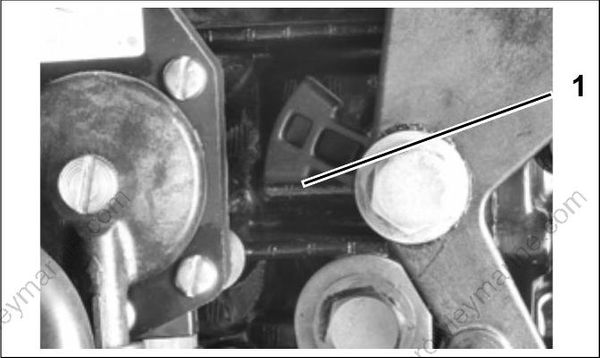
- Throttle stop
Move control handle to FORWARD and pull back slowly to NEUTRAL. Make sure the engine throttle lever is against the stop. If not, remove backlash by adjusting cable trunnion nut.
Secure control cables to the throttle and shift lever pins. For proper installation, review the following steps:
- Place washer on pin.
- Position retainer clip with straight section on the bottom and angled section on the top.
- Use long nose pliers to insert straight section of clip into linkage pin hole.

- Straight section
- Angled section
- Push the clip towards the hole while lifting on the curved end with the pliers.
- Be sure retainer clip fully engages the pin.
- Lock the retainer by moving the angled section behind the straight section.
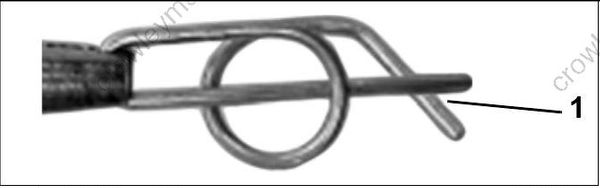
Locked Retainer Clip
- Angled section behind straight section
Make sure remote control provides accurate throttle and shift operation. Then, install cable retainer and torque screw 60 to 84 in. lbs. (7 to 9 N·m).
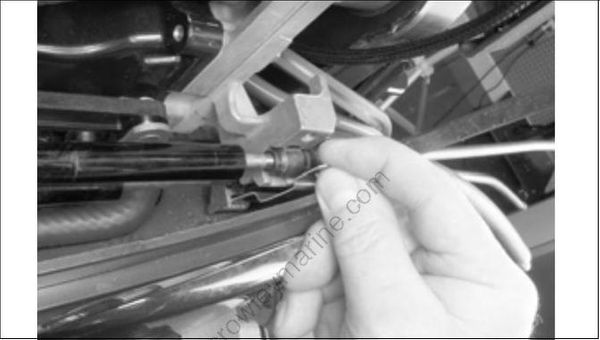
IMPORTANT: After installation, make sure there is enough clearance for all cables to avoid binding or chafing through all engine steering and tilting angles.
Step 4: Electrical Harness Connections
Provide sufficient slack at outboard end to permit steering and tilting of outboard without binding cables.
Place the wiring harness through notch in lower motor cover and route to the recess in the flywheel cover. Secure the cable with a tie strap as shown:
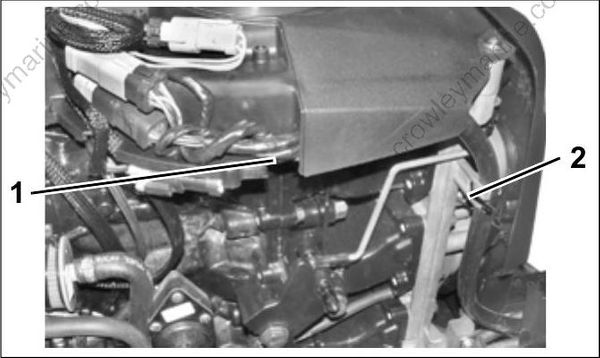
- Recess
- Tie strap
Before installing connectors, check that the seal is in place. Clean off any dirt from connectors. Apply a light coat of Electrical Grease to the seal. Push connectors together until latched.
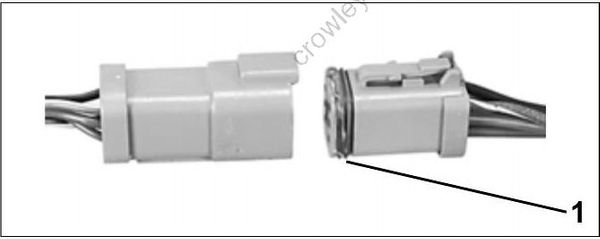
- Seal
Arrange connectors in flywheel cover.
Install electrical cover and secure with screws.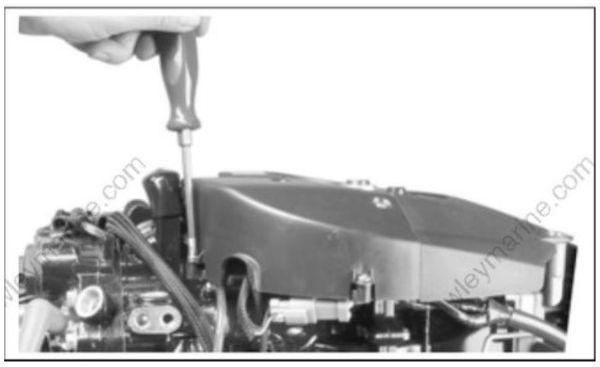
IMPORTANT: Check to make sure wires are not pinched and cannot contact flywheel.
Step 5: Water Pressure Gauge
Fitting and hose for accessory water pressure gauge is connected at top of cylinder block adjacent to the pressure relief valve housing.
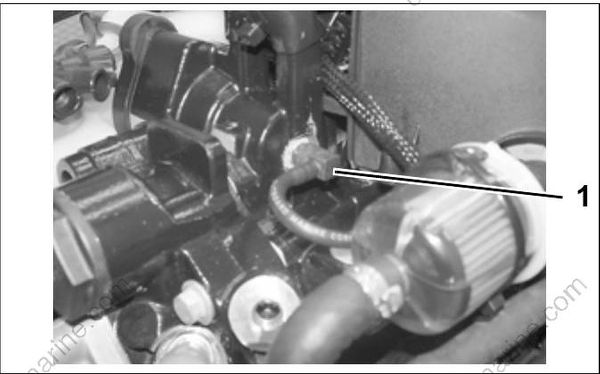
- Fitting
