3A-16 Right Hand Rotation Unit:
Lower Unit Assembly Pinion Gear
Assembly is in the reverse order of disassembly with special attention to the following steps.
Failure to correctly adjust the gear position will result in lower unit damage.
Before final assembly of lower unit, be absolutely certain that all gear contact, shim adjustments and tolerances are correct.
(Refer to “Lower Unit Gears - Shimming and Adjustment” (Page 3A-21).)
• Make sure that all parts used in assembly are clean and lubricated.
• It is recommended that all seals, gaskets and O-rings be replaced with new on assembly.
• After assembly, check parts for tightness and smoothness of operation.
Forward Gear
Place the forward gear back-up shim (1) in position, then install forward gear (2).
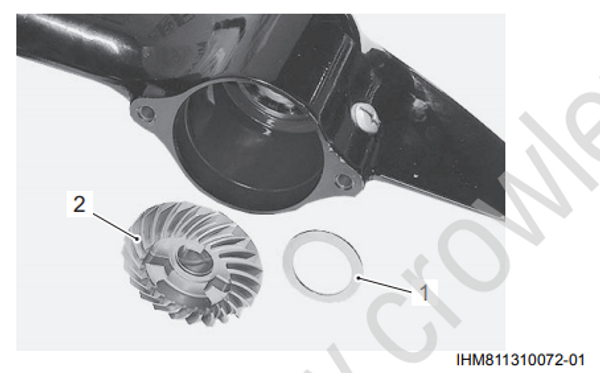
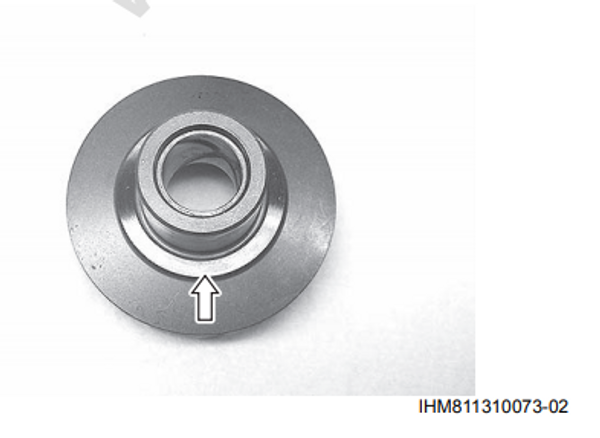
Forward gear has no groove on the back side as shown in the figure.
Pinion Gear
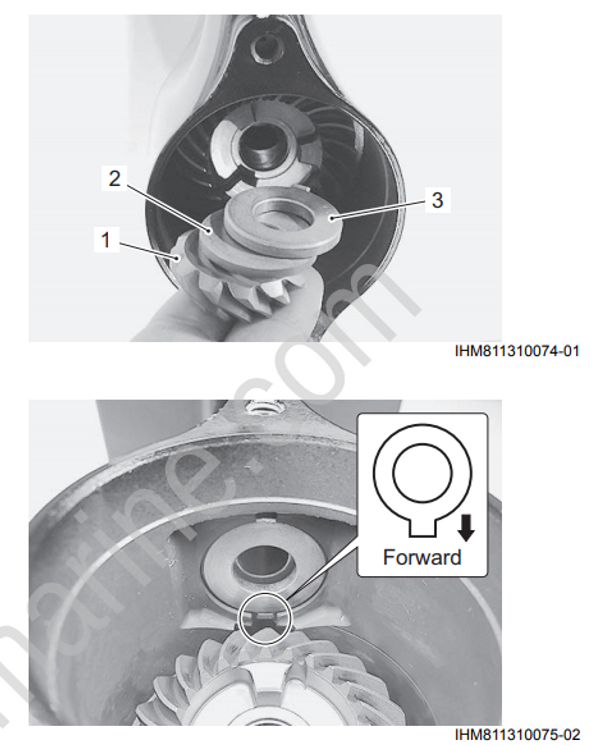
Apply gear oil to the pinion gear thrust washer (3) and pinion gear (1).
Assemble the pinion gear (1), the pinion gear backup shim (2) and the pinion gear thrust washer (3).
Driveshaft
Lower the driveshaft assembly down into the gearcase until the bottom of shaft passes to center of pinion gear.
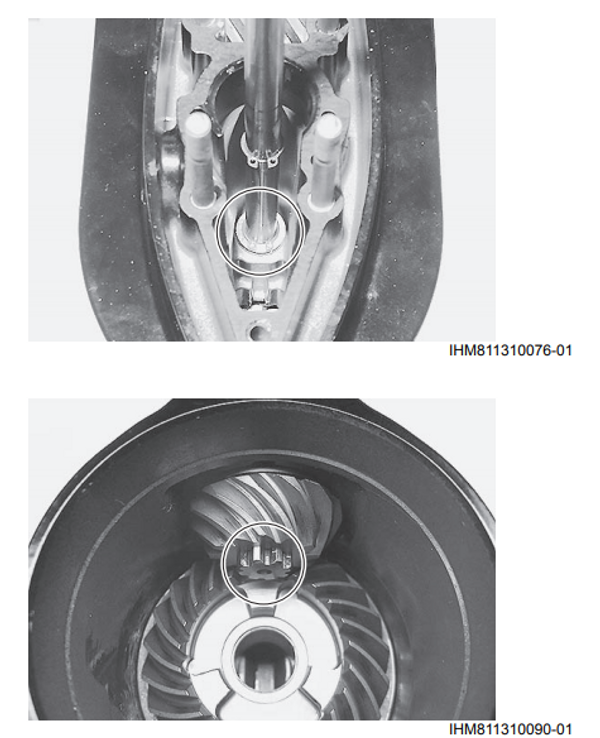
Driveshaft Support Housing
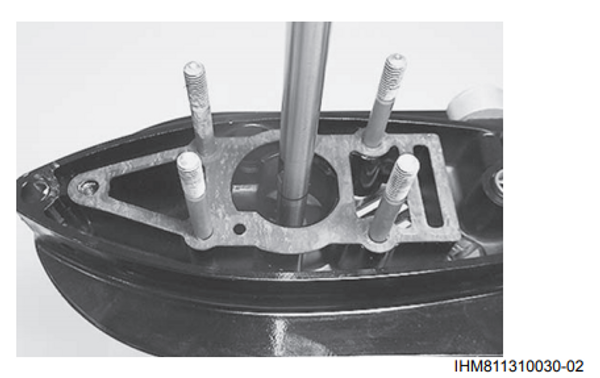
- Install a new housing gasket.
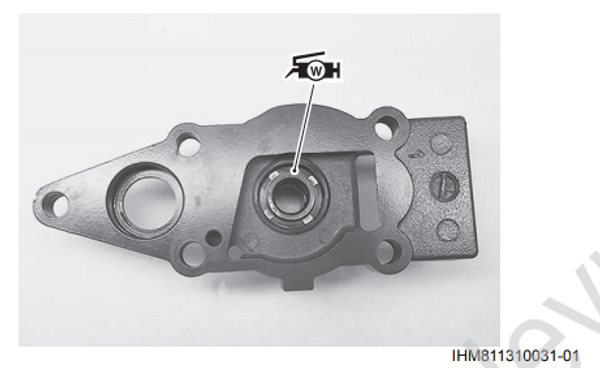
- Apply water resistant grease to the driveshaft oil seal lips.
: Grease 99000–25350 (SUZUKI Water Resistant Grease EP2 (250 g))
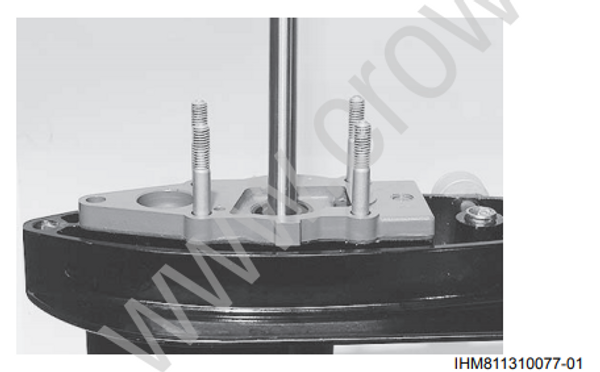
- Install the driveshaft support housing to the gearcase.
Shift Rod Assembly
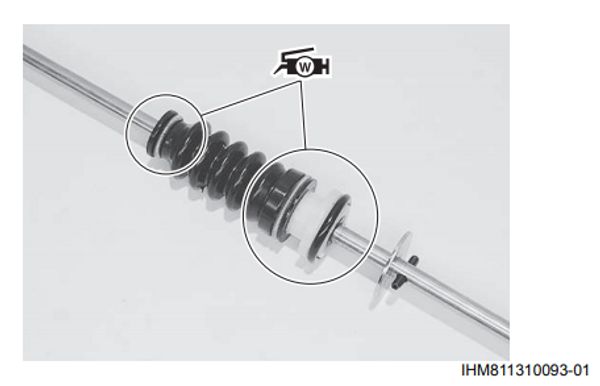
- Apply water resistant grease to the shift rod guide, the O-rings and the top of the dust boot.
: Grease 99000–25350 (SUZUKI Water Resistant Grease EP2 (250 g))
- Place a new gasket (1) into position.
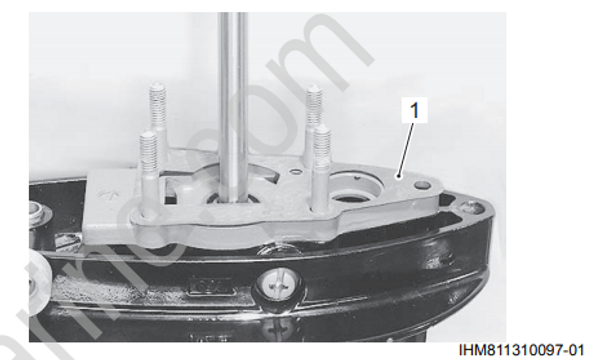
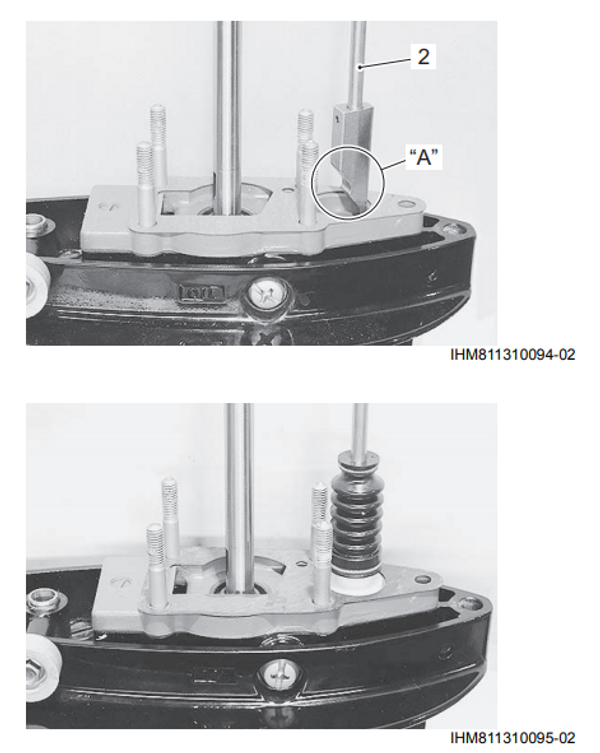
- Install shift rod assembly (2) to the gearcase.
Be sure the stepped section “A” of shift cam faces towards propeller shaft.