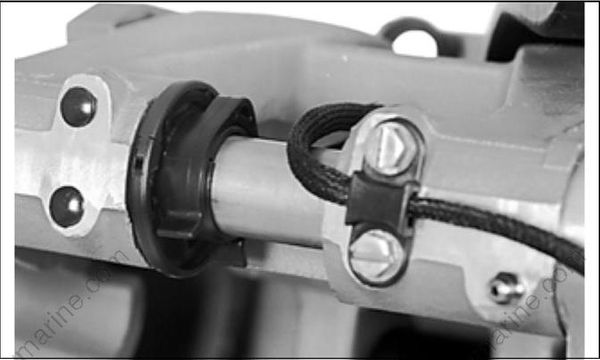
Removal
The tilt tube may be serviced without major disassembly of the outboard using Tilt Tube Service Kit, P/N 434523.
Support the outboard with a suitable hoist.
Pull the locking tabs on the tilt limit cam loose from the collar.
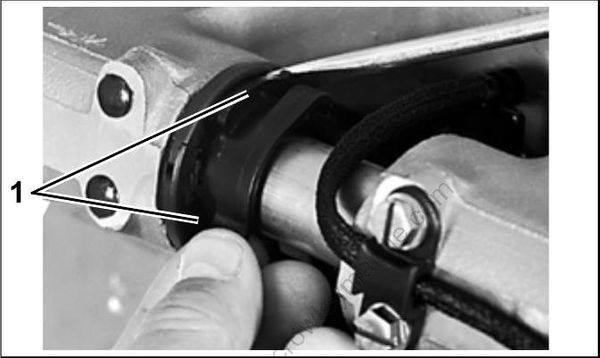
30749
- Locking tabs
Remove the cam and collar from the tilt tube.
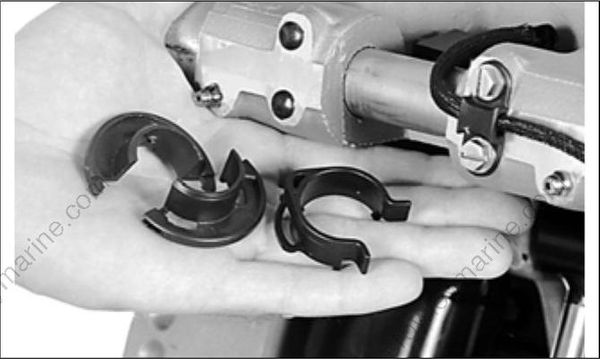
30748
Remove the nut from the starboard side.
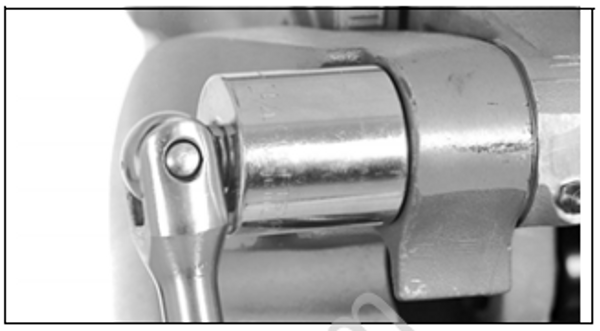
30747
Thread the spacer from Tilt Tube Service Kit, P/N 434523, onto the starboard end of the tilt tube.
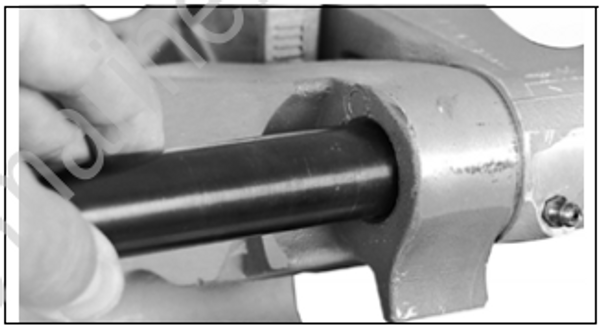
30746
Remove steering cable wiper nut from tilt tube. Thread the adapter from Tilt Tube Service Kit, P/N 434523, onto the port end of the tilt tube.
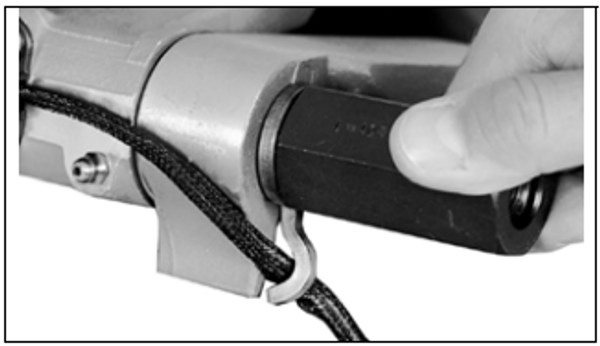
30745
Thread Slide Hammer, P/N 432128, into the adapter until at least 2 in. (51 mm) of thread are engaged.
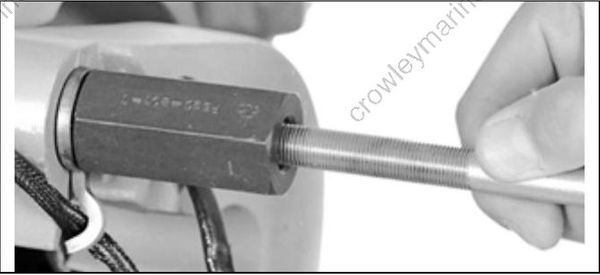
30744
Pull tilt tube from stern bracket with the slide hammer. When tilt tube clears the port stern bracket, remove tilt tube from the spacer.
Installation
Thread starboard end of tilt tube into the spacer.
Thread the adapter onto port end of tilt tube.
Use a wood or leather mallet to tap the tilt tube into position.
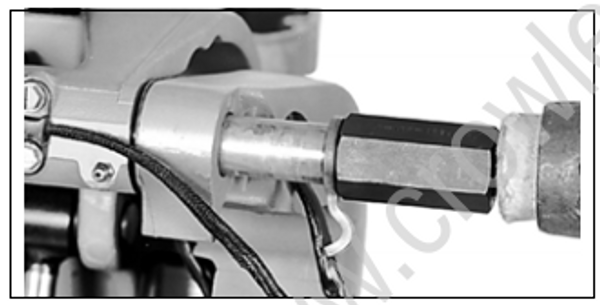
30743
Make sure the lock tab is in correct position.
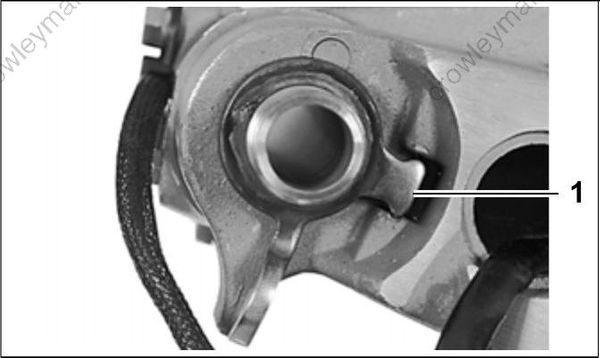
30742
- Lock tab
Install the starboard locknut.
Replace locknut if definite resistance is not felt.
Tighten starboard tilt tube nut to a torque of 45 to 50 ft. lbs. (61 to 68 N·m).
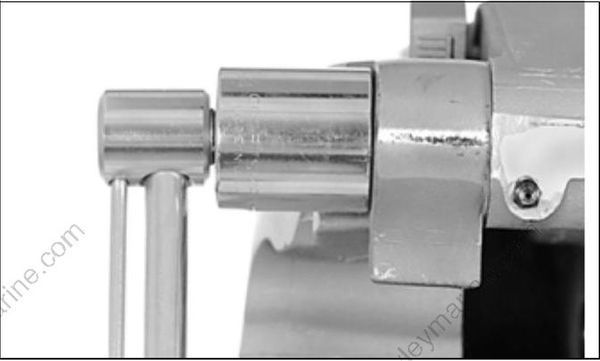
30741
Replace steering cable wiper nut on port end of tilt tube.
Apply one drop of instant bonding adhesive in receiving channels of tilt limit switch collar and install collar and tilt cam on tilt tube. Be sure locating tab on collar fits in hole on tilt tube.