Exhaust Housing Removal
Before removing the exhaust housing:
• Remove the gearcase. Refer to GEARCASE REMOVAL AND INSTALLATION on p. 354.
• Remove the powerhead. Refer to POWERHEAD REMOVAL on p. 228. Remove and discard four lower mount screws.
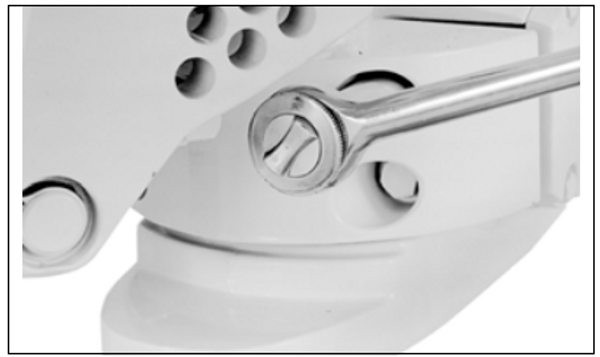
23036
20” Models
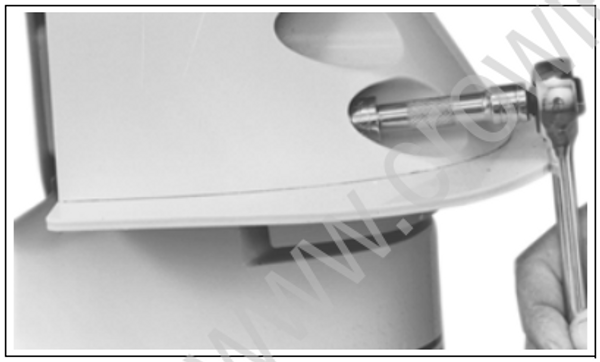
32590
25” Models
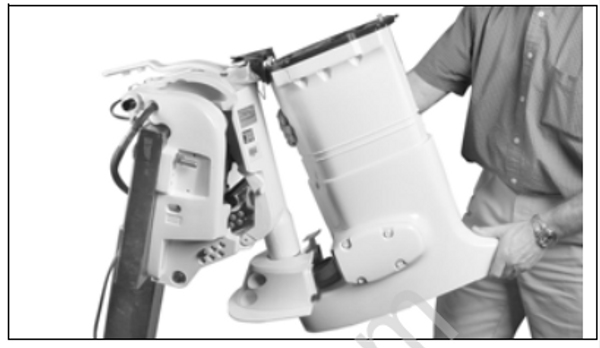
Remove the exhaust housing.
Lower Mount Service
Remove lower mount covers and inspect the lower mounts.
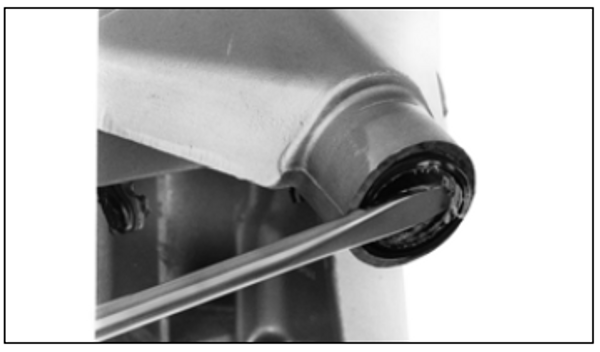
If replacement is necessary, lubricate mount with soapy water and carefully pry at both ends to remove.
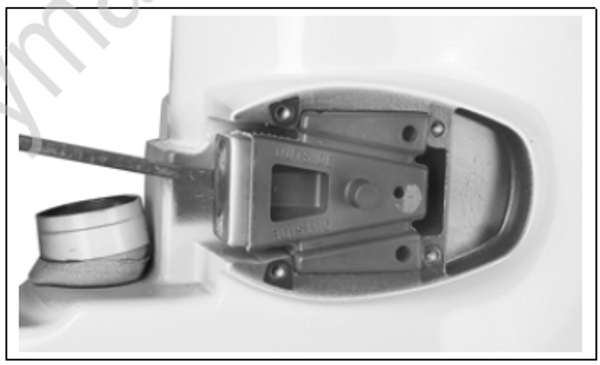
001971
If removed, coat the lower mounts with soapy water and press into the exhaust housing with the “OUTSIDE” mark facing outward.
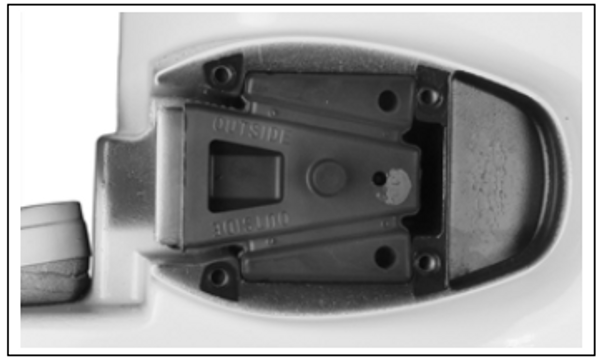
001970
Install the mount covers. Apply Nut Lock to screws, install washers and screws, and tighten to a torque of 150 to 180 in. lbs. (17 to 20 N·m).
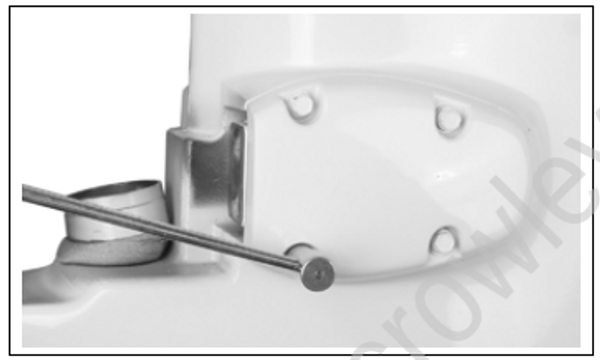
001972
Exhaust Housing Installation
Bring the exhaust housing into position with the stern bracket.
Install four new lower mount screws with lockpatch. Tighten screws to a torque of 38 to 45 ft. lbs. (51 to 61 N·m).
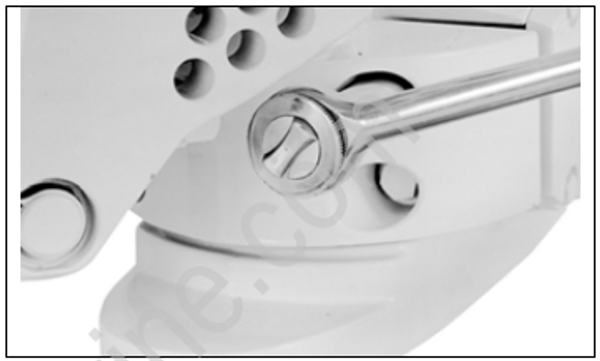
23036
20” Models
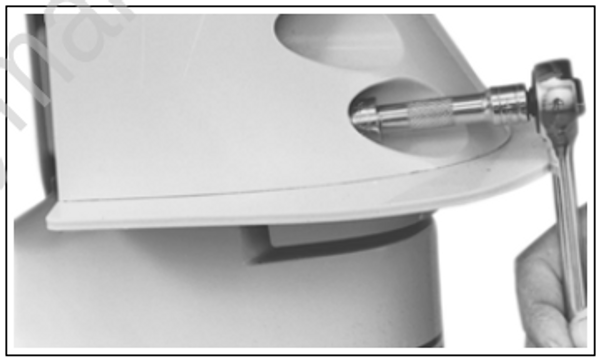
32590
25” Models
Install gearcase. Refer to GEARCASE REMOVAL AND INSTALLATION on p. 354.
Install powerhead. Refer to POWERHEAD INSTALLATION on p. 254.
Exhaust Housing Disassembly
Remove the front and rear screws retaining the adapter/inner exhaust housing to the exhaust housing.
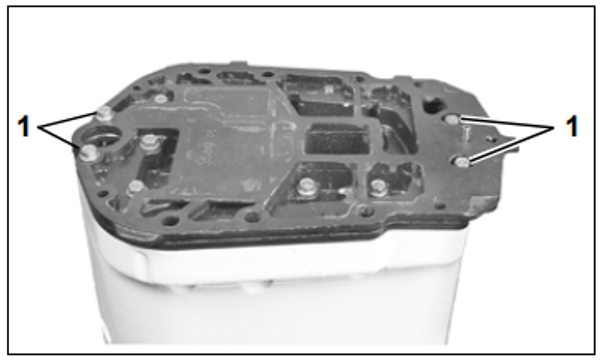
001981
- Adapter retaining screws
Lift the adapter/inner exhaust housing out of the exhaust housing.
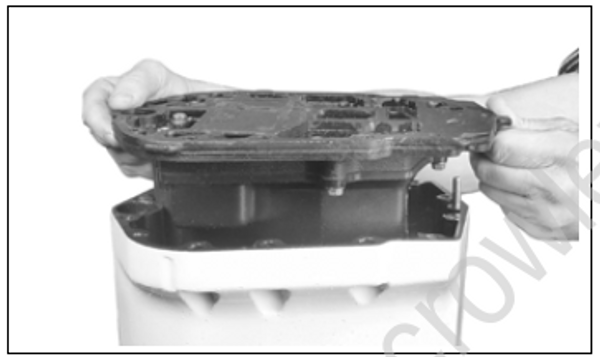
001980
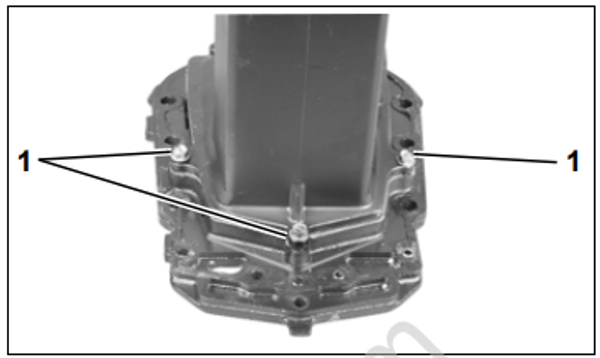
Remove the three upper screws and three lower screws securing the inner exhaust housing to the adapter housing.
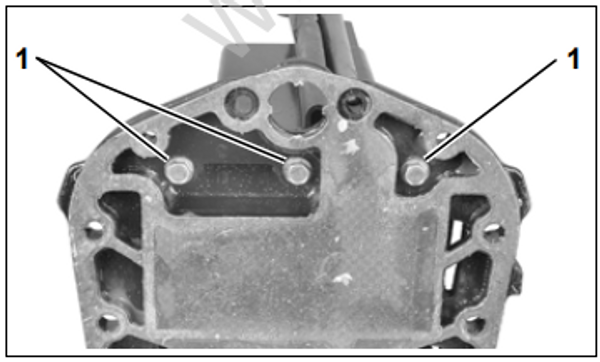
001975
- Upper inner exhaust housing screws
001974
- Lower inner exhaust housing screws
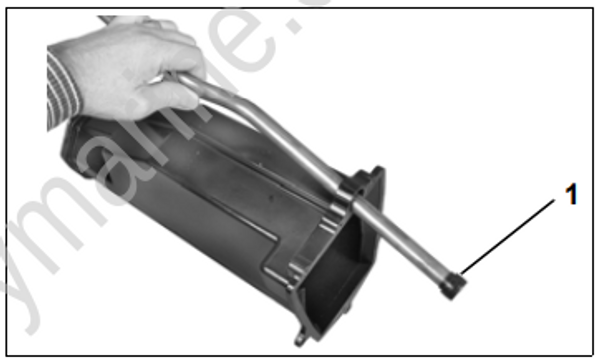
Remove the water tube from the inner exhaust housing. Discard water tube grommet.
001984
- Water tube grommet
Remove the seal from the bottom flange of the inner exhaust housing.
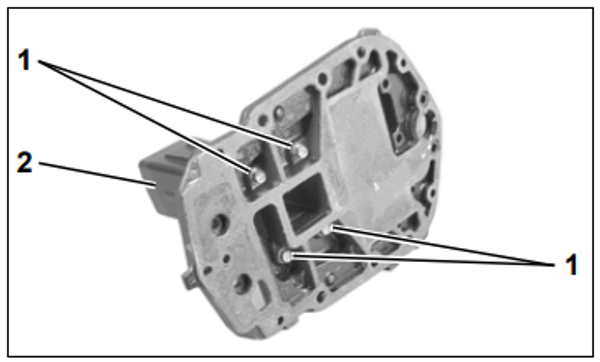
Remove the four screws securing the exhaust megaphone to the adapter housing.
001976
- Adapter to megaphone screws
- Exhaust megaphone
Cleaning and Inspection
Wear safety glasses to avoid personal injury, and set compressed air to less than 25 psi (172 kPa).
Clean all parts with parts cleaning solvent and dry with compressed air. All nut and screw threads coated with thread locking material must be thoroughly cleaned before assembly. When using a thread locking product, be sure to prime the threads with Locquic Primer.
Examine the upper and lower thrust mounts, and replace if deteriorated or damaged.
Before checking the exhaust housing for distortion, thoroughly clean the top and bottom mating surfaces and remove all sealer and corrosion.
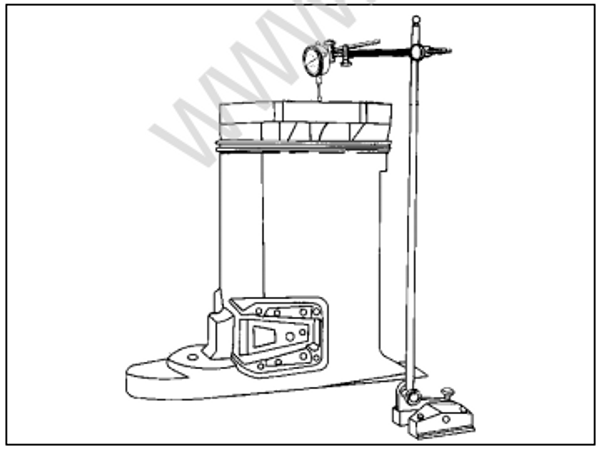
Check the exhaust housing for distortion. Place the housing on a surface plate. Use a dial indicator to check flatness by measuring the run-out on the top edge of housing. The maximum allowable run-out is 0.009 in. (0.228 mm). If you do not have access to a dial indicator and surface plate, seek the services of a machine shop. DO NOT attempt to straighten a distorted housing; replace it.
IMPORTANT: A distorted exhaust housing will cause the upper driveshaft splines to wear excessively and will damage the crankshaft splines.
DR2223
Inspect the water tube for obstructions or kinks, which may restrict water flow.
Exhaust Housing Assembly
Place a new gasket between the exhaust megaphone and adapter housing. Apply Ultra Lock to the threads of the screws and tighten to a torque of 60 to 84 in. lbs. (7 to 9.5 N·m).
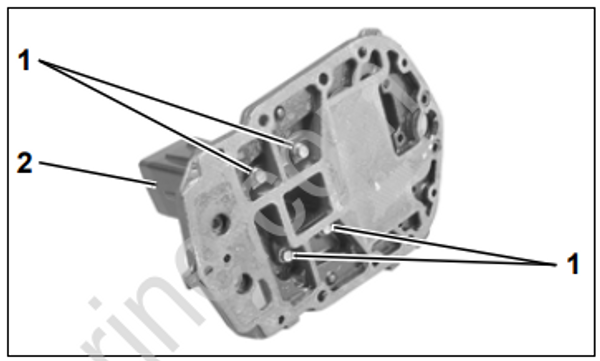
001976
- Adapter to megaphone screws
- Exhaust megaphone
Place a new grommet on the water tube and coat the outside edge with Adhesive 847.
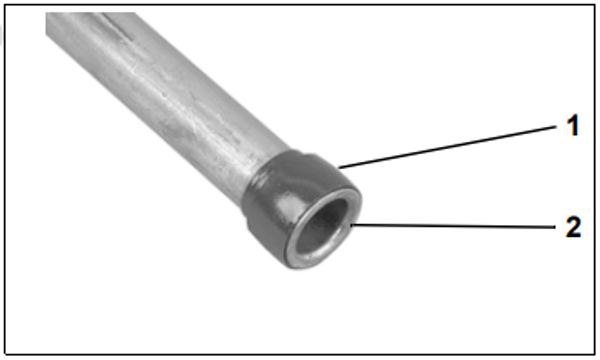
001977
- Water tube grommet
- Flared end of water tube
Install the water tube through the top of the inner exhaust housing and align as shown:
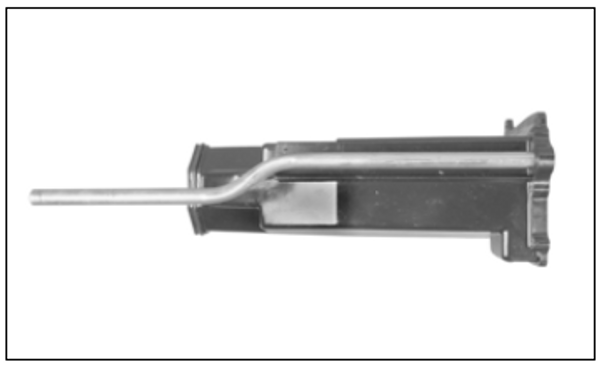
001982
Place a new gasket between the inner exhaust housing and the adapter housing. Apply Ultra Lock to the screws. Install the three lower screws and three upper screws and tighten to a torque of 60 to 84 in. lbs. (7 to 9.5 N·m).
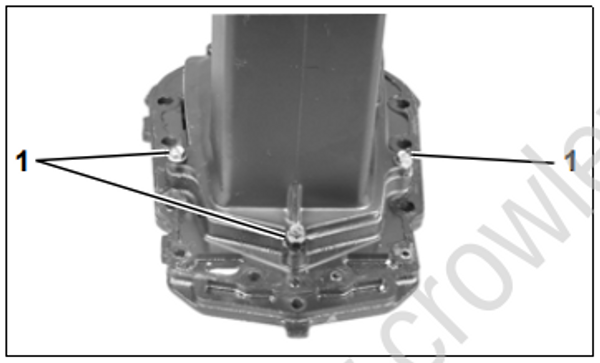
001974
- Lower inner exhaust housing screws
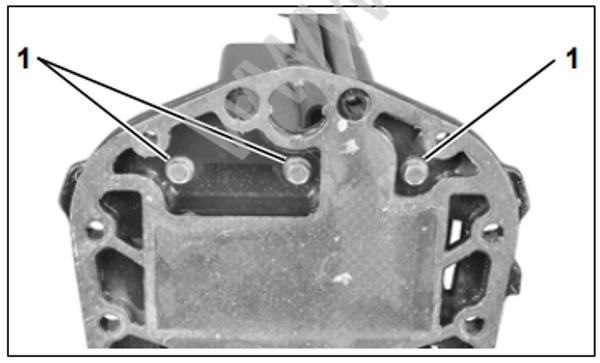
001975
- Upper inner exhaust housing screws
Apply Adhesive 847 to the bottom flange of the inner exhaust housing. Install a new seal. Apply Triple-Guard grease to outer seal surface.
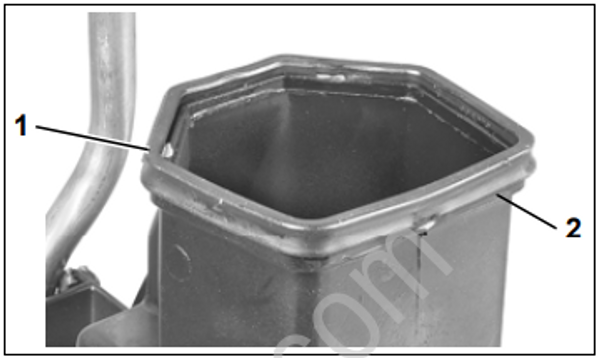
001973
- Seal
- Bottom flange
Clean and degrease the adapter housing and outer exhaust housing mating surfaces with Cleaning Solvent. Apply Gel-Seal II sealant to the adapter flange of the exhaust housing.
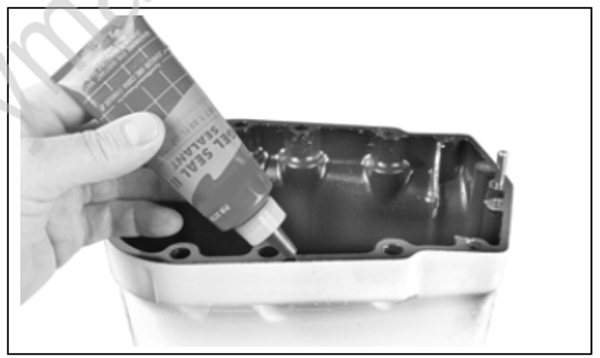
001983
Place the adapter/inner exhaust housing into the exhaust housing. Guide the water tube through the hole in the outer housing and the alignment pin into the adapter housing.
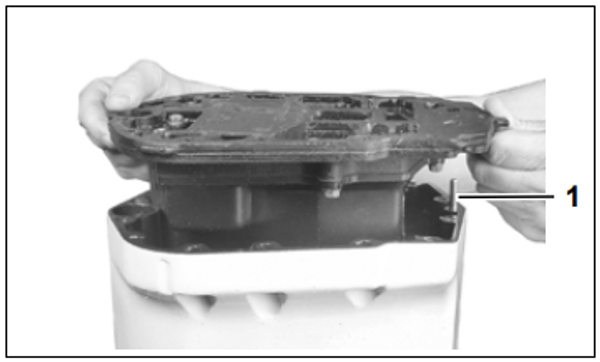
001980
- Alignment pin
Apply Gasket Sealing Compound to threads of the four retaining screws and tighten to a torque of 60 to 84 in. lbs. (7 to 9.5 N·m).
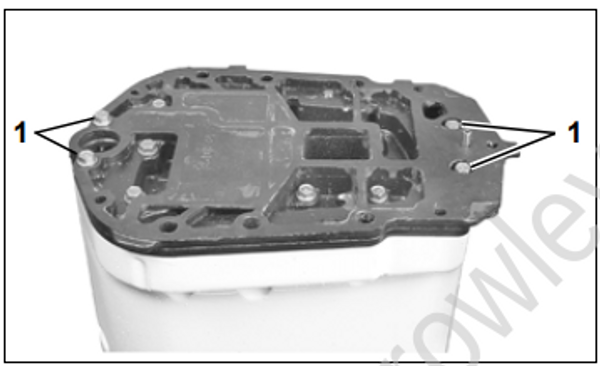
001981
- Adapter retaining screws
STERN BRACKET, 40 – 60 HP Power Tilt
Stern Bracket Disassembly
Remove the bumpers from the upper mount retaining screws. Remove the screws, upper mount, and ground lead from the bracket.
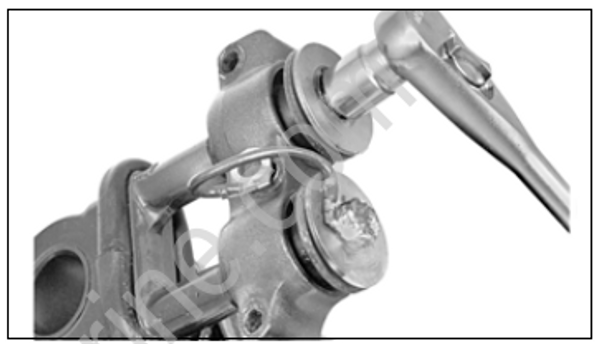
17505
Pull the steering arm out of the swivel bracket. Use an appropriate tool to pry the upper and lower seals from the swivel bracket.
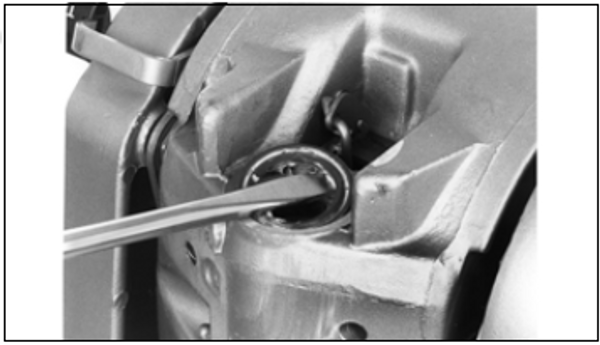
COA2957