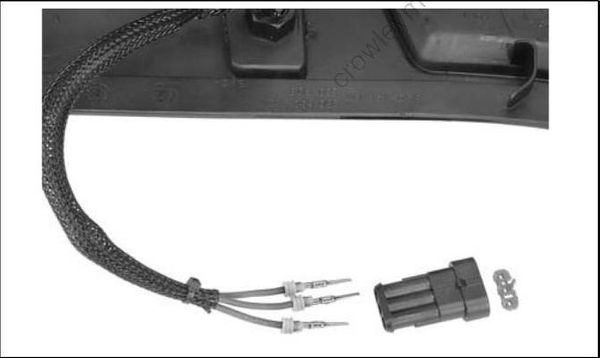
Step 1: Lower Cover Removal
Remove lower engine cover screws.
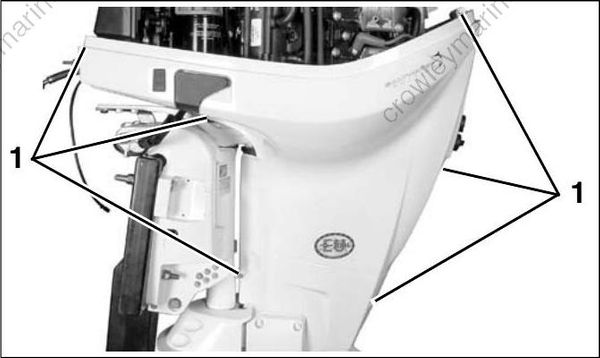
- Lower cover screws
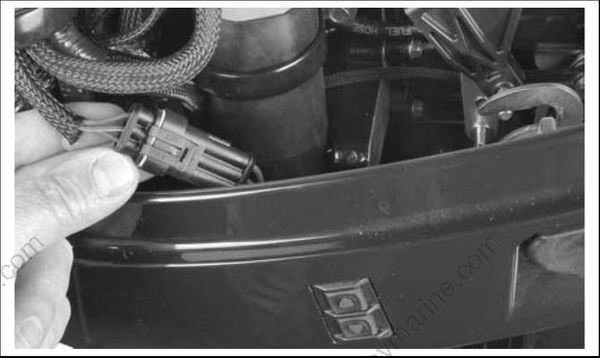
Loosen port side cover slightly, and disconnect trim/tilt switch connector. Then, remove port and starboard covers.
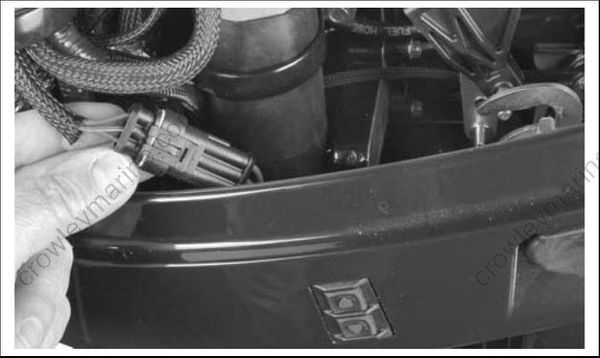
Step 2: Lower Cover Installation
Install the lower engine covers and tighten all screws to a torque of 24 to 36 in. lbs. (3 to 4 N·m).
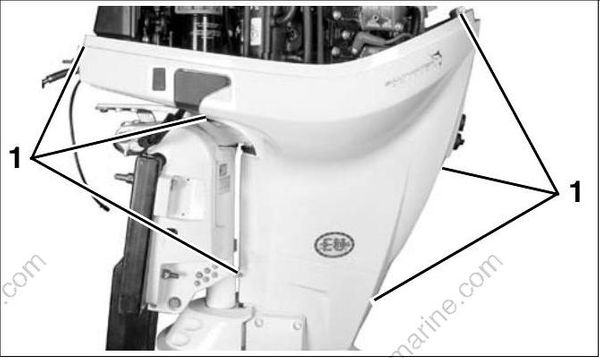
- Lower cover screws
Connect trim/tilt switch connector.
Step 3: Latch Handle Installation
Apply a light coat of Triple-Guard grease to latch handle shaft. Insert handle into lower cover.
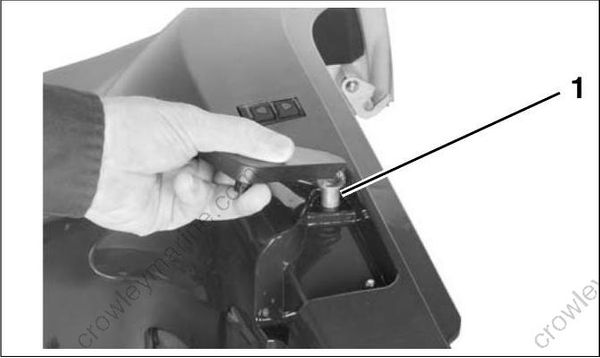
- Triple-Guard grease
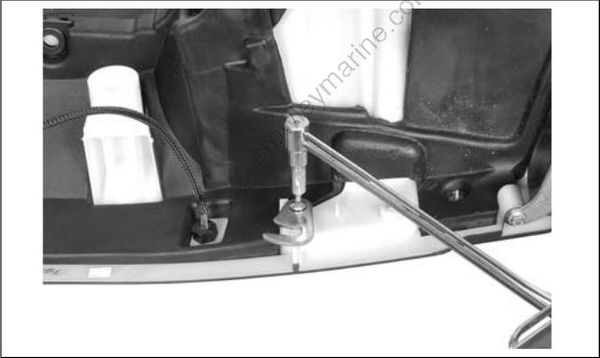
Apply Ultra-Lock to screw threads. Place spring washer and hook into position and tighten screw to a torque of 180 in. lbs. (20 N·m).
Step 4: Trim Switch Installation
Place switch into position through cover.
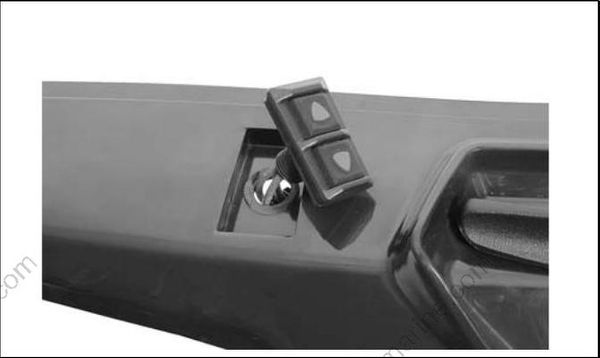
Install nut on switch. Tighten nut to a torque of 10 to 16 in. lbs. (1 to 2 N·m).
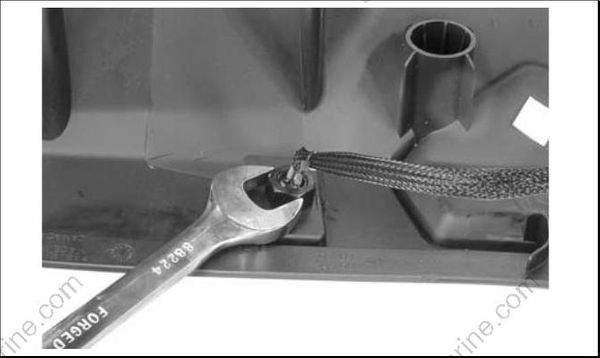
Install electrical connector. Refer to CONNECTOR SERVICING on p. 124.