

1) Inspection of Fuel Feed System Piping
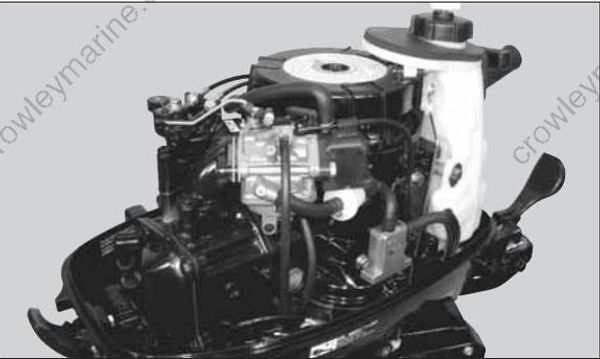
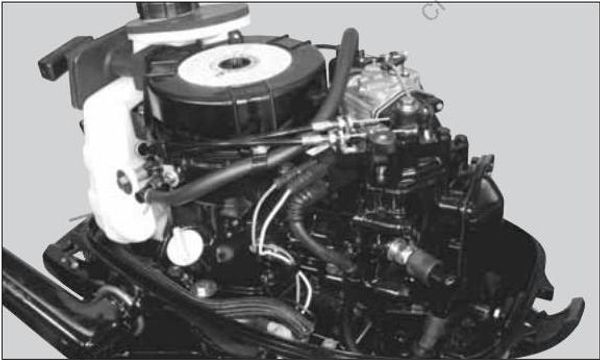
- Remove top cowl and check each section for fuel leak, dirt, deterioration and damages. Clean or replace parts if necessary.
2) Draining Fuel
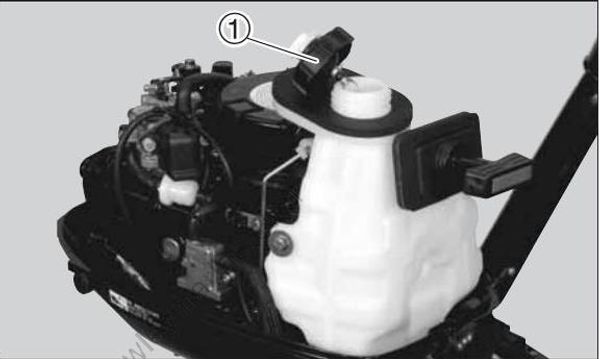
Remove fuel tank, fuel hose and carburetor after fully draining the fuel from these parts.
- Remove fuel tank cap (1) and remove fuel.
3) Inspection of Fuel Tank and Fuel Tank Cap
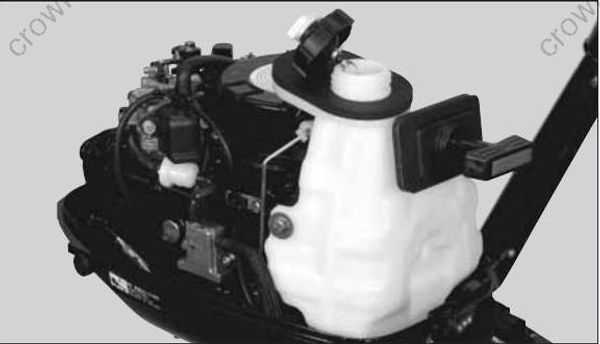
Check fuel tank and fuel tank cap for crack, leakage and damage.
Replace if necessary.
4) Inspection of Fuel Cock
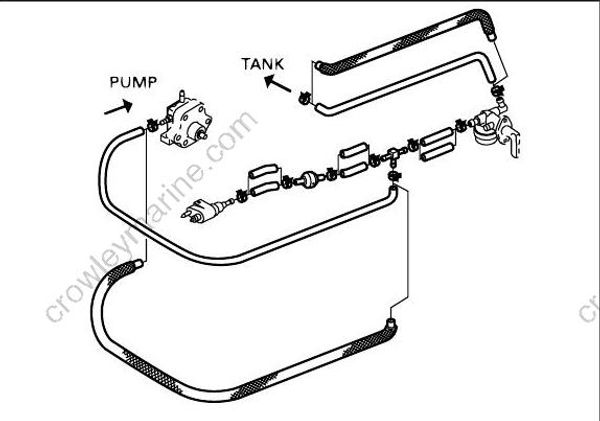
- Check fuel cock for leakage.
5) Inspection of Fuel Filter
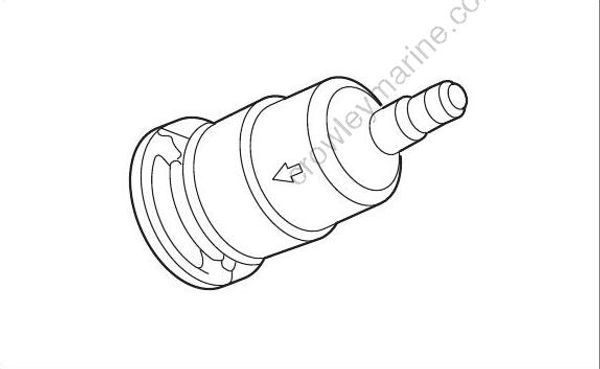
- Check fuel filter for dirt and clogging, and clean if necessary.
6) Removing Carburetor
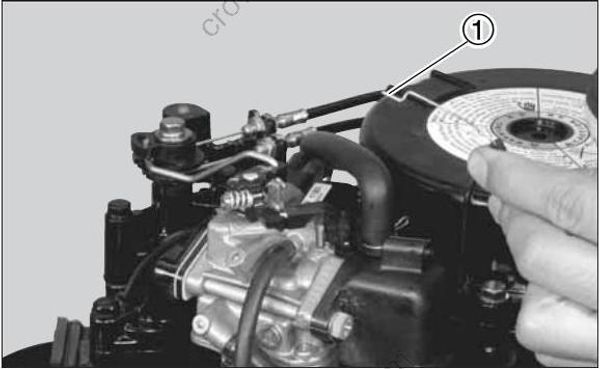
Before working on fuel system, make sure to disconnect battery cables from the battery, or electric sparks can occur, possibly igniting fuel or causing fuel to explode.
- Disconnect choke link wire.
Be careful not to bend wire tip (1) when disconnecting.
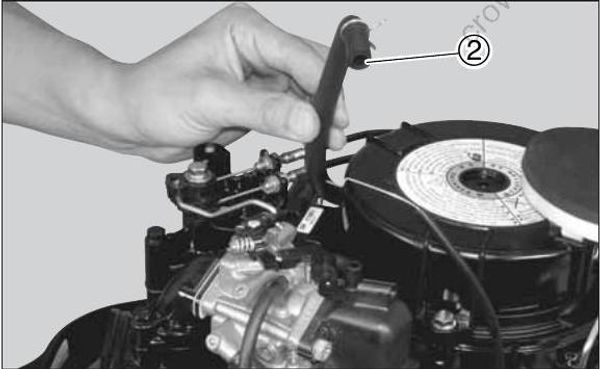
- Disconnect breather hose (2) from intake silencer
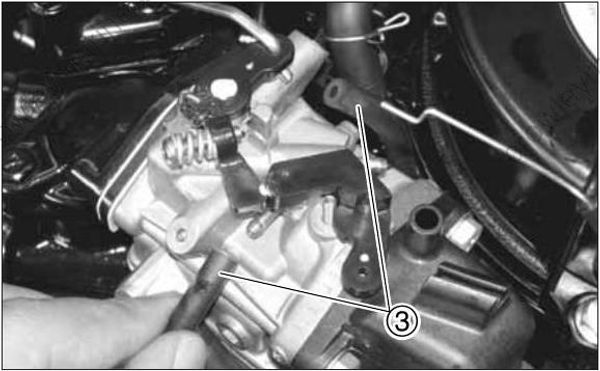
- Remove two air vent hoses (3) from carburetor.
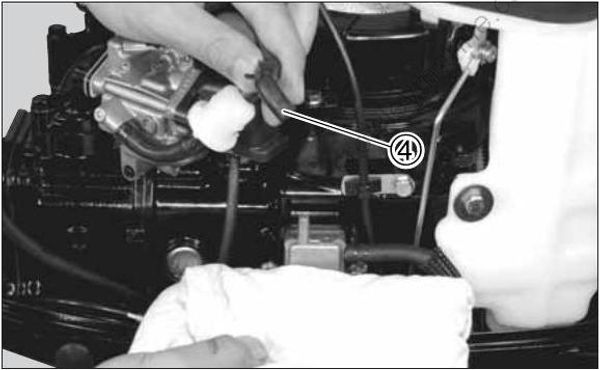
- Remove fuel hose (4) from fuel pump.
Before disconnecting fuel hose, place a piece of cloth below fuel pump to absorb leaking fuel.
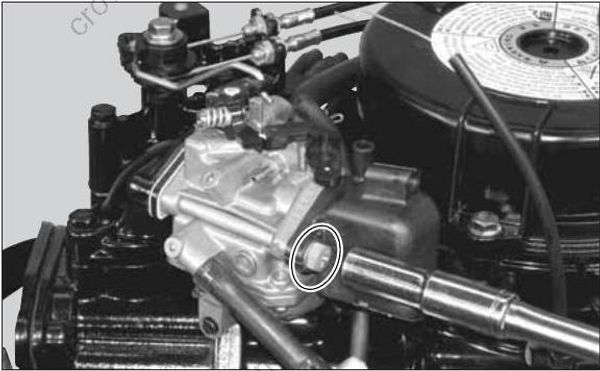
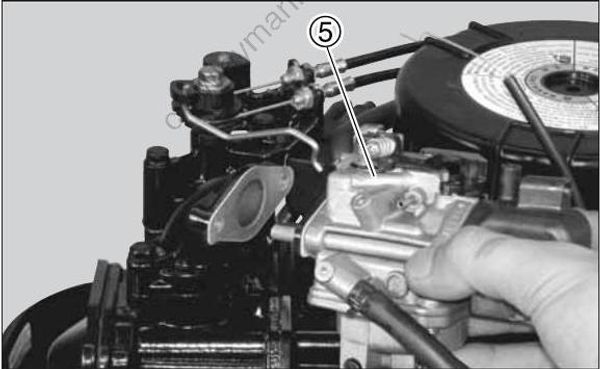
- Loosen carburetor mounting bolts and remove carburetor (5).
Be careful not to bend throttle rod when removing the rod and carburetor.
7) Disassembling Carburetor
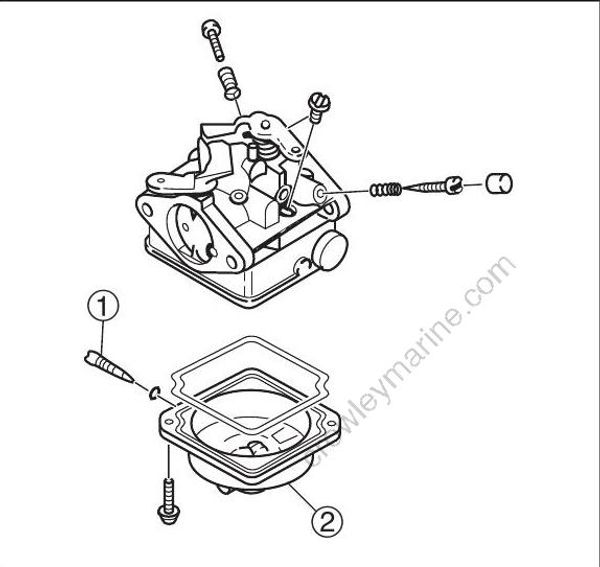
- Remove drain screw (1) to drain fuel.
Use rag to absorb fuel flowing out from hose.
- Remove float bowl (2).
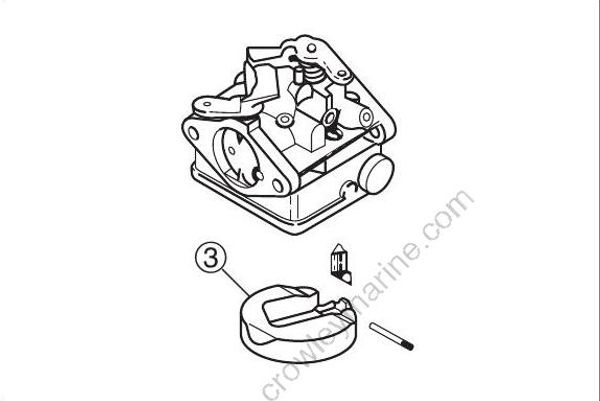
- Remove float ass'y (3).
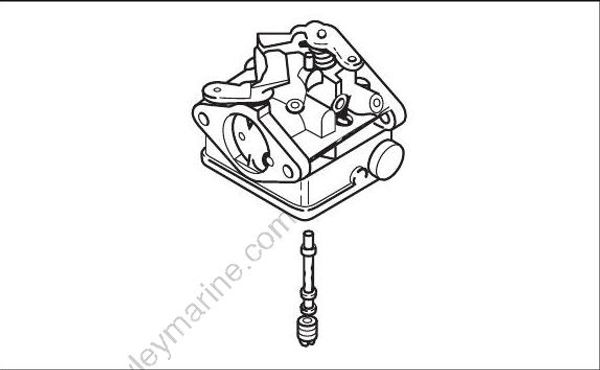
- Remove jets and nozzle.
When removing any jets, be careful not to damage or distort jet surface.
8) Inspection and clean of Carburetor
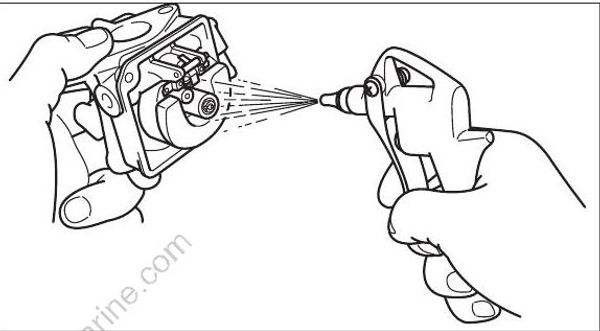
Check air and fuel passages for dirt in the jet and foreign substances. Clean carburetor body with cleaning fluid.
Squirt all passages and jet passages with compressed air.
· Point the compressed air downward, taking care that detergent and dust do not enter the eyes and do not damage small parts of the carburetor.
· Do not use wire to clean the jet. Doing so may enlarge the jet hole, resulting in significantly reducing the performance.
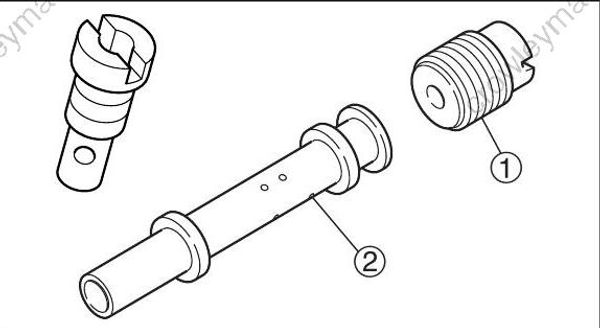
- Check main jet (1) and main nozzle (2) for dirt. Clean or replace if necessary.
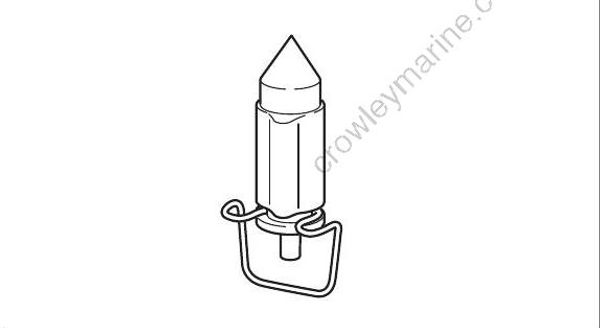
- Check float valve for bend and wear. Replace if necessary.
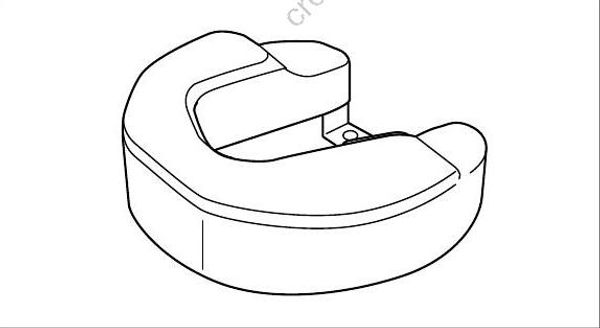
- Check float for deformation. Replace if necessary.
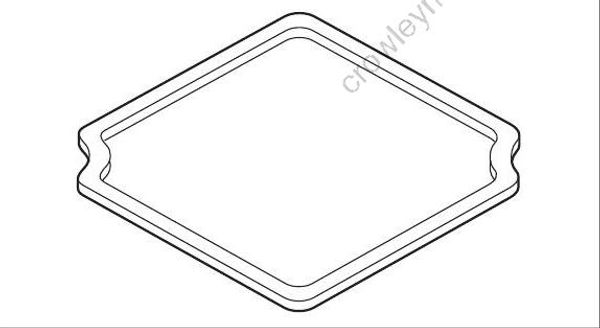
- Check float bowl's O ring for damage, and replace if necessary.
9) Inspection of Fuel Connector
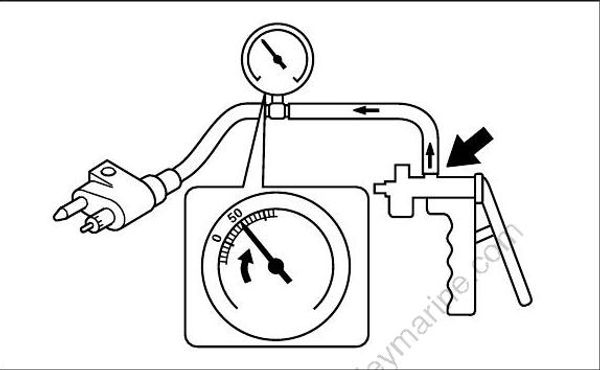
Check fuel connector for crack and damage.
Connect vacuum/pressure gauge to outlet of fuel connector.
Apply specified pressure, and check if the pressure is maintained for 10 seconds. Replace if necessary.
Vacuum/Pressure Gauge : Use commercially available item
Specified Pressure : 0.029 MPa (4 psi) [0.3 kgf/cm2]
10) Assembling of Carburetor
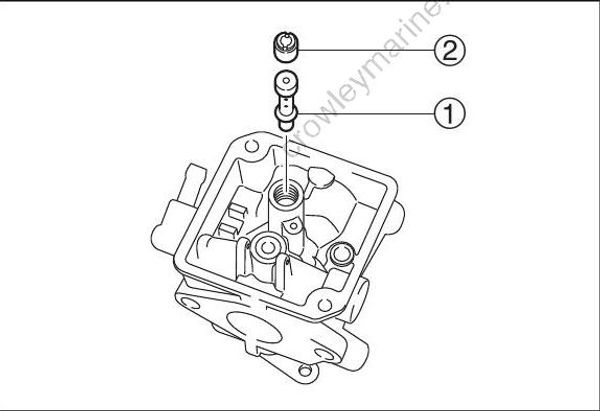
- Attach main nozzle (1) and main jet (2) to carburetor body as shown.
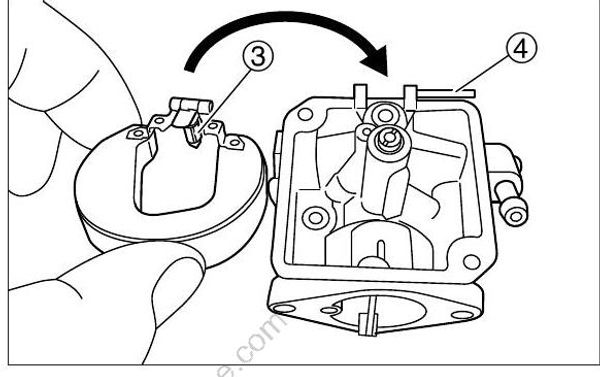
- Attach float valve, float (3) and float arm pin (4) as shown, and check if float (3) moves smoothly.
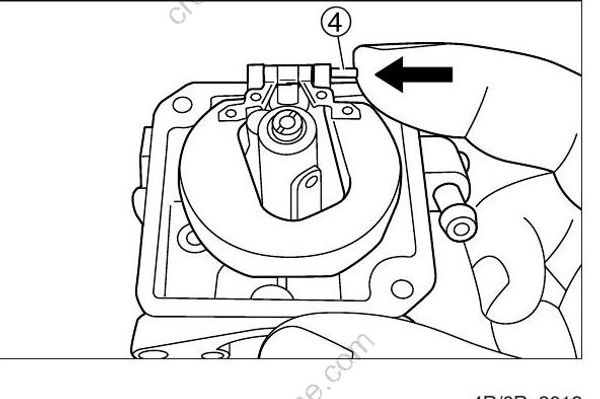
- Attach float ass'y firmly to float arm pin (4).
11) Adjustment of Float Height
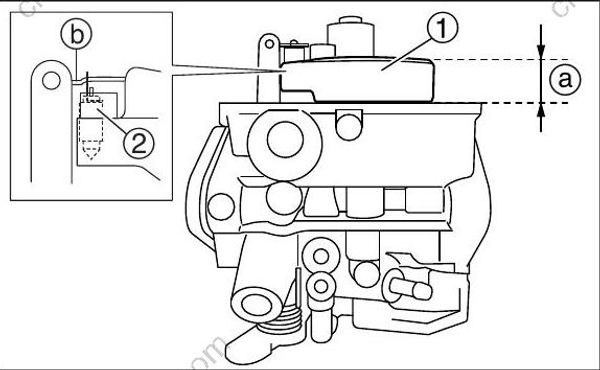
- Measure height (a) of float (1). Adjust height (a) of float (1) by bending tab (b) if the height is out of specified range.
Float Height (a) : 9.0 - 10.0 mm (0.354 - 0.394 in)
Bring tab (b) of float (1) into light contact with top of float valve (2).
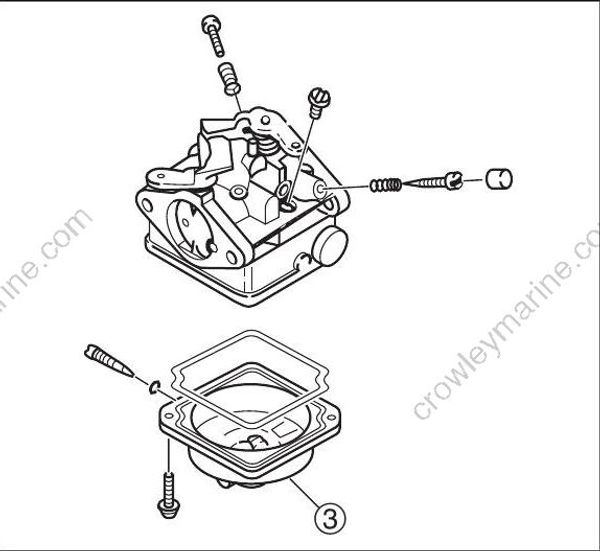
- Attach drain screw to float bowl (3).
12) Installing Carburetor
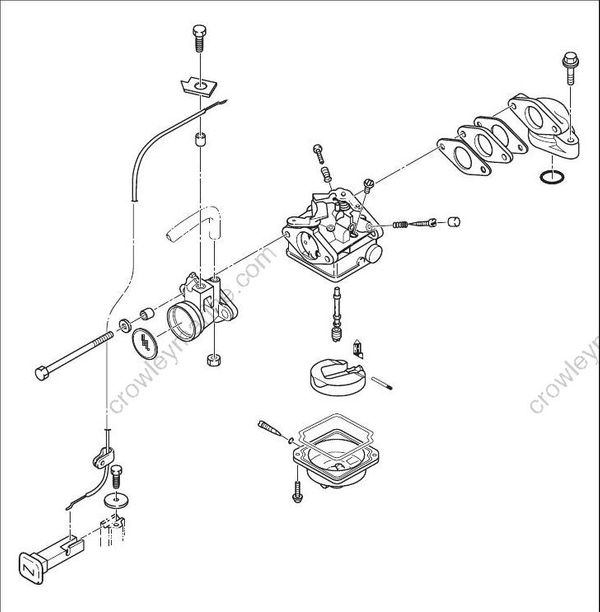
- Reverse carburetor removing steps to install.
13) Removing Fuel Pump
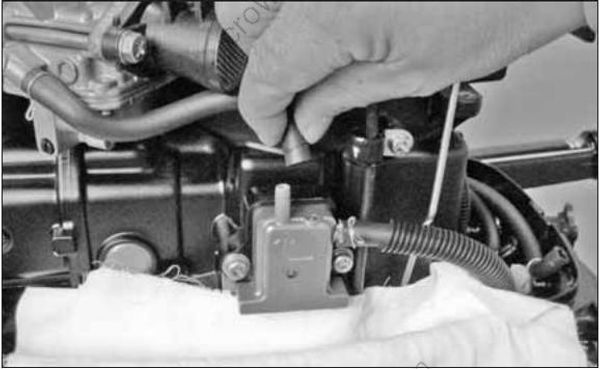
- Remove fuel hose from fuel pump.
Place a piece of cloth below fuel pump to blot leaking fuel.
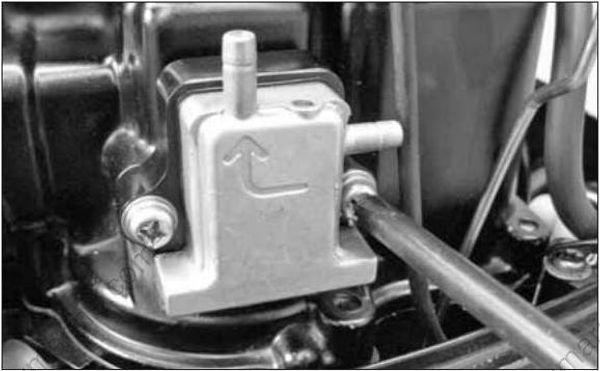
- Loose fuel pump mounting screw and remove fuel pump.
14) Disassembly and Inspection of Fuel Pump
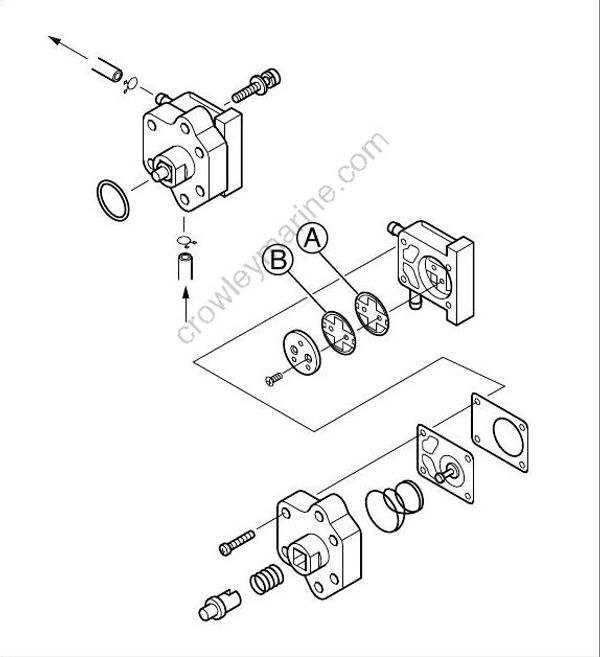
(A) Plastic Sheet (B) Rubber
To prevent fuel from dripping on the floor, use a cloth to catch the fuel.
- Remove screws (4) to disassemble fuel pump body.
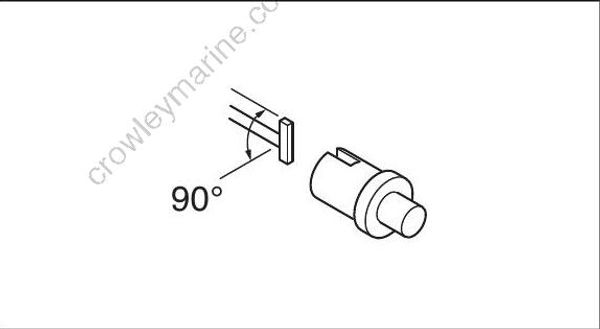
- Remove diaphragm from fuel pump body by unlocking push rod.
While holding push rod, turn diaphragm approximately 90 degrees to left or right while pushing it using a finger to remove it from push rod.
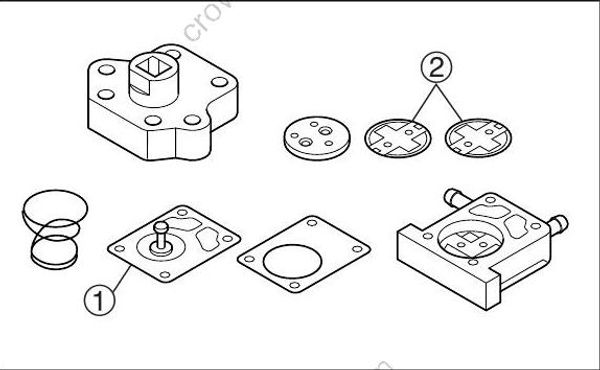
Check diaphragm (1) for break, crack and damage, and replace if necessary.
Check check valve (2) for damage and deterioration, and replace if necessary.
- fuel pump body for crack and damage, and replace if necessary.
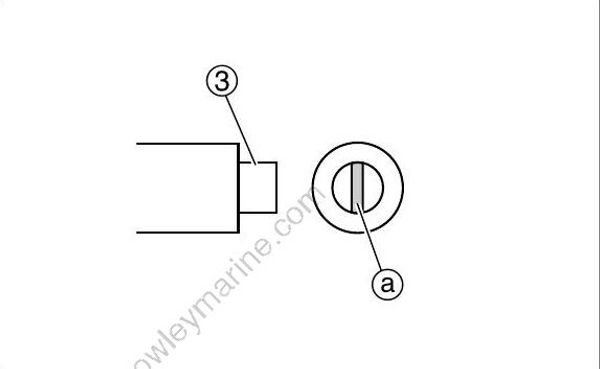
Check push rod (3) for wear on the slipper surface (a), and replace if severely worn.
Clean fuel pump body.
15) Assembly of Fuel Pump
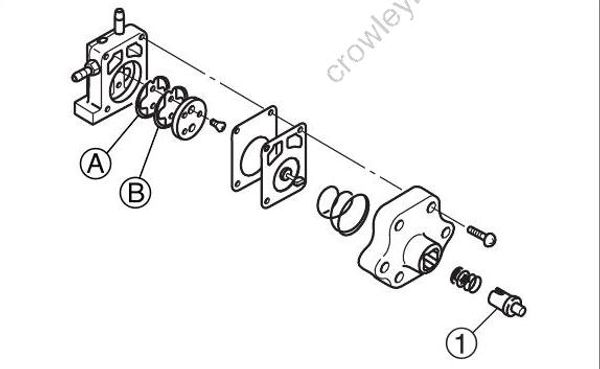
(A) Plastic Sheet (B) Rubber
- Assemble parts by reversing disassembling steps.
After assembling, check movement of push rod (1) by pushing it with a finger.
