

RECOIL STARTER INSTALLATION
Position the wiring in the retaining bracket of recoil starter housing.
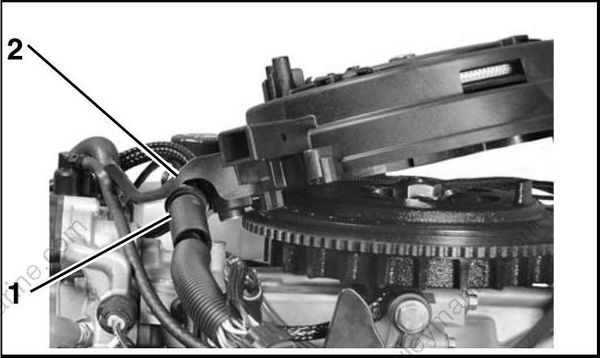
- Wiring
- Retaining bracket
Install recoil starter assembly . Tighten mounting screws to a torque of 31 to 48 in. lbs. (3.5 to 5.5 N•m).
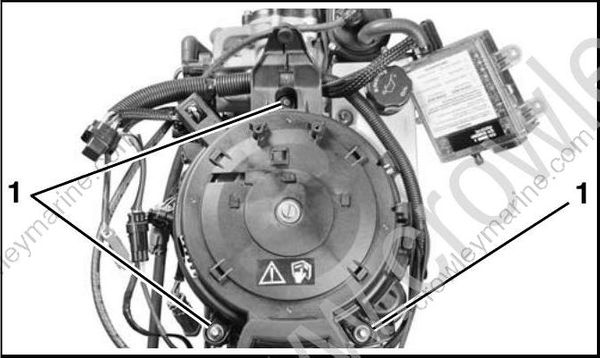
- Screws
Install stator connector in retainer groove of starter housing.
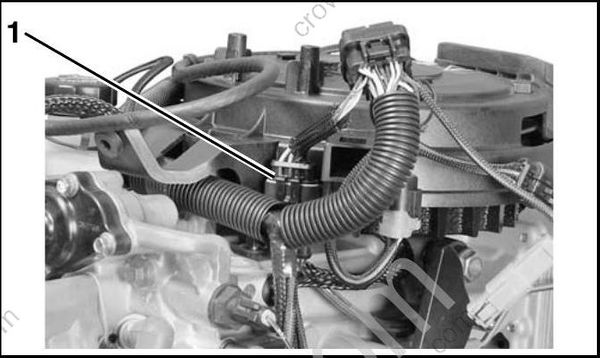
- Stator connector
To prevent damage to wiring from rotating flywheel, make sure stator connector is securely fastened to the starter housing.
Position the vapor separator vent hose and wiring in the retainers on the recoil starter housing as shown.
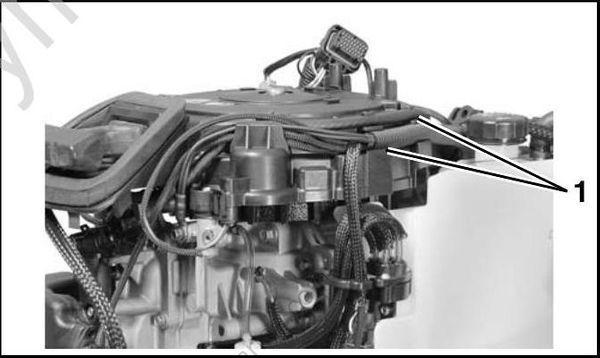
- Retainers
Position the charge module harness, connectors and wiring as shown.
Assemble and tighten tie straps through the tie strap slots of the recoil housing.
Attach fuse holder to retainer.
Attach remaining connectors to retainers on recoil housing as shown.
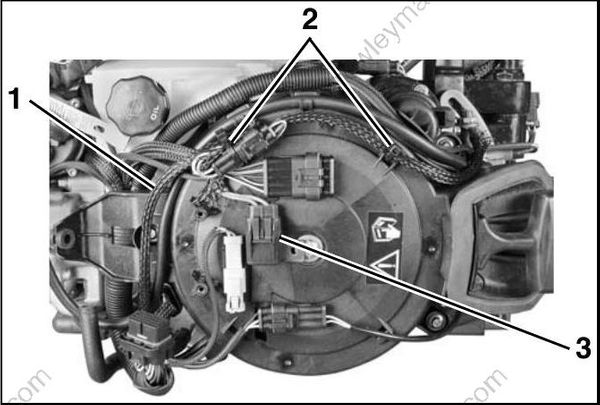
- Battery charge module harness
- Tie straps
- Fuse holder
Position the EMM on the starter housing. Inst all and tighten self-taping screws carefully.
IMPORTANT: Turn self-tapping screws counter clock-wise to start the threads and clockwise to tighten. Failure to follow this procedure can damage the threads of the housing.
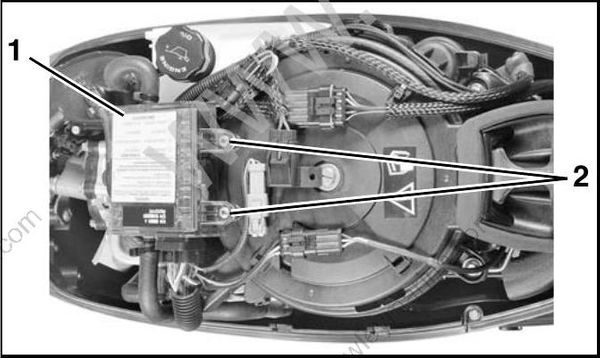
- EMM
- Self-tapping screws
Connect the cooling hose to the EMM. Secure Connect the cooling hose to with tie strap.
RECOIL STARTER DISASSEMBLY
Wear safety glasses while disassembling and assembling manual starters because of rewind spring tension.
Use Starter Spring Winder and Installer, P/N 342682, to service the recoil starter assembly.
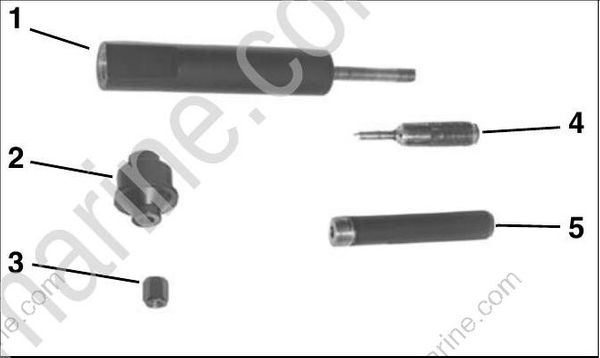
- Base
- Retainer
- Left-hand threaded nut
- Stop tool
- Handle
Pull the starter rope out completely. Retain pulley in position by placing the stop tool from Starter Spring Winder and Installer, P/N 342682 through the hole in the pulley.
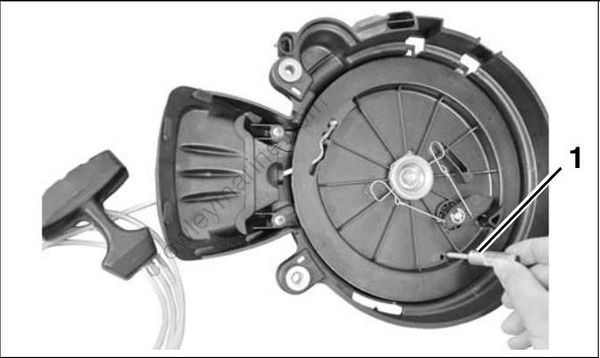
- Stop tool
