

Step 1: TEMPERATURE SENDER SERVICING
Removal
Loosen sensor and remove by hand. Use care to avoid breaking threads.
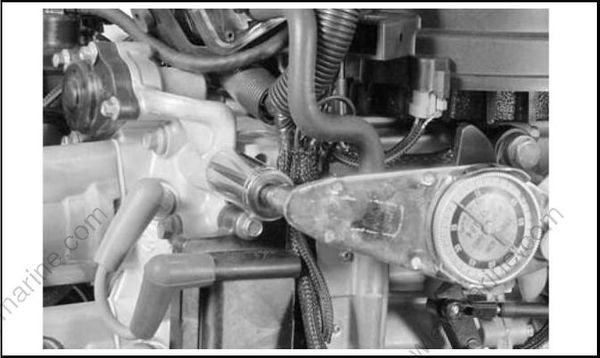
Clean sensor threads, sensor, and sensor cavity.
Installation
Fill bottom of sensor cavity with 0.7 cc of Thermal Joint Compound, P/N 322170. Sensor cavity should be filled to 1 inch (25 mm) below the top edge of the cavity.
Install sensor. DO NOT use gasket sealing compound. SLOWLY tighten temperature sensor to a torque of 50 to 70 in. lbs. (5.6 to 8.0 N·m).
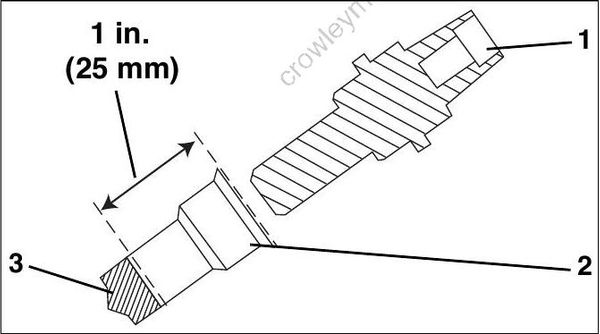
- Temperature sensor
- Sensor cavity
- Thermal joint compound
Wait 10 minutes for trapped air to bleed from cavity. Thermal compound may seep past threads. Retighten sensor.
Step 2: THERMOSTAT AND PRESSURE RELIEF VALVE SERVICING
The thermostat and pressure relief valve should be serviced at the same time.
Disassembly
Remove four screws.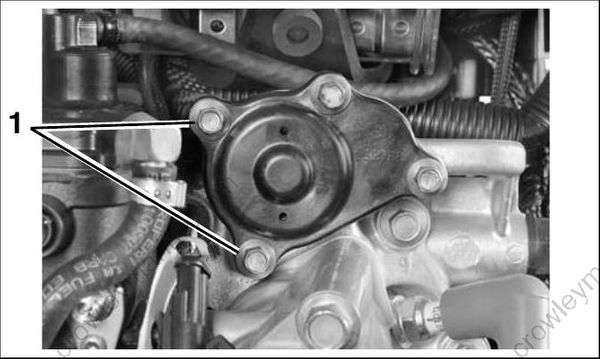
- Screws
Remove thermostat and pressure valve cover from cylinder head.
Remove pressure valve assembly.
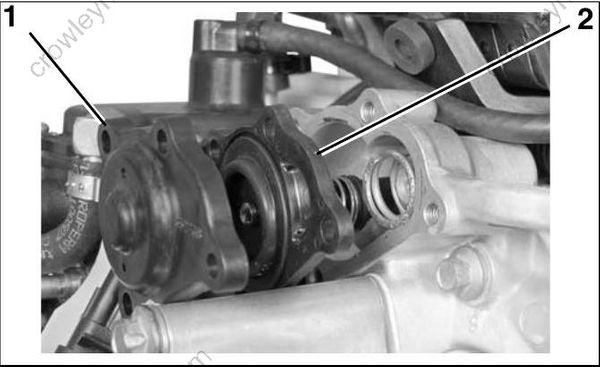
- Thermostat and pressure valve cover
- Pressure valve assembly
