

COMPRESSION TESTING
Start and run outboard until it achieves operating temperature, then shut OFF.
Disconnect crankshaft position sensor (CPS) connector. Remove all spark plugs.
Advance throttle linkage to WOT.
Install compression tester’s hose attachment into spark plug hole (14 mm threads).
While cranking outboard with starter, note maximum pressure reading on gauge. Repeat procedure for each cylinder.
If engine shows a variation greater than 15 psi (100 kPa) between cylinders, check for:
- damaged cylinder head
- damaged pistons
- broken or stuck piston rings
- scored cylinder walls
Return throttle to idle position and reconnect CPS connector. Replace spark plugs. Refer to Spark Plug Indexing on p. 63.
POWERHEAD REMOVAL
Protect against hazardous fuel spray. Before starting any fuel system service, carefully relieve fuel system pressure. Refer to Relieving Fuel System Pressure on p. 144.
To prevent accidental starting while servicing, twist and remove spark plug leads.
Remove lower motor covers. Refer to Lower Cover Removal on p. 73.
Disconnect exhaust water valve electrical connector.
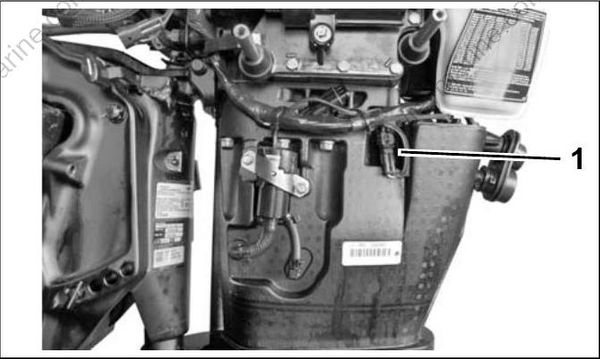
- Exhaust valve connector
Disconnect cooling water hoses from exhaust housing.
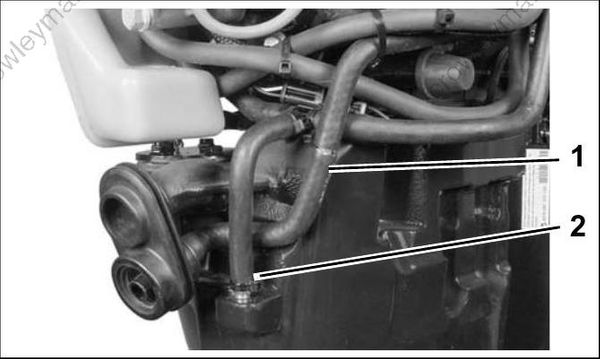
- Overboard indicator hose
- Drain hose
Remove pin and washer from shift rod lever to release the lower shift rod.
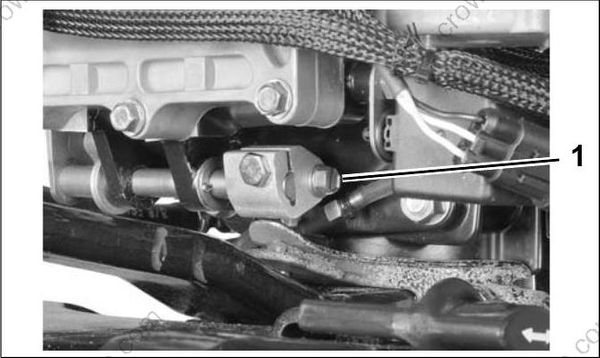
- Shift rod screw
Remove throttle cable and tiller shift rod.
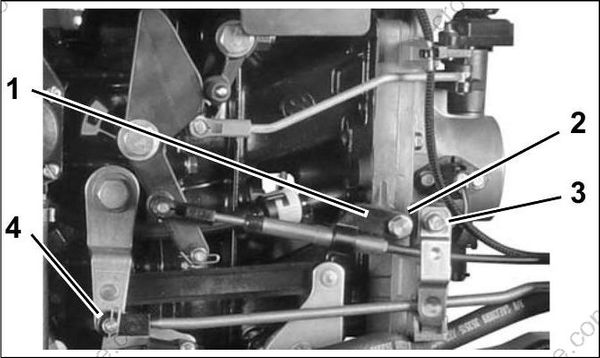
- Cable anchor
- Anchor screw
- Cable retainer
- Shift rod retainer
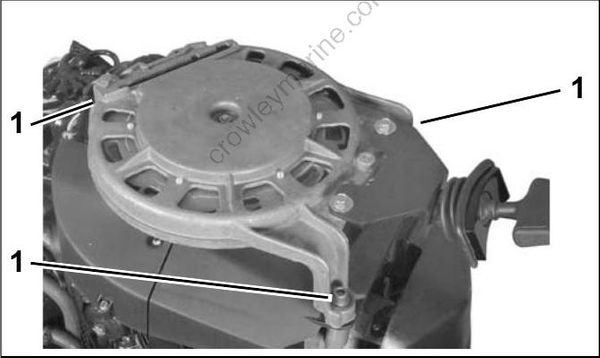
Remove the recoil starter housing and starter ratchet. Refer to RECOIL STARTER REMOVAL on p. 265.
Install Lifting Fixture, P/N 396748, on flywheel and seat the three screws completely
Be sure to use only the 1 1/8 in. (short) screws, P/N 398067, included with the tool to avoid damage to electronic components under the flywheel.
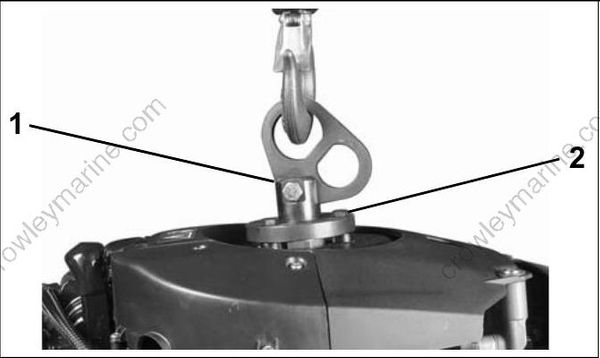
- Lifting fixture
- 1 1/8 in. screws
Fasten appropriate chain hook to eye of tool and support weight of powerhead with hoist.
Loosen the screws holding the exhaust water valve to the exhaust housing.
Move water valve aside and remove the eight exhaust housing to powerhead screws.
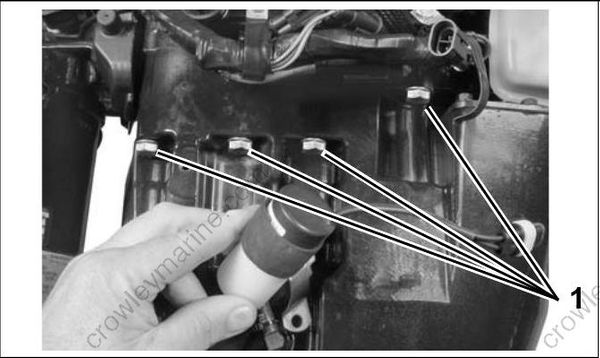
- Powerhead screws
Use a suitable tool to carefully separate the powerhead from exhaust housing.
IMPORTANT: Do not damage the powerhead or exhaust housing mating surfaces.
