

Removal
Before removing the midsection:
• The gearcase must be removed. Refer to Gearcase REMOVAL AND INSTALLATION on p. 285.
• The powerhead must be removed. Refer to Powerhead REMOVAL on p. 229.
Remove and discard four lower mount screws.
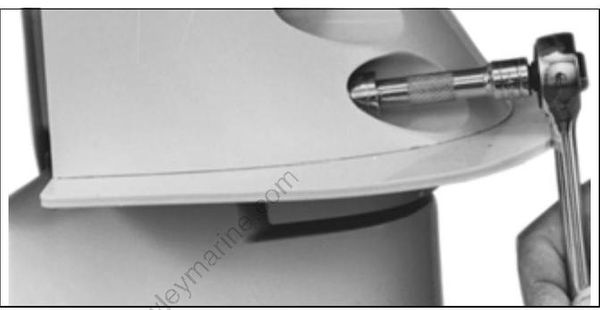
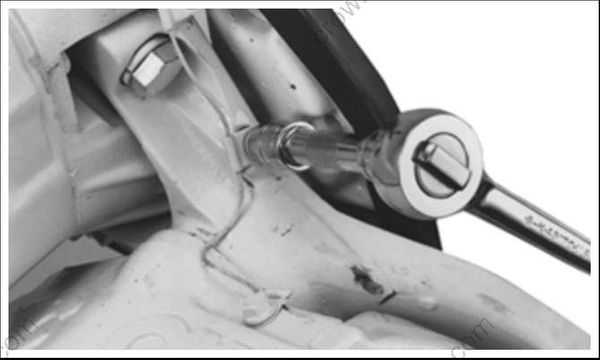
Remove the steering arm ground lead and screw.
Remove two upper mount screws.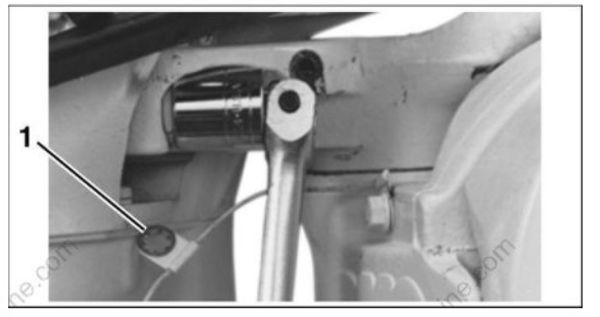
- Ground lead (removed)
Remove the exhaust housing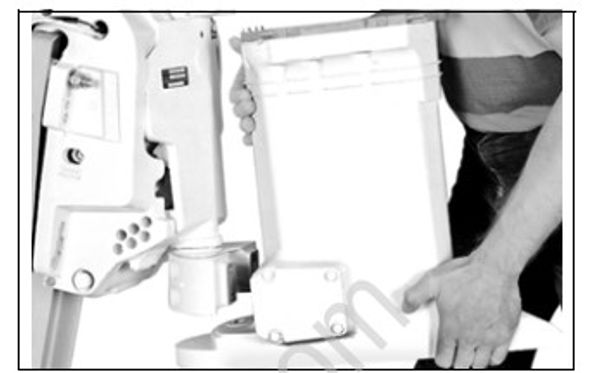
TYPICAL
Remove lower mount covers and inspect the lower mounts.
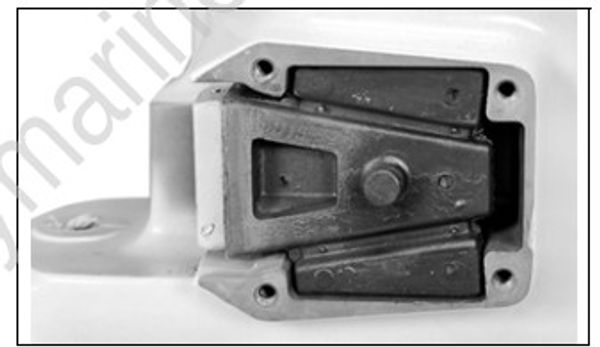
TYPICAL
Disassembly
Remove two front and two rear adapter to outer exhaust housing screws. Remove one nut at rear of the adapter.
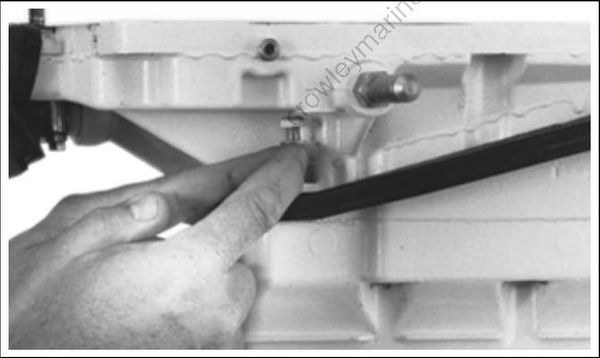
Loosen and remove the upper mount plate screws and remove the mount plate.
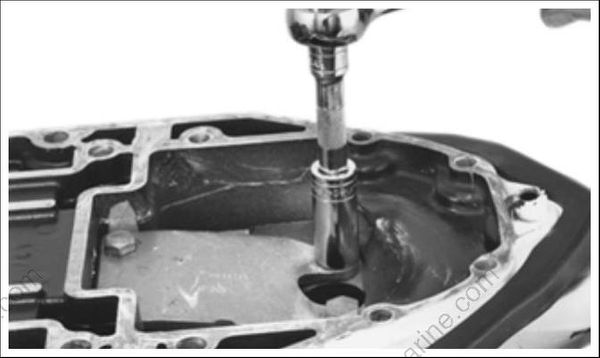
Lubricate the upper mount with soapy water and pry up to remove it from the adapter housing.
Separate the adapter from the outer exhaust housing.
Mark the water tube for correct reassembly location. Remove six inner exhaust housing screws.
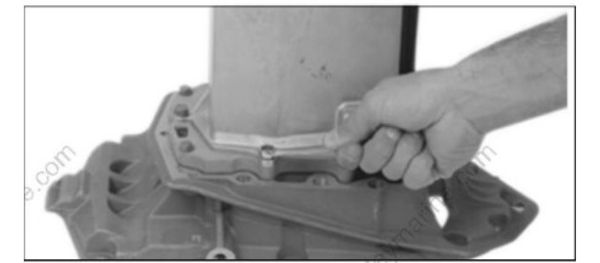
Remove the water tube and grommet from the inner exhaust housing. Discard the grommet.
Loosen retaining screws and remove the cover from water plate.
Loosen retaining screws and remove water plate from the adapter.
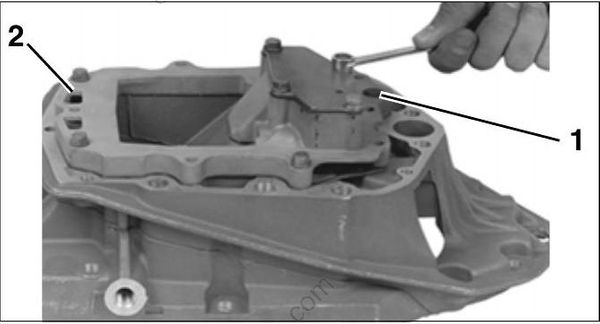
- Cover
- Water plate
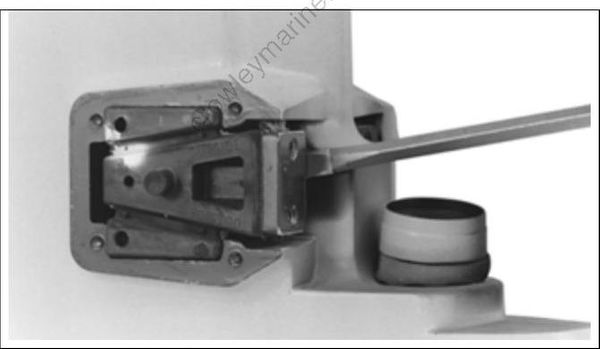
Remove the lower mount assemblies as necessary. Lubricate with soapy water and carefully pry at both ends.
Cleaning and Inspection
Wear safety glasses to avoid personal injury, and set compressed air to less than 25 psi (172 kPa).
Clean all parts with parts cleaning solvent and dry with compressed air. All nut and screw threads coated with thread locking material must be thoroughly cleaned before assembly. When using a thread locking product, be sure to prime the threads with Locquic Primer.
Examine the upper and lower thrust mounts, and replace if deteriorated or damaged.
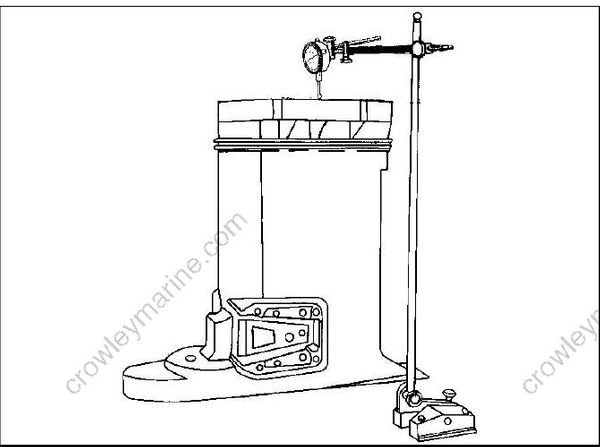
Before checking the exhaust housing for distortion, thoroughly clean the top and bottom mating surfaces and remove all sealer and corrosion.
Check the exhaust housing for distortion. Place the housing on a surface plate. Using a dial indicator, check flatness by measuring the run-out on the top edge of housing. The maximum allowable run-out is 0.009 in. (0.228 mm). If you do not have access to a dial indicator and surface plate, seek the services of a machine shop. DO NOT attempt to straighten a distorted housing. Replace it.
IMPORTANT: A distorted exhaust housing will cause the upper driveshaft splines to wear excessively and will damage the crankshaft splines.
Inspect the water tube for obstructions or kinks, which may restrict water flow.
Assembly
Lightly coat both sides of a new gasket with Gasket Sealing Compound and position the gasket and water plate.
Apply Gasket Sealing Compound to threads of the water plate retaining screws. Install with washers and torque to 60 to 84 in. lbs. (7 to 9.5 N·m).
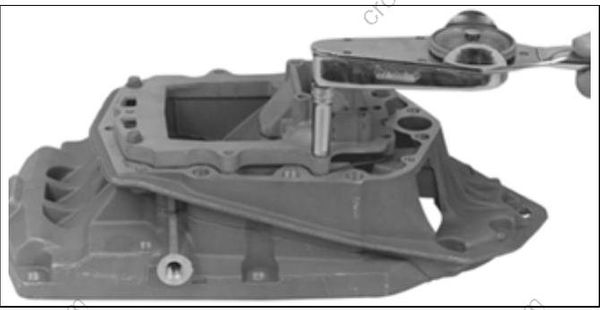
Apply Adhesive 847 to the water plate surface, then place the cover on the water plate.
Apply Gasket Sealing Compound to threads of cover retaining screws. Install with washers and torque to 60 to 84 in. lbs. (7 to 9.5 N·m).
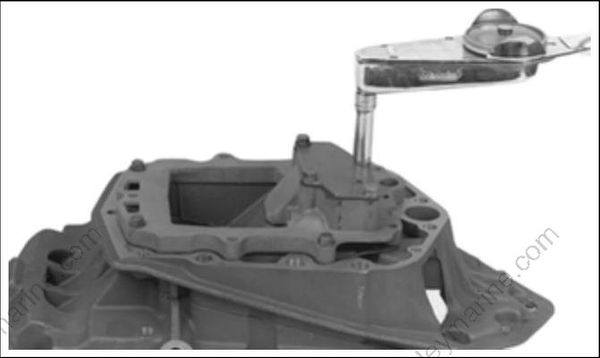
Coat the outside diameter of a new water tube grommet with Adhesive 847. Install grommet in the inner exhaust housing. Install the water tube.
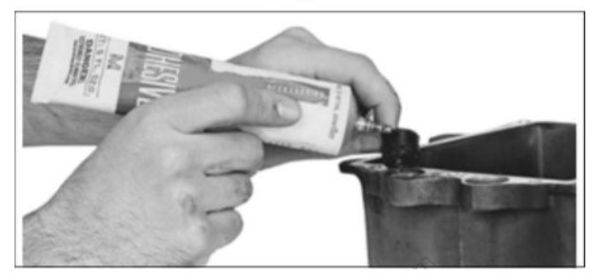
Lightly coat both sides of a new inner exhaust housing gasket with Gasket Sealing Compound and install it.
Install the inner exhaust housing. Coat inner exhaust housing screws with Gasket Sealing Compound and torque to 60 to 84 in. lbs. (7 to 9.5 N·m).
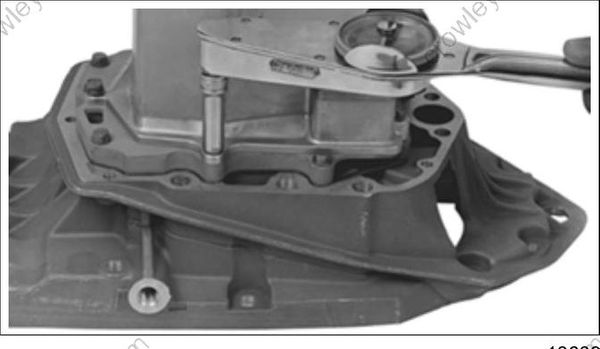
Apply Adhesive 847 to the bottom flange of the adapter/inner exhaust housing. Install a new seal.
Apply Triple-Guard grease to outer surface of seal.
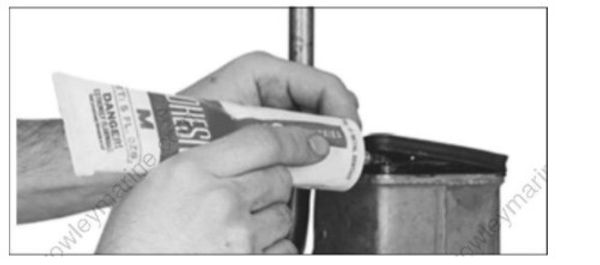
Install a new inner exhaust housing seal. Apply Adhesive 847 to the seal groove.
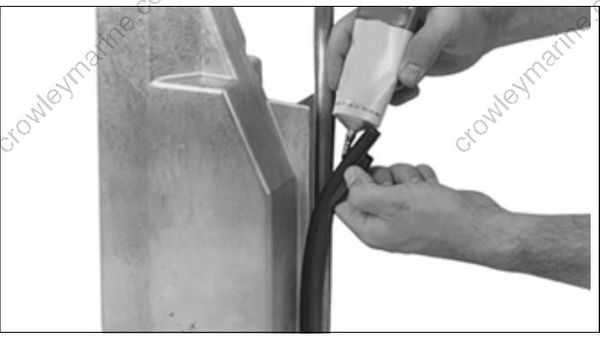
Clean and degrease the adapter housing and outer exhaust housing mating surfaces with Cleaning Solvent. Apply Gel-Seal II sealant to the adapter flange of the exhaust housing.
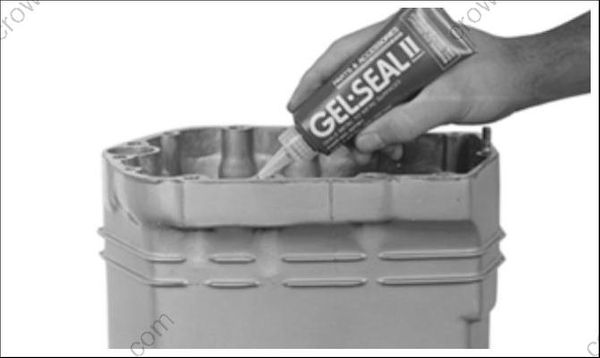
Place the adapter/inner exhaust housing into the exhaust housing. Align the water tube. Loosely install the small retaining screws and washers.
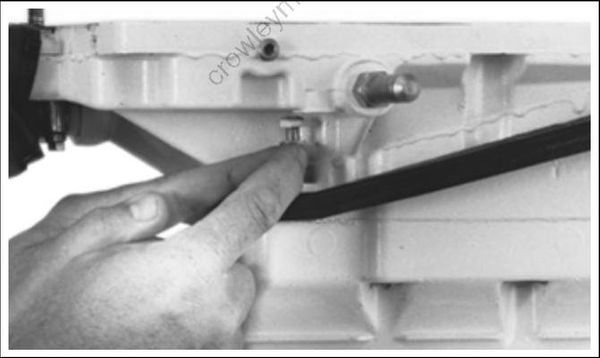
Lubricate the upper mount with soapy water and push into place in the adapter housing. The mount radius must face aft with the “TOP” mark facing up.
Apply Locquic Primer and Nut Lock to the upper mount plate screws and install the plate and
screws loosely. Install the ground lead and star washer under the forward starboard screw.
Align the outer exhaust housing and adapter by placing two powerhead mounting screws through their holes.
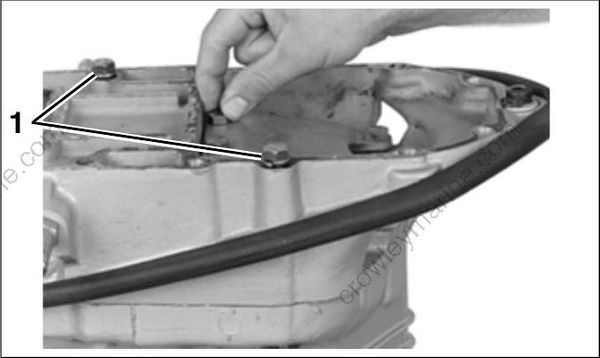
- Powerhead mounting screws
Install four mount plate screws and washers and torque to 22 to 24 ft. lbs. (30 to 33 N·m).
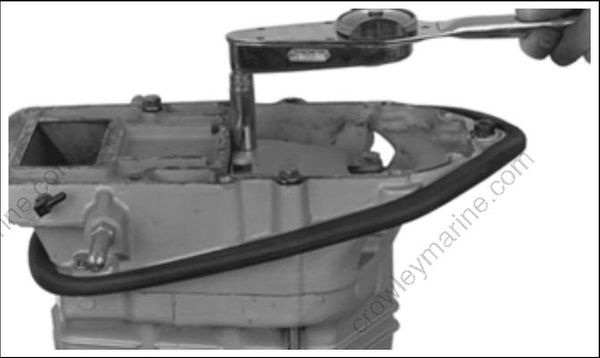
Torque the small adapter to exhaust housing screws to 60 to 84 in. lbs. (7 to 9.5 N·m).
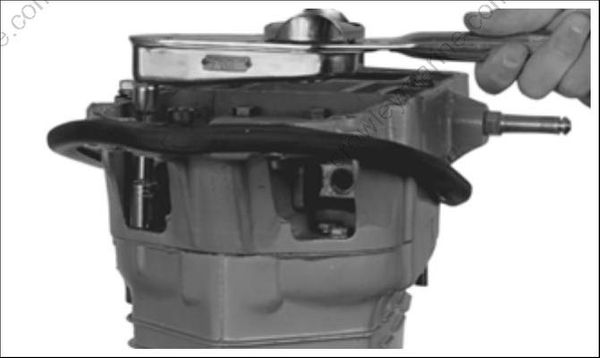
If removed, coat the lower mounts with soapy water and press into the exhaust housing with the “OUT” mark facing outward.
Position the mount covers. Install washers and screws, and torque to 156 to 180 in. lbs. (18 to 20 N·m).
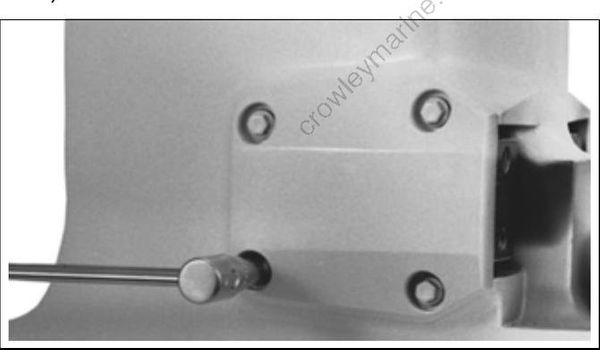
IMPORTANT: Replace any lock-patch screw if its locking feature becomes weak. Definite resistance to tightening must be felt when reusing any fastener. If replacement is necessary, use only an authorized replacement or equivalent.
Installation
Bring the exhaust housing into position with the stern bracket.
Install four new lower mount screws. These screws have lock-patch pre-applied, assisting in a secure mount. Torque screws to 38 to 45 ft. lbs. (52 to 61 N·m).
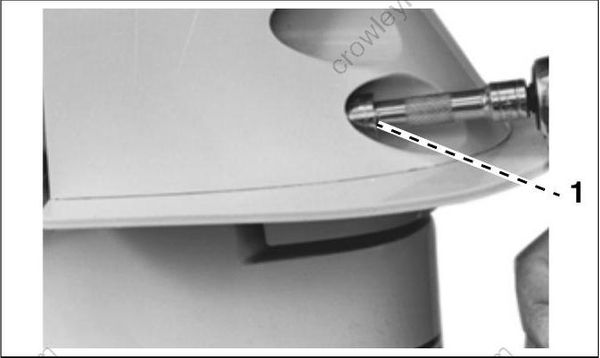
- Lower mount screws
Apply Ultra Lock to upper mount screws and torque to 50 to 60 ft. lbs. (68 to 81 N·m).
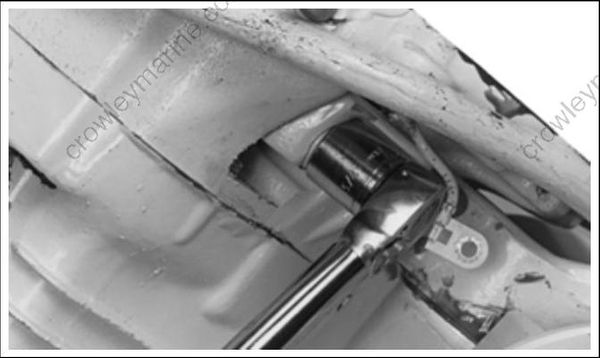
Attach the ground lead and star washer to the steering arm’s starboard side.
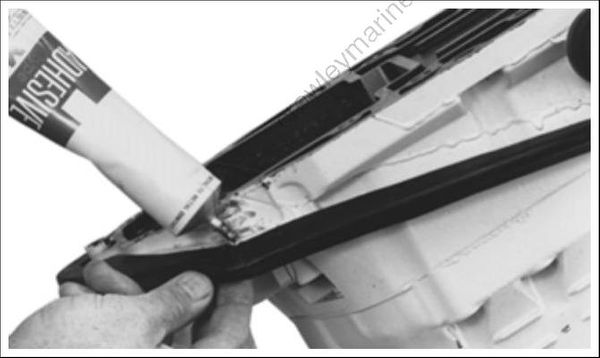
If necessary, replace the exhaust adapter to lower engine cover seal. Attach with Adhesive 847. .
Install gearcase. Refer to Gearcase REMOVAL AND INSTALLATION on p. 285.
Install powerhead. Refer to Powerhead INSTALLATION on p. 250.
