

EXHAUST HOUSING SERVICE
The exhaust housing contains no serviceable internal parts. The exhaust relief muffler and motor mounts can be serviced without removing the exhaust housing.
Exhaust Housing Removal
Before removing the exhaust housing:
- Remove the gearcase. Refer to GEARCASE REMOVAL AND INSTALLATION on p. 272.
- Remove the powerhead. Refer to POWERHEAD REMOVAL on p. 196.
Remove two upper mount and two lower mount screws.
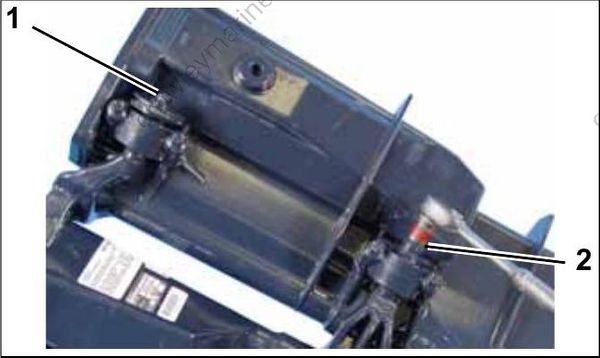
- Upper mount screw
- Lower mount screw
Remove bumpers and bumper stops from upper mounts. Remove washers from lower mounts. Remove the exhaust housing.
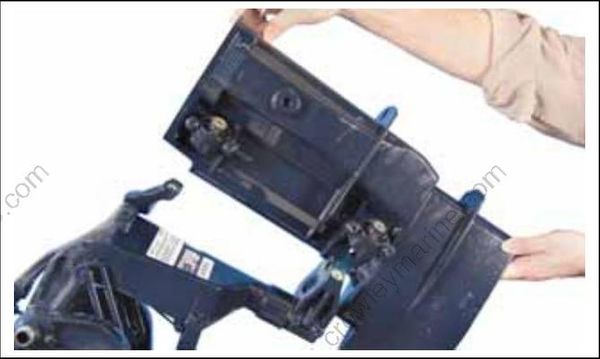
Exhaust Housing
Remove lower mount bracket rubber mount.
Check condition of the lower front mount. Replace if deteriorated or damaged.
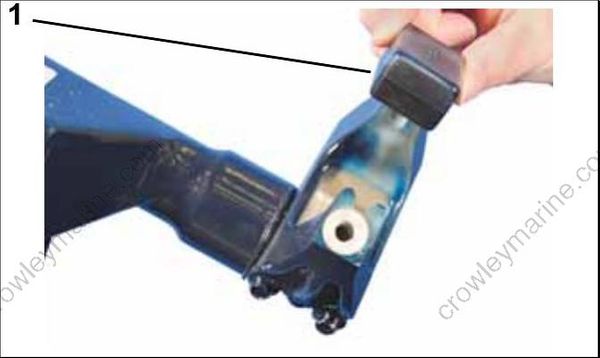
- Rubber mount
Exhaust Housing Installation
Install lower mount bracket rubber mount.
Bring the exhaust housing into position with the stern bracket.
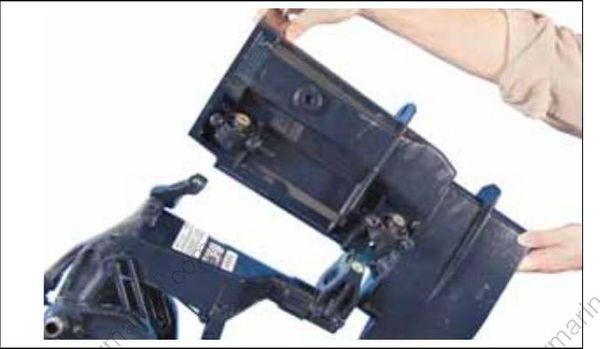
Exhaust Housing
Install bumpers, bumper stops and screws on upper mounts. Install washers and screws on lower mounts. Refer to Mount Service on p. 227.
Install gearcase. Refer to GEARCASE REMOVAL AND INSTALLATION on p. 272.
Install powerhead. Refer to POWERHEAD INSTALLATION on p. 213.
Mount Service
Individual upper and lower motor mounts can be serviced without removing the exhaust housing.
Remove the lower motor covers. Refer to Lower Cover Removal on p. 75.
Removal
Remove mount screw and washer(s).
Remove two mount to exhaust housing screws. Remove mount.
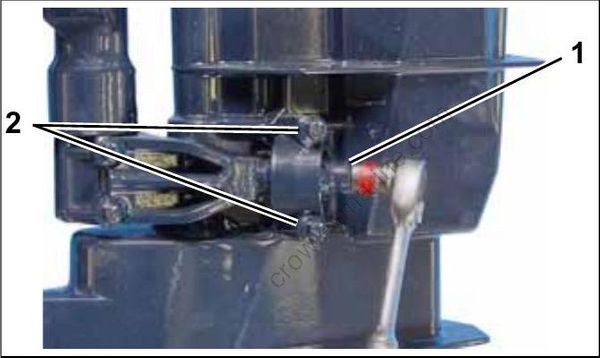
- Mount screw
- Mount to exhaust housing screws
Check condition of the mounts. Replace if deteriorated or damaged.
Installation
Apply Triple Guard grease to threads of the two mount to exhaust housing screws.
Install mount to exhaust housing with two mount to exhaust housing screws. Install screws finger tight at this time.
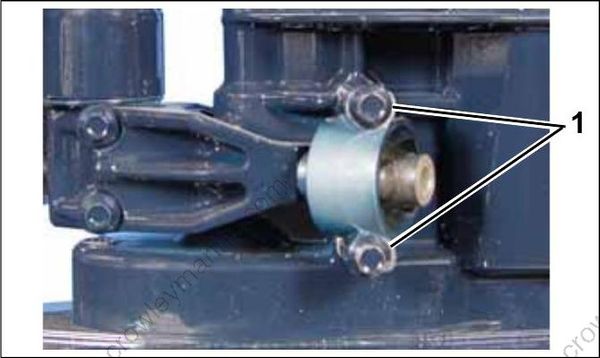
- Mount to exhaust housing screws
Upper mount: Install rubber bumper. Install bumper stop. Align slot with pin as shown.
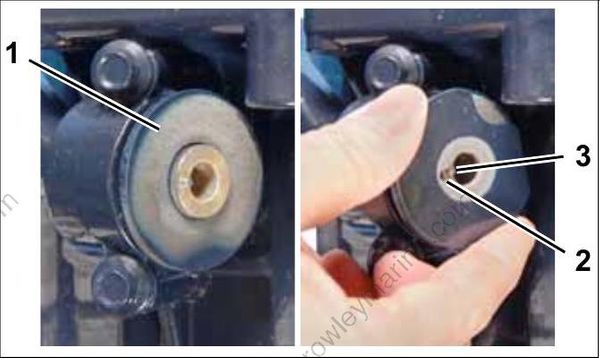
- Rubber bumper
- Slot
- Pin
Apply Triple Guard grease to threads of the upper mount screw. Install screw through upper mount. Tighten screw to a torque of 22 to 23 ft. lbs. (30 to 32 N-m).
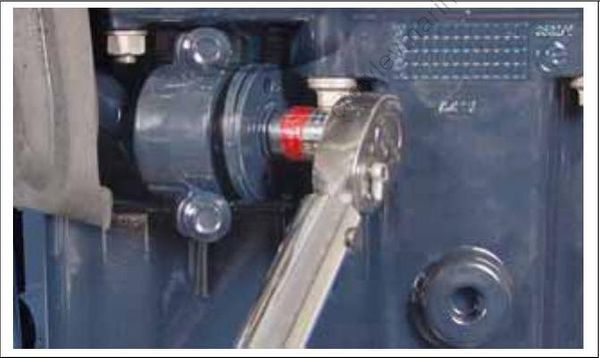
Make sure upper mount bumper stop slot stays aligned with pin as screw is tightened.
Lower mount: Apply Triple Guard grease to threads of the lower mount screws. Install washer on screw and install screw through lower mount.
Tighten screw to a torque of 22 to 23 ft. lbs. (30 to 32 N-m).
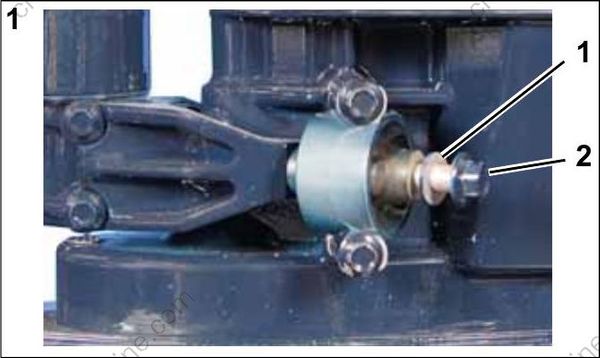
- Washer
- Screw
Tighten two mount to exhaust housing screws to a torque of 10 to 12 ft. lbs. (14.5 to 16.5 N-m).
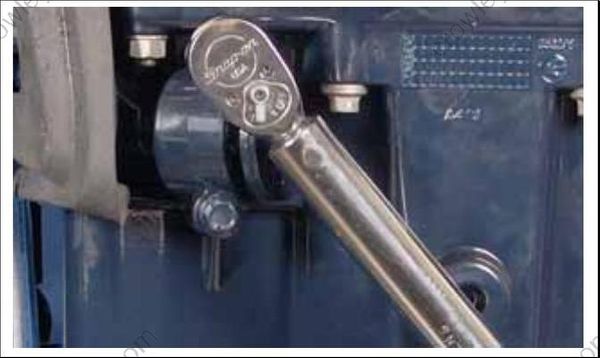
Install lower motor covers. Refer to Lower Cover Installation on p. 75.
Exhaust Relief Muffler
The exhaust relief muffler has no serviceable parts, replace as needed.
Remove lower motor covers. Refer to Lower Cover Removal on p. 75
Remove overboard indicator grommet from muffler. Remove Oetiker clamp.
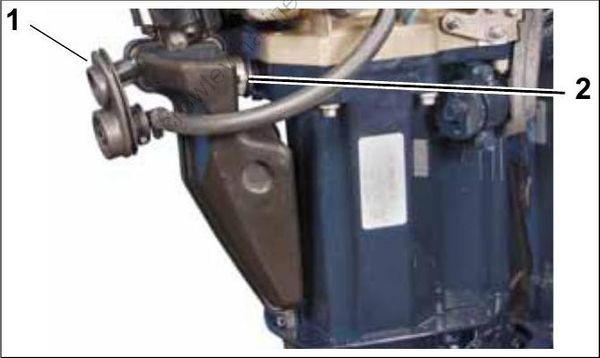
- Overboard indicator grommet
- Oetiker clamp
Install muffler drain hose on new muffler with tie strap.
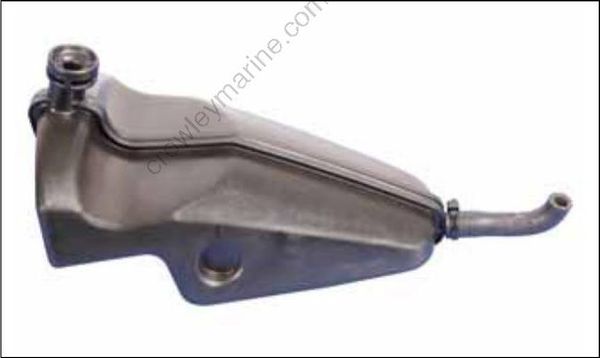
Install muffler drain hose through hole.
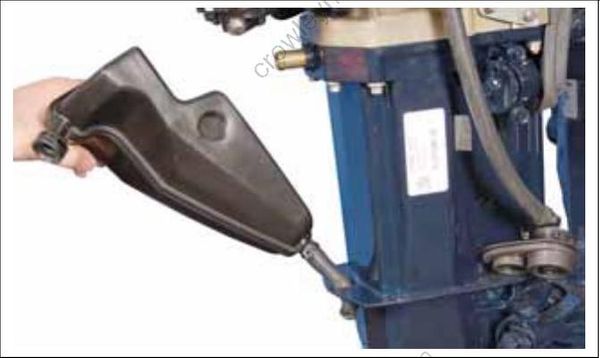
Secure muffler with new Oetiker clamp.
Install overboard indicator grommet on muffler.
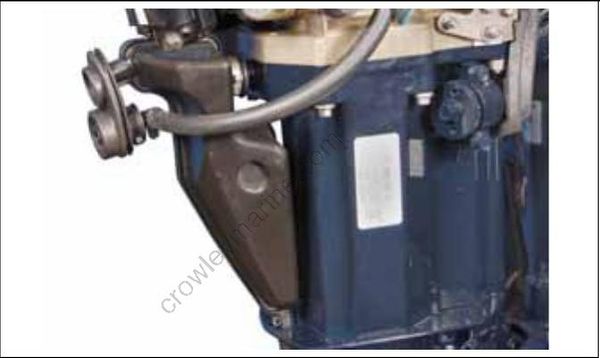
Install lower motor covers. Refer to Lower Cover Installation on p. 75
