

MANUAL STARTER
Position the charge module harness, connectors and wiring as shown.
Assemble and tighten tie straps through the tie strap slots of the recoil housing. Attach fuse holder to retainer.
Attach remaining connectors to retainers on recoil housing as shown.
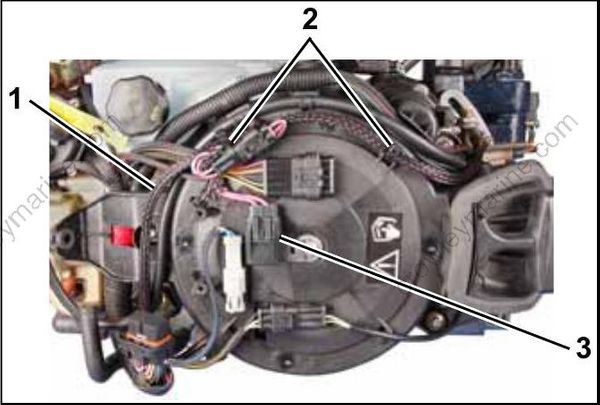
- Battery charge module harness
- Tie straps
- Fuse holder
Position the EMM on the starter housing. Install and tighten self-taping screws carefully.
Turn self-tapping screws counter clockwise to start the threads and clockwise to tighten. Failure to follow this procedure can damage the threads of the housing.

- EMM
- Self-tapping screws
Connect the cooling hose to the EMM. Secure with tie strap.
RECOIL STARTER DISASSEMBLY
Wear safety glasses while disassembling and assembling manual starters because of rewind spring tension.
Use Starter Spring Winder and Installer, P/N 342682, to service the recoil starter assembly.
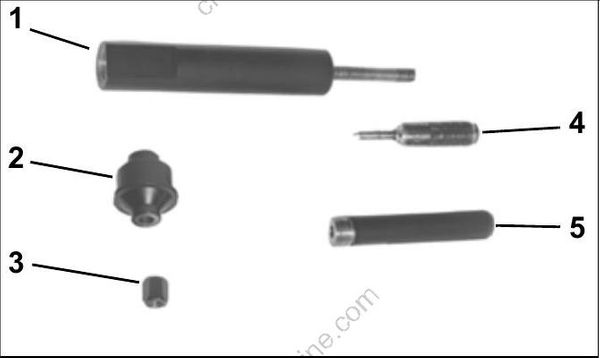
- Base
- Retainer
- Left-hand threaded nut
- Stop tool
- Handle
Pull the starter rope out completely. Retain pulley in position by placing the stop tool from Starter Spring Winder and Installer, P/N 342682 through the hole in the pulley.

- Stop tool
If the stop tool hole in the pulley is missing, refer to PULLEY MODIFICATION on p. 313.
Remove rope from pulley rope channel and untie knot. Remove rope from starter assembly.
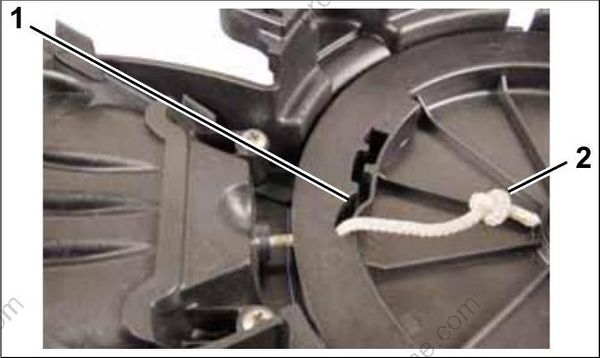
- Rope channel
- Knot
Remove stop tool and slowly unwind pulley until tension is released from spring.
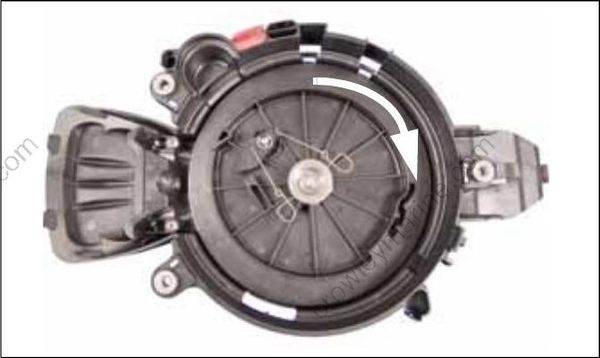
Remove retaining ring, pawl and linkage.
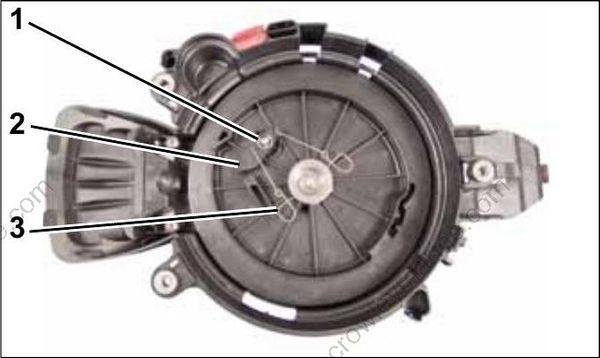
- Retaining ring
- Pawl
- Linkage
Remove starter spindle screw and lock nut.
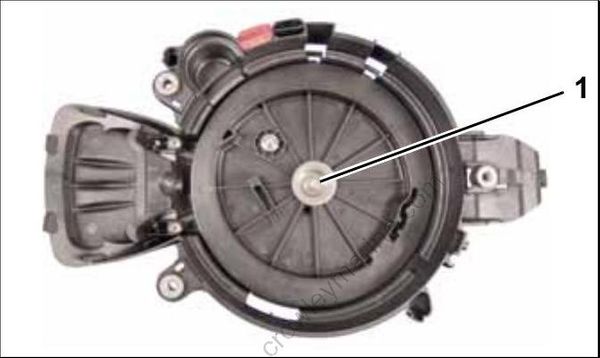
- Lock nu
Hold pulley down in housing and lift out spindle. Carefully lift out pulley, leaving spring in housing.
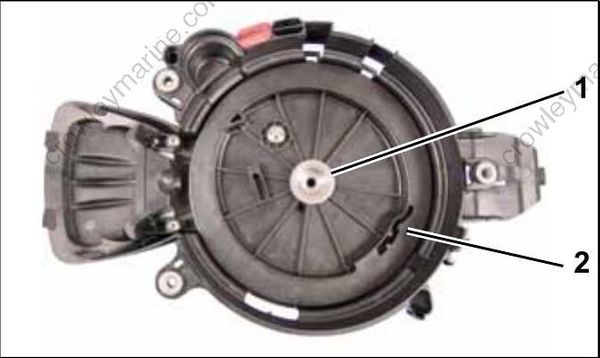
- Spindle
- Pulley
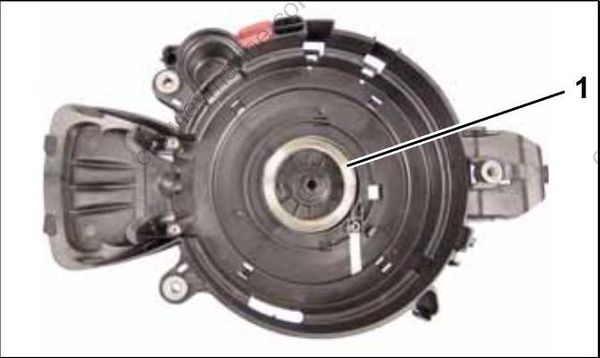
- Spring
Turn housing over and tap on bench to remove spring.
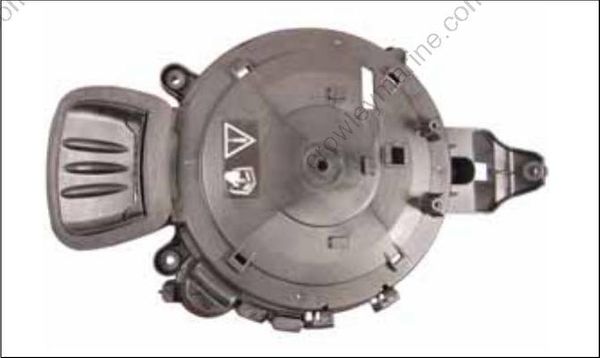
Keep fingers away from uncoiling spring.
Do NOT remove spring with housing facing up. Do NOT lift spring out of housing by hand or with pliers.
Spring is under tension and will cause injury if accidentally released.
Remove two screws. Remove the rope guide.
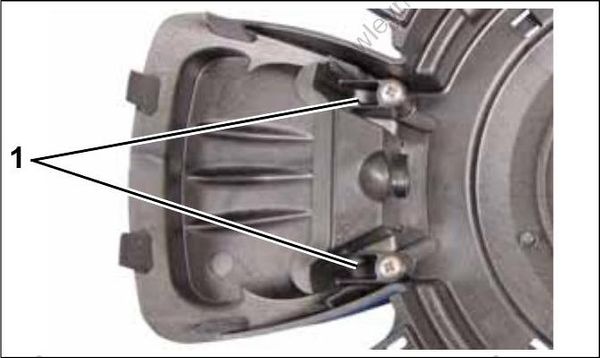
- Screws
RECOIL STARTER CLEANING AND INSPECTION
Wash metal components in solvent and dry with compressed air.
Inspect the rewind spring for broken end loops and weak tension.
Examine the starter pawl for wear.
Inspect the starter components for wear. Replace as necessary.
Inspect starter rope. Replace rope if frayed. Cut new rope 80 in. (203 cm) in length. Fuse ends of rope to a length of 1/2 in. (12 mm).
Examine the pulley and the starter housing. Look for sharp edges and rough surfaces that could fray the starter rope. File and polish to remove.
Examine the starter. Replace any worn or damaged parts.
