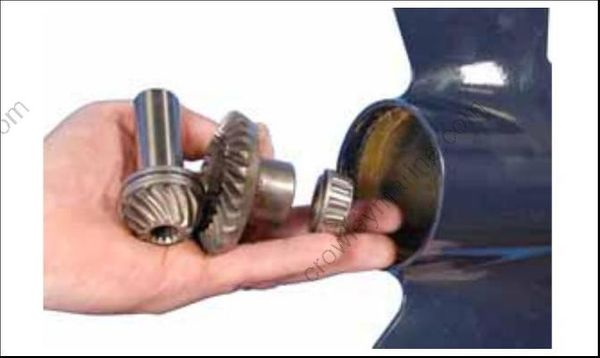
Gearcase
Turn the driveshaft until holes of the impeller housing are aligned with holes of the gearcase. Apply Gasket Sealing Compound to threads of the impeller housing screws. Tighten the screws to a torque of 60 to 84 in. lbs. (7 to 9.5 N·m).
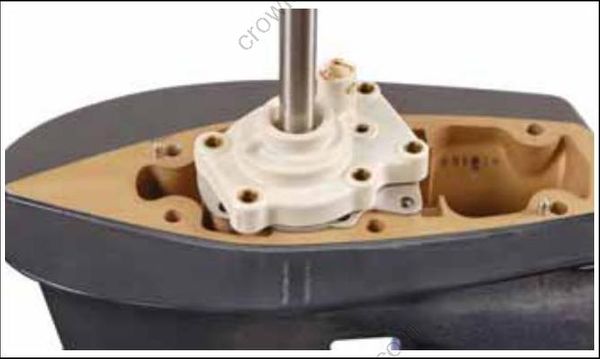
Apply Adhesive 847 to outside of water tube grommet. Install grommet and locate grommet bosses into holes of impeller housing.
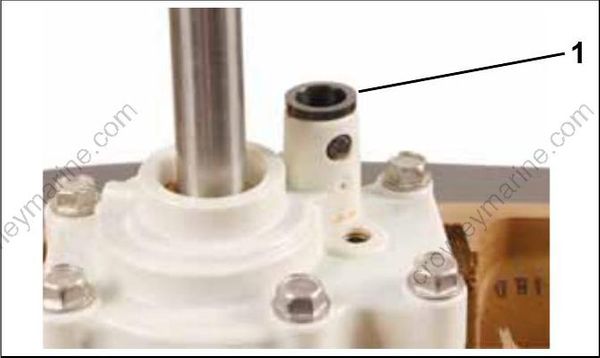
- Grommet
GEARCASE DISASSEMBLY
Wear safety glasses to avoid personal injury, and set compressed air pressure to less than 25 psi (172 kPa).
IMPORTANT: Clean and inspect all parts during disassembly. Replace any damaged parts, seals, O-rings, and gaskets.
Before disassembling the gearcase, examine the following:
- Gearcase Housing — Check for visible damage to skeg, strut, anti-ventilation plate, bullet, and mating surface. Check seal areas for visible signs of lubricant leakage.
- Propeller Shaft — Check for bent or damaged shaft. Check for twisted splines and damaged threads.
- Shift Rod — Check for bent, or binding rod.
- Hydrostatic Seal Grooves — Must be in good condition to help prevent propeller ventilation.
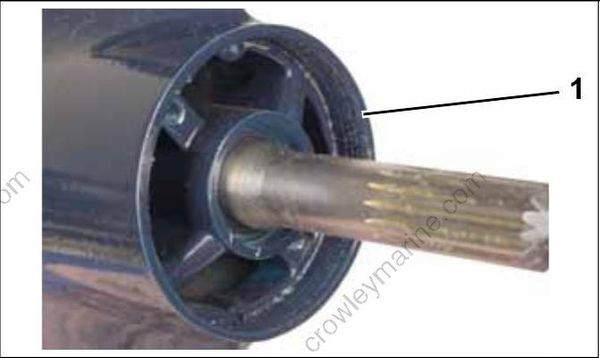
- Hydrostatic seal grooves
- Gearcase Anodes — If anodes have eroded to two-thirds their original size, they must be replaced.
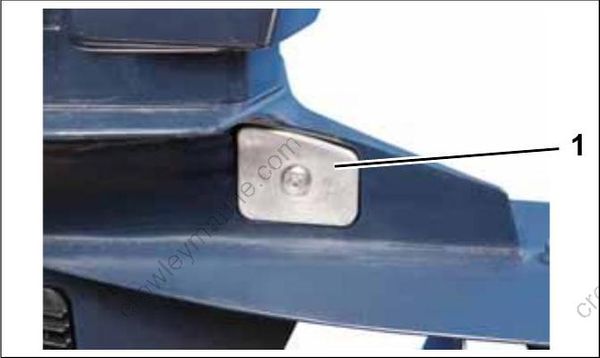
- Gearcase anode
- Drive Shaft — Check splines for visible dam age, twisting and wear. Severe spline wear indicates the exhaust housing or gearcase has been distorted, possibly by impact damage.
Remove the propeller and mounting hardware.
Drain and inspect oil as described in Gearcase Lubricant on p. 65.
Remove gearcase. Refer to GEARCASE REMOVAL AND INSTALLATION on p. 272
Remove water pump. Refer to WATER PUMP SERVICE on p. 274.
Remove and discard exhaust seal assembly.
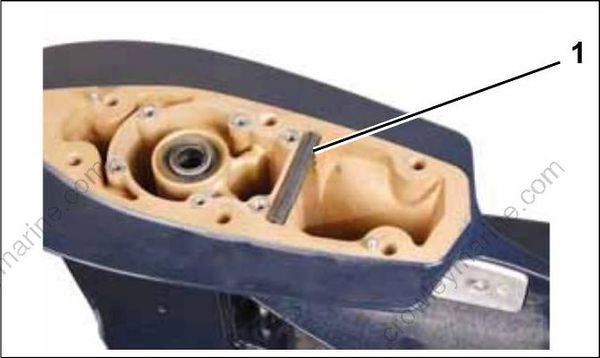
- Seal assembly
Propeller Shaft Bearing Housing Removal
Remove the two propeller shaft bearing housing screws.
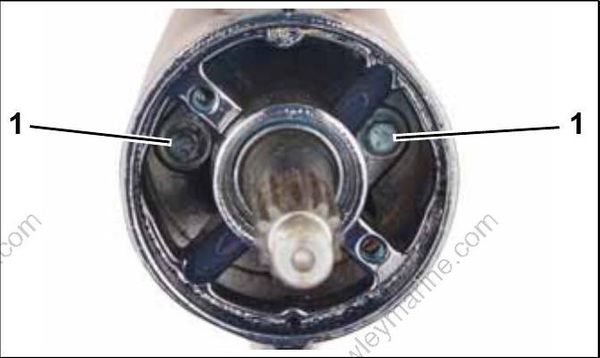
- Screws
Remove the propeller shaft bearing housing from the gearcase using the Universal Puller Set, P/N 378103:
- Puller body, P/N 307636
- Handle, P/N 307638
- Pressing screw, P/N 307637
- Two flat washers, P/N 307639
- Two 1/4-20 x 6 in. screws (obtain locally)
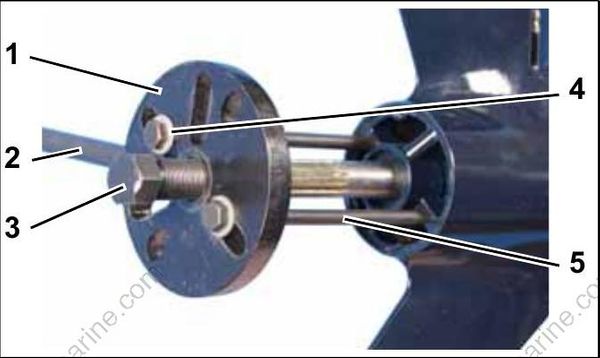
- Body
- Handle
- Pressing screw
- Washers
- Screws (obtain locally)
Remove the retaining ring using Retaining Ring Pliers, P/N 331045.
Retaining ring is under extreme pressure during removal and installation. To prevent personal injury, wear safety glasses and proceed with care to avoid unsnapping the ring from the pliers. After the retaining ring is removed far enough from the gearcase to clear the housing, release the tension on the pliers while retaining ring is still around the propeller shaft.
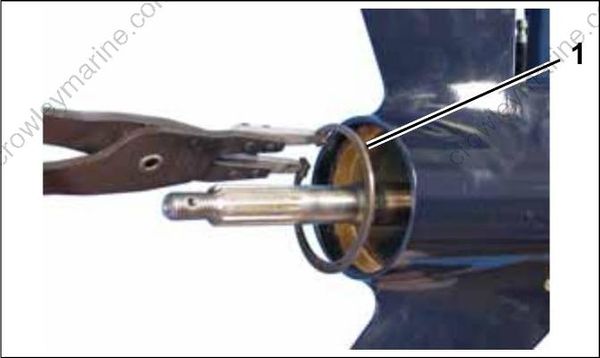
- Retaining ring
Remove the retainer plate from the gearcase.
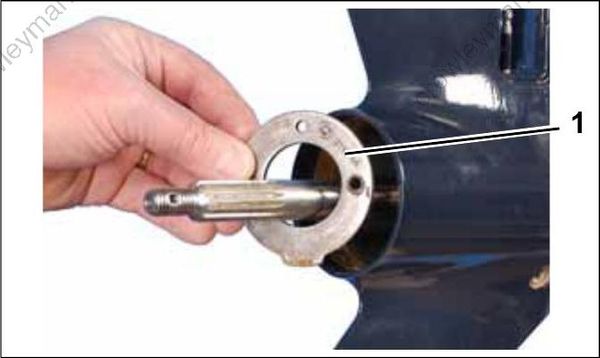
- Retainer plate
Shifter, Gear and Propshaft Removal
Unscrew the lower shift rod from the shifter yoke and remove the shift rod from the gearcase.
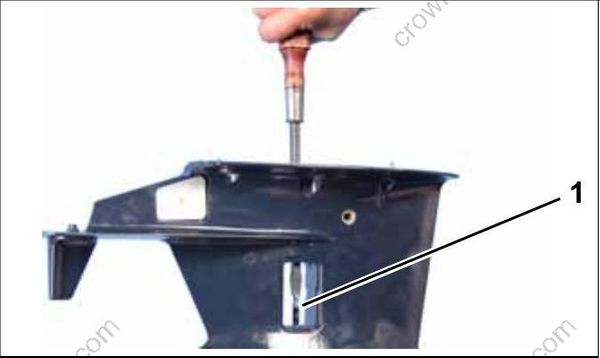
- Lower shift rod
Use long-nose pliers to remove the shift yoke.
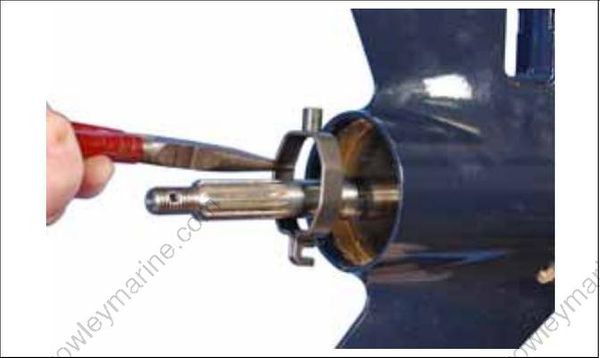
Remove the shifter lever pivot pin. Discard the pivot pin O-ring.
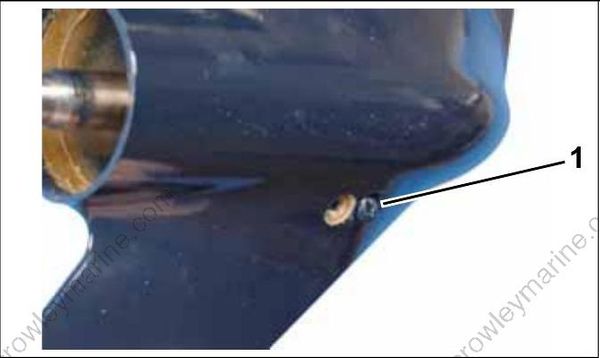
- Shift lever pivot pin
Remove the propeller shaft and reverse gear components from the gearcase.
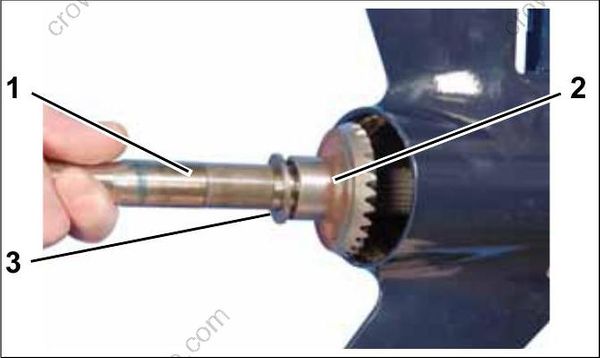
- Propeller shaft
- Reverse gear
- Thrust washer
IMPORTANT: Shifter detent balls and spring will pop out of the clutch when the propeller shaft is removed.
Use a magnet to locate and remove the two shifter detent balls and one detent spring from the gear case.
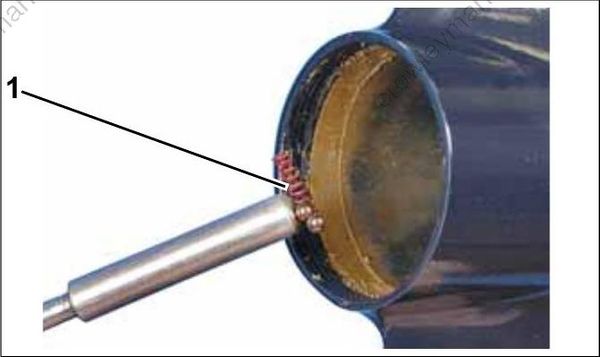
- Spring and balls
Use long-nose pliers to remove the clutch and shifter lever assembly. Use no force. Tilting the shifter lever slightly will allow you to remove it from the gearcase.
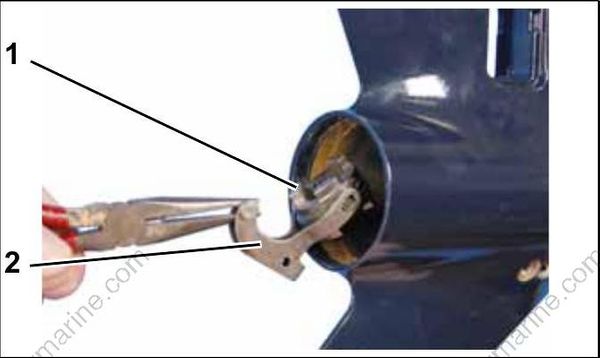
- Clutch
- Shifter lever assembly
Remove the forward bearing, forward gear, pinion, pinion thrust bearing, and two pinion thrust washers.