

General
To simplify reassembly and wiring installation, lay out the various screws and clamps in the order of their proper location.
Remove the electric starter. Refer to Starter Removal on p. 153.
Remove fuel pump assemblies, fuel manifolds, and filter. Refer to FUEL COMPONENT SERVICING on p. 178.
Remove EMM and electrical harness assembly. Refer to EMM SERVICING on p. 110.
Remove stator. Refer to Stator Service on p. 148.
Remove oil pump, rear oil manifold, and oil circulation hoses. Refer to OIL COMPONENT SERVICING on p. 203.
Remove ignition coils and fuel injectors. Refer to Fuel Injector Service on p. 182.
IMPORTANT: Mark injectors for cylinder location before removal. All injectors must be installed in their original location. Improper injector installation can result in powerhead failure.
Remove throttle linkage. Refer to Throttle Linkage Removal on p. 223.
Remove shift linkage. Refer to Shift Linkage Removal on p. 223.
Remove the throttle body and reed plate assemblies. Refer to Intake Manifold Service on p. 185.
Remove pressure valve assembly. Refer to PRESSURE RELIEF VALVE SERVICING on p. 216.
Throttle Linkage Removal
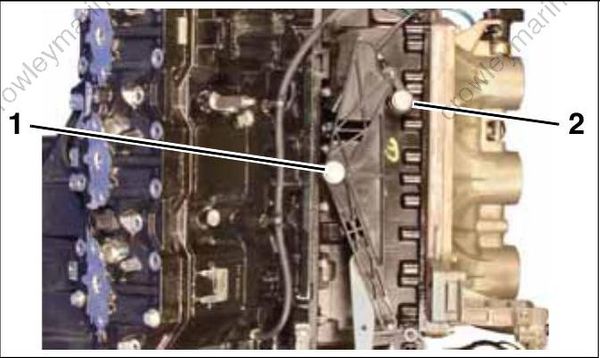
Remove throttle cam and throttle lever.
006866
- Throttle cam screw
- Throttle lever screw
Shift Linkage Removal
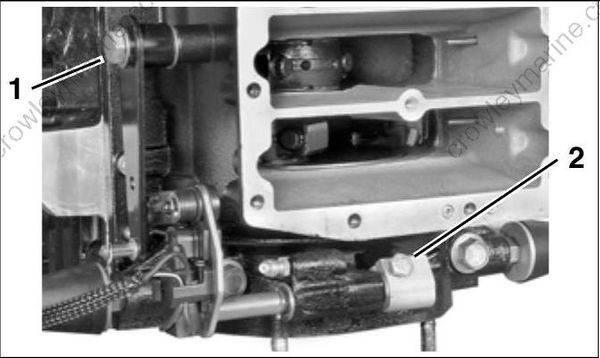
Remove shoulder screw from shift arm and retain ing screw from shift rod lever.
004145
- Shoulder screw
- Shift rod lever retaining screw
Slide entire shift linkage assembly from crankcase.
Crankcase Disassembly
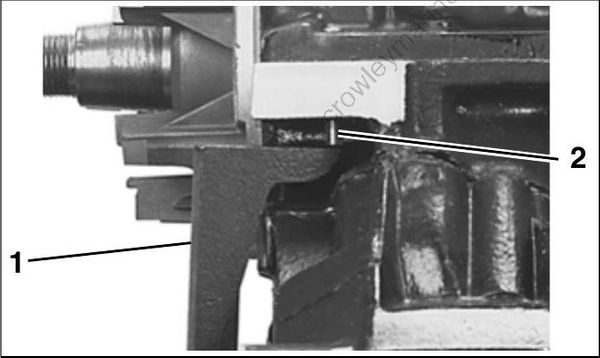
Use the TAPER PIN TOOL, or equivalent, to push the crankcase taper pins toward the front side of the engine.
IMPORTANT: Do not use a tapered punch or any other tool that could jam in or damage the taper bore when removing the pin.
49428
- Tool
- Taper pin
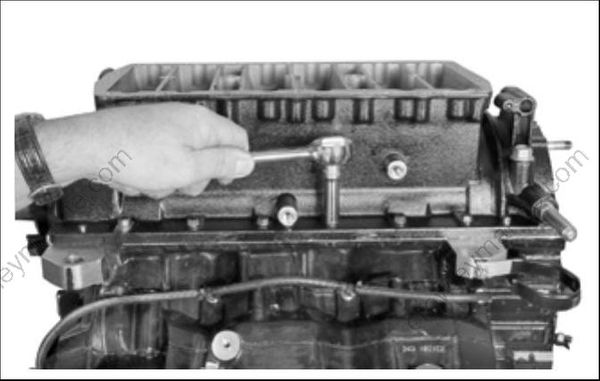
Remove crankcase flange screws.
004139
Remove the upper crankcase head screws.
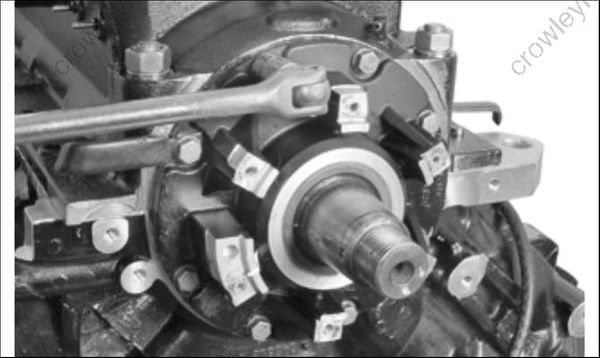
004140
Remove the lower crankcase head screws.
IMPORTANT: DO NOT remove the four inside retaining screws on the lower crankcase head.
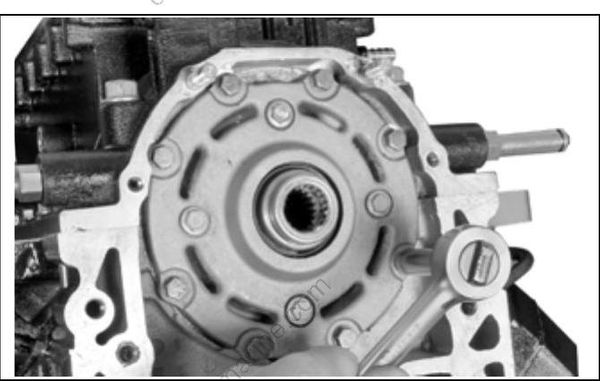
004146
Loosen in stages, and remove the main bearing screws and nuts.
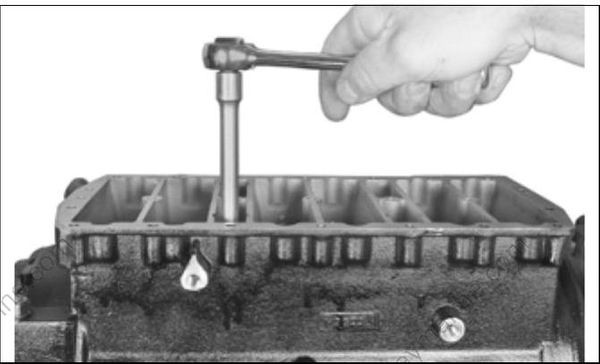
004136
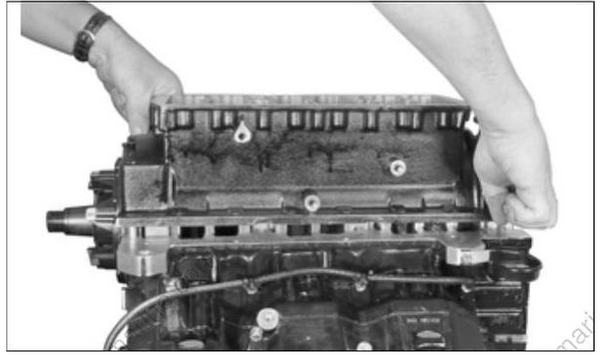
Separate crankcase and cylinder block. It may be necessary to tap on crankshaft with a rawhide or rubber mallet to loosen.
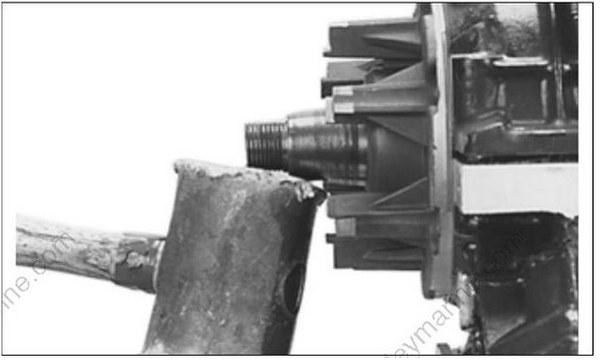 ]
49429
Carefully remove the crankcase from the cylinder block to avoid damaging the crankshaft seal rings.
004137
Cylinder Head Removal
Loosen in stages and remove cylinder head retaining screws. Remove the cylinder head.

49431
Connecting Rods and Pistons
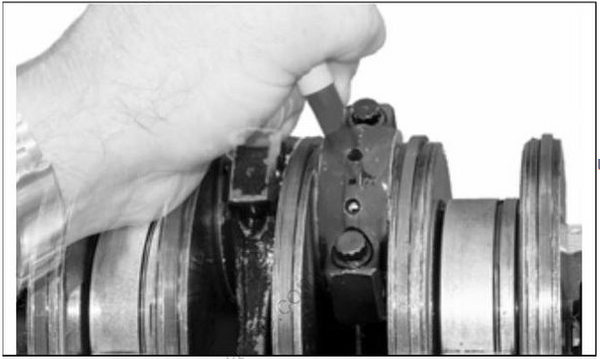
Use a permanent marker to identify each connecting rod cap, connecting rod, and piston by cylinder number. Number 1 is closest to the flywheel.
000825
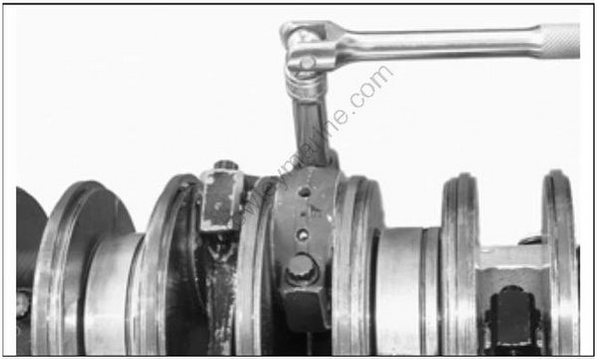
Use Torquing Socket, P/N 346187, to loosen in stages the rod cap retaining screws. DO NOT remove the screws
000823
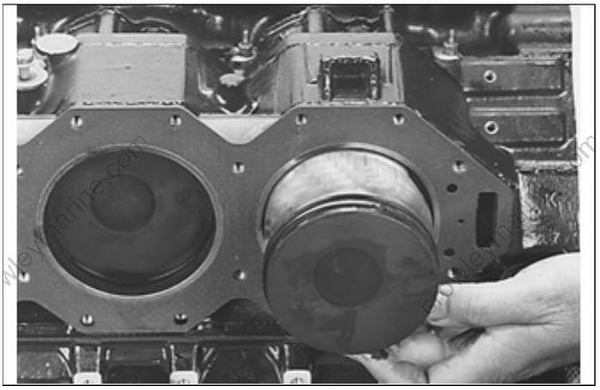
Use one hand to support the piston, and remove the rod cap screws with your other hand. Remove each piston and rod assembly.
49432
IMPORTANT: Reattach each rod cap to its rod as soon as the piston is removed. Each cap is unique and can only be installed on its mated rod. Do not allow rod to contact inside surface of cylinder or crankshaft.
IMPORTANT: Identify all internal components so that if reused, they can be reinstalled in their original positions.
Repeat steps for each remaining piston and connecting rod.
Use an appropriate ring expander to remove all piston rings from pistons. Discard the rings.
Wear safety glasses to avoid injury.
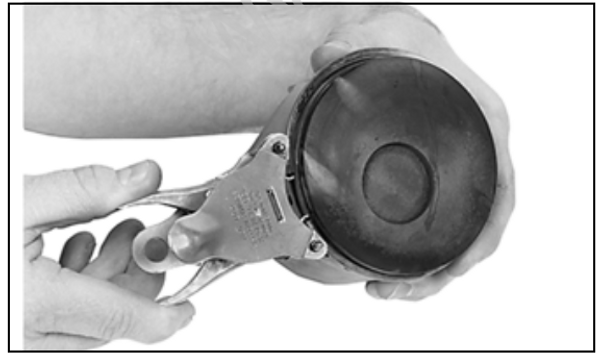
46519
Remove wrist pin retaining rings. Discard retaining ring.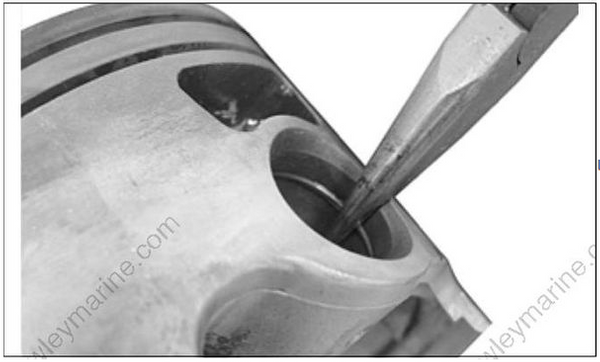
000689
Use Wrist Pin Pressing Tool, P/N 396747, to remove wrist pin.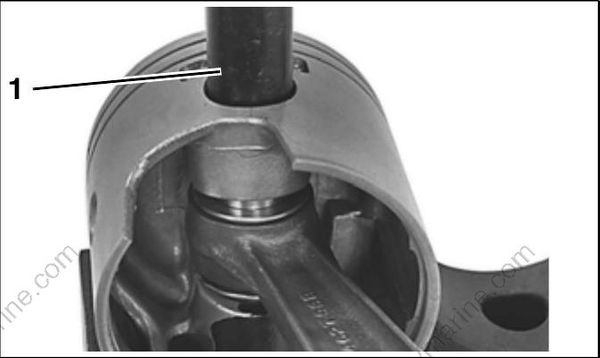
31806
- Driver, P/N 396747
Crankshaft Removal
Wear safety glasses to avoid injury.
Carefully lift crankshaft straight up and remove from crankcase.
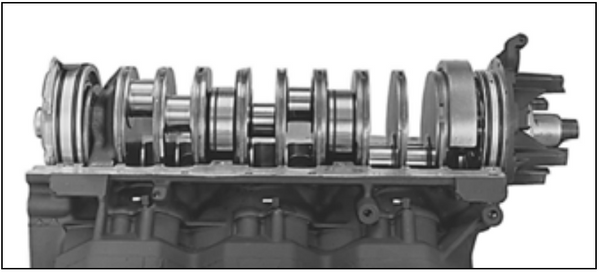
31809
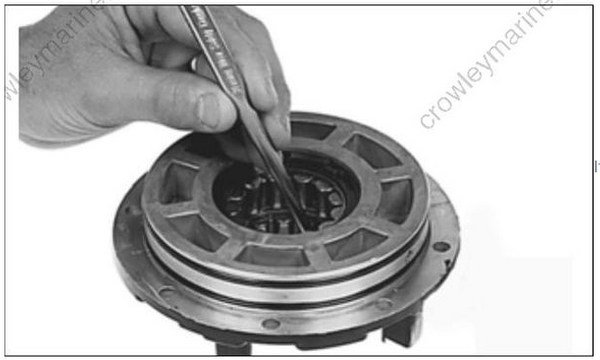
Use a drift punch to remove the upper crankshaft seal. Remove and discard two crankcase head O-rings.
0865
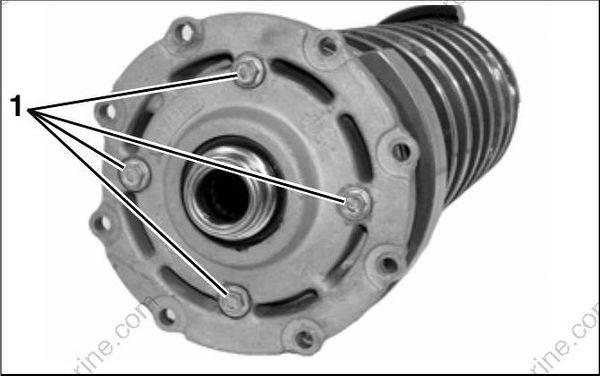
If the lower crankcase head is to be resealed or the lower main bearing replaced, remove the four bearing retainer screws. While rotating the crank case head, gently tap on the flange and remove the head.
000830
- Bearing retaining screws
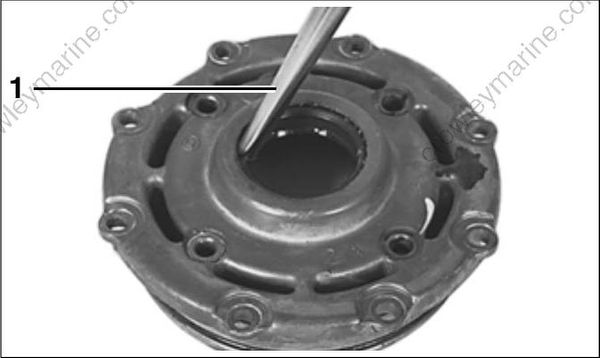
Use a punch to remove the lower crankshaft seal. Remove and discard two crankcase head O-rings.
30297
- Drift punch
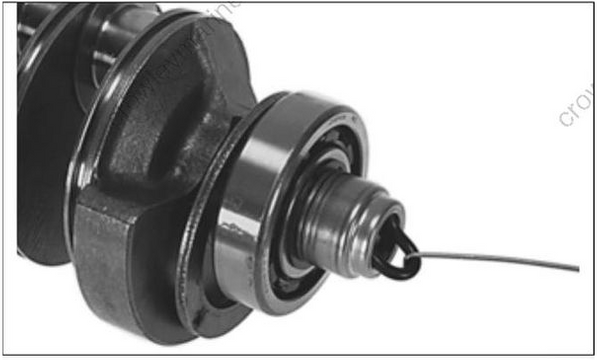
Remove the O-ring from crankshaft sleeve and inspect it. Replace the O-ring if it is not in good condition.
30057
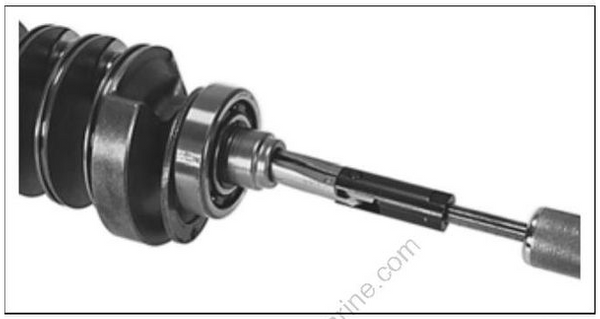
Inspect the crankshaft sleeve and replace, if necessary. To remove the sleeve, use Slide Hammer, P/N 432128, and Large Puller Jaws, P/N 432129.
30056
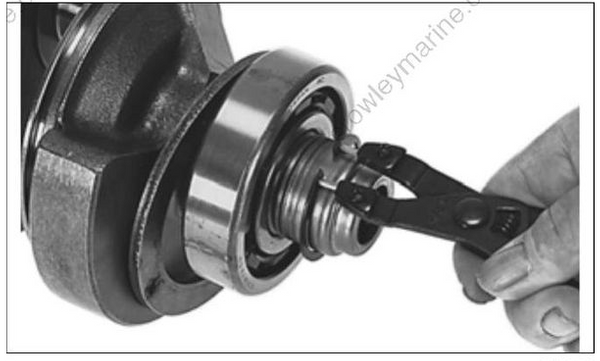
Remove the lower main bearing only if it needs to be replaced. Use external retaining ring pliers to remove the lower main bearing retaining ring.
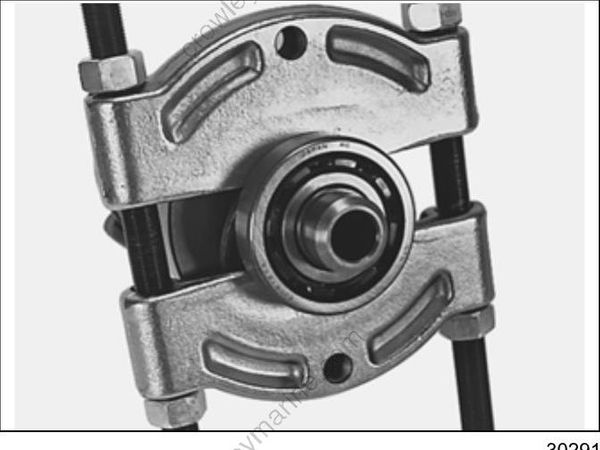
IMPORTANT: If the lower main bearing is removed from the crankshaft, it must be discarded. DO NOT reuse it.
Use a bearing separator to support the bearing, and press off the crankshaft.
30291
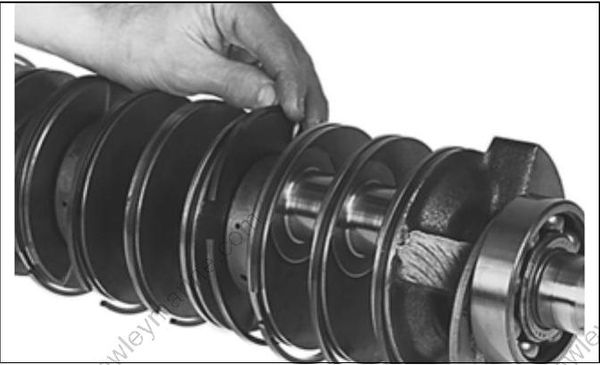
Remove and inspect crankcase seal rings. Identify each ring for installation in original location.
5198
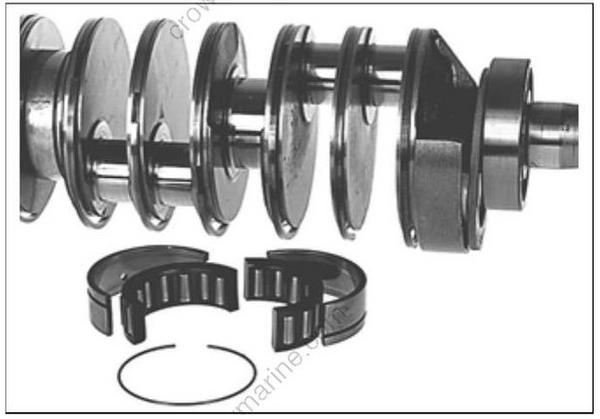
Remove center main bearings and split sleeves for inspection. DO NOT mix parts. Note location of bearings for reassembly.
5195
