

POWERHEAD INSPECTION
For dimensions, refer to SERVICE SPECIFICATIONS on p. 10.
IMPORTANT: Before any inspection process can begin, all internal components must be completely clean and free of contaminants.
Visually inspect all parts. Check for unusual wear patterns, scuffing, or deterioration of aluminum parts, heat-related discoloration of bearings and bearing surfaces, and broken components.
Cylinder Head
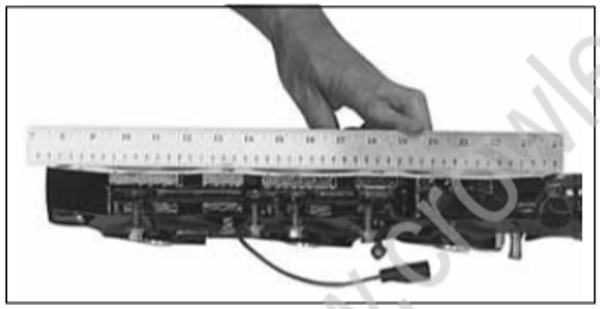
Check for cylinder head warpage using a piece of bar stock or machinist’s straightedge and a feeler gauge set.
Cylinder head warpage must not exceed 0.003 in. (0.08 mm) per inch of measurement. Replace head if warpage exceeds this dimension.
Crankshaft
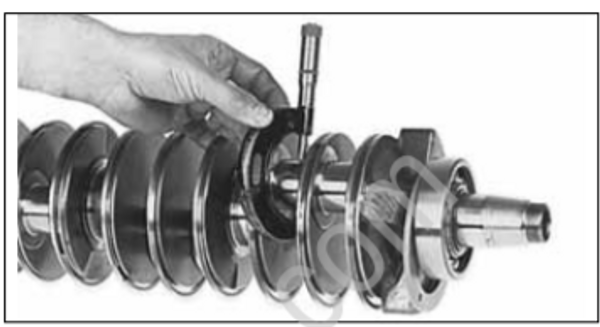
Measure the diameter of each crankpin and main bearing journal. The lower main bearing journal would only be measured if the bearing was removed for another reason.
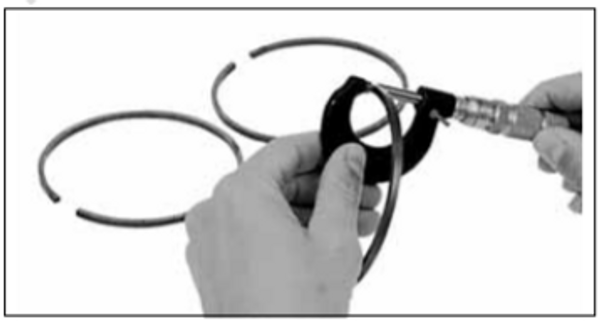
Visually inspect crankcase seal rings for wear, grooves, or chipping. If rings appear worn, use a micrometer to measure ring thickness.
Replace rings that are less than 0.154 in. (3.9 mm) thick.
Install seal rings in their original positions on crankshaft after inspection.
Cylinder Bore
Use Cylinder Bore Gauge, P/N 771310, to inspect each cylinder bore for an out-of-round, oversize, or tapered condition. Be sure the gauge is perfectly square in the bore when measuring.
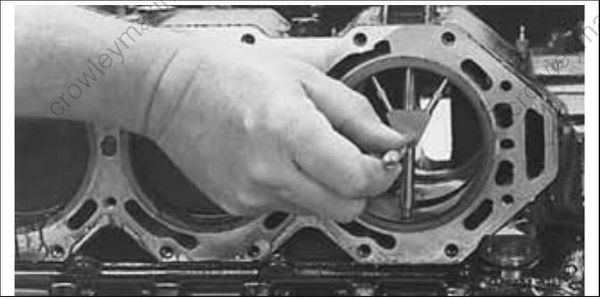
Measure as shown
Measure each cylinder in at least two areas. Each area should be measured twice. The difference between the two measurements in each area is the cylinder out-of-round dimension.
- The cylinder must not be out-of-round by more than 0.004 in. (0.10 mm).
The dimensional difference between the two areas is cylinder taper.
- The cylinder taper must not exceed 0.002 in. (0.05 mm).
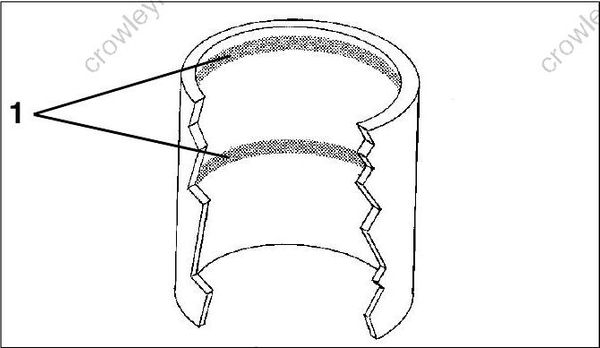
- Cylinder taper
The difference between the measurements and standard bore is cylinder oversize. For dimensions, refer to SERVICE SPECIFICATIONS on p. 10.
- The cylinder must not be oversized by more than 0.003 in. (0.08 mm).
Pistons
Visually inspect pistons for signs of abnormal wear, scuffing, cracks, or burning.
Piston Rings
For new ring sets, place each ring separately in its respective bore. Use a piston to square the ring in the cylinder. Use a feeler gauge to measure the
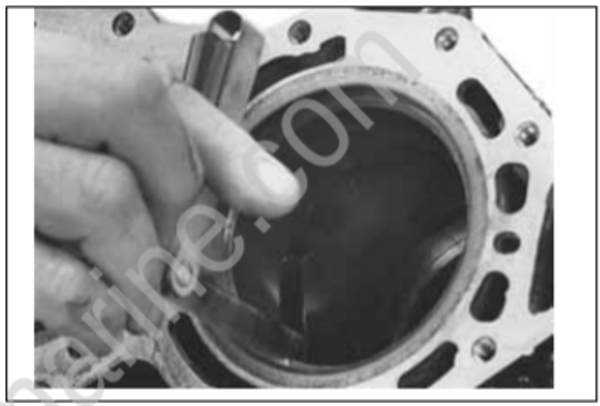
Ring end gap should be:
- 0.022 to 0.028 in. (0.56 to 0.71 mm)
IMPORTANT: Ring end gap increases approximately 0.003 in. (0.076 mm) for each 0.001 in. (0.025 mm) increase in cylinder bore diameter. DO NOT exceed cylinder oversize dimension.
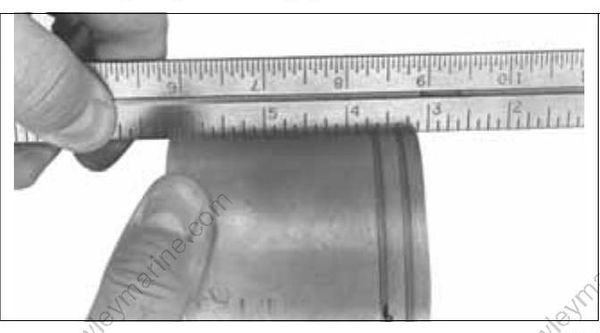
Use a machinist’s straightedge to check for proper ring clearance. Position piston rings on piston. Push rings into groove and hold straightedge against the side of the piston. Rings must be even or just below the surface of piston. Rings must move freely in piston ring groove.
Bearings
Inspect center main bearing and split sleeves for excess wear, nicks, or scratches. Replace if necessary.
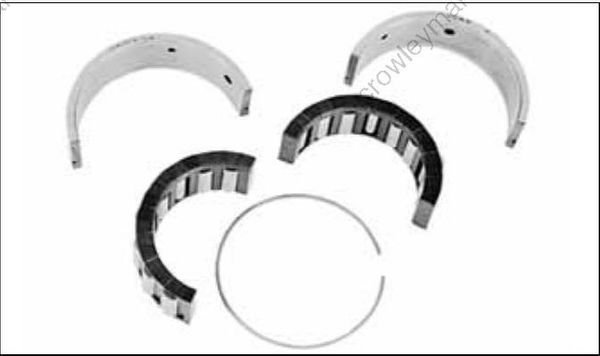
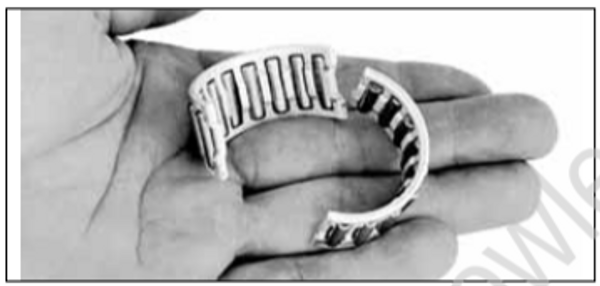
Inspect crankshaft rod bearings for excess wear, nicks, or scratches. Replace if necessary
POWERHEAD ASSEMBLY
IMPORTANT: Proceed slowly. Make no forced assemblies unless a pressing operation is called for. All internal components must be perfectly clean and lightly coated with outboard lubricant.
IMPORTANT: Use new wrist pin retaining rings, gaskets, seals, and O-rings during assembly.
Crankshaft
Place bearing retainer plate, flat side down, on lower end of crankshaft.
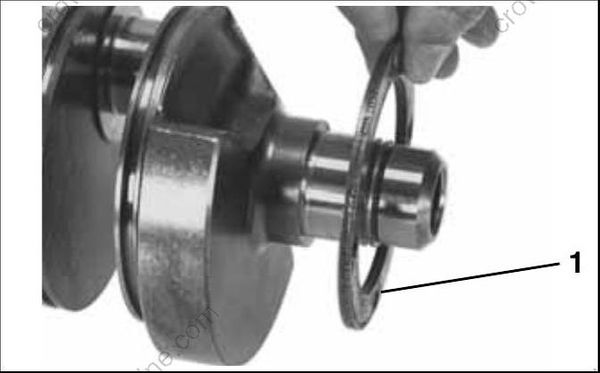
- Bearing retainer plate
Oil the end of the crankshaft. Use Crankshaft Bearing/Sleeve Installer, P/N 338649, and place a new lower main bearing onto crankshaft with lettered side facing the tool. Install bearing until it seats on the crankshaft.
Oil the end of the crankshaft. Use Crankshaft Bearing/Sleeve Installer, P/N 338649, to drive a
