

Preface
This Ignition Plate and Pilot Replacement Kit provides a method of repairing a worn pilot diameter on 9.9 thru 35 HP Evinrude® and Johnson® outboards without having to replace the cylinder and crankcase assembly.
To the Installer
The installation of this kit requires the use of Special Service Tools.**
This kit should be installed by a trained service technician using current technical literature. These instructions are not intended for consumer use.
Read these instructions completely prior to starting work.
Give these installation instructions to owner.
To the Owner
Retain these installation instructions with your Owner's/Operator's Manual. They contain installation information for future reference.

[1]
Contents of Kit
| Ref. | P/N | Name of Part | Qty. |
|---|---|---|---|
| 1 | 323692 | Thrust Washer | 1 |
| 2 | 323647 | Retaining Ring - Armature Plate | 1 |
| 3 | 307466 | Screw | 4 |
| 4 | 323693 | Washer | 4 |
| 5 | 323685 | Pilot Ring - Armature Plate | 1 |
| 6 | * | Armature Plate | 1 |
| 7 | 0175356 | Moly Lube™ | 1 |
- Model Usage
(6) 0584207 - CE and Later
(6) 0584209 - CU and CC
(6) 327770 - 1977 thru CD
Follow the disassembly and assembly procedure in appropriate Service Manual for the appropriate model - "Ignition Plate Replacement".
[2]
Using Needle Bearing Assembly Grease P/N 0378642, install washers (4) on top of mounting bosses.
[3]
Apply Moly Lube, or equivalent to inside undercut surface of retaining ring (2).
Install original retainer ring and link assembly.
4
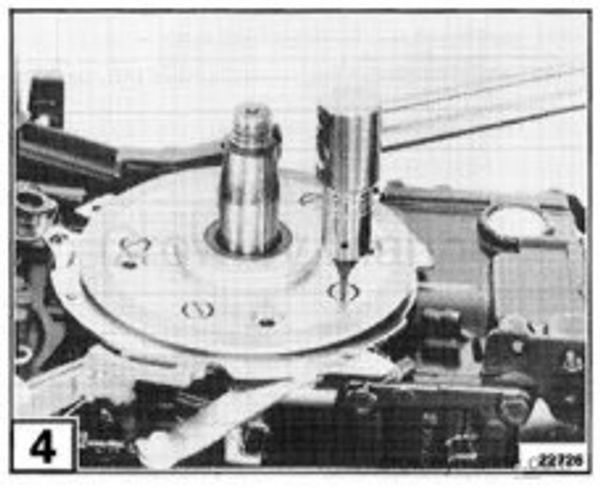
Install pilot ring, counter-bored holes facing up, in retaining ring and place over crankshaft.
4
Use Locquic Primer, P/N 0384884 on threads of the four new screws. Place small amount of Screw Lock, P/N 0384848 on threads of screws, torque 60-84 in. lbs. (7 to 9 Nm).
Apply Moly Lube, or equivalent, to top surface of pilot ring.
Place thrust washer on top of retaining ring.
Install new armature plate and ignition components. See "Ignition Component Replacement" in service manual. Apply Ultra Lock™, to the threads of original six screws and tighten securely.
Install flywheel. See "Flywheel Servicing" in service manual.